Run the Travel & Expense Setup Wizards
This section will provide step-by-step instructions on how to run the Travel & Expense Setup Wizards.
-
Click Next on the first page of the wizard to get started.
-
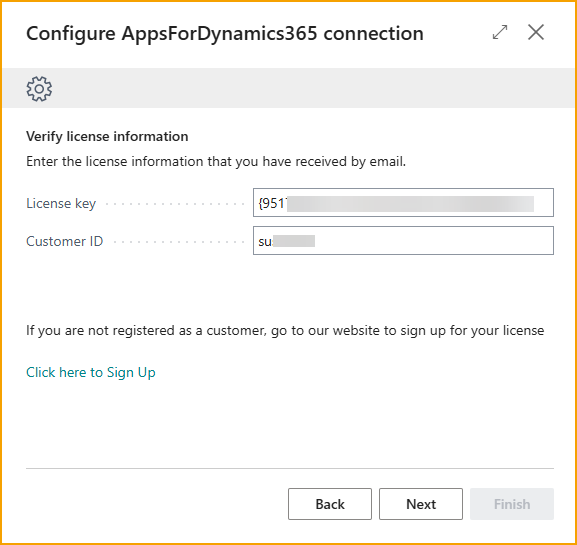
On the next page of the setup wizard enter your TEM license information.
- Enter the License Key.
- Enter Customer ID.
- Click Next.
-
Select Allow Always to allow the external request from AppsForDynamics365 Library.
-
Click on the link, Click Here to Start Wizard to Configure AppsForDynamics365 Cloud Connection, which establishes a connection between Business Central and AppsForDynamics365 cloud services, where Travel & Expense Management solution is hosted.
-
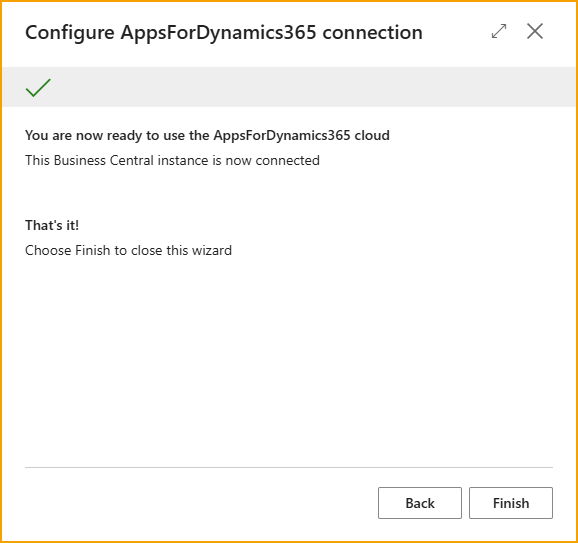
Complete the Configure AppsForDynamics 365 Connection wizard using the steps below.
AppsForDynamics365 Portal Connector Wizard
The AppsForDynamics365 Portal Connector enables ExFlow Travel & Expense to integrate with Microsoft Dynamics 365 Business Central. It acts as the connection layer that securely transfers Travel & Expense data between the AppsForDynamics365 portal and Business Central for processing and posting. If the Configure AppsForDynamics365 Connection wizard did not automatically start, using the Business Central search function, search for AppsForDynamics365 Portal Configuration >> Select Configure Connection
-
Verify License Information
- Click Next
-
Select Allow Always and click OK.
-
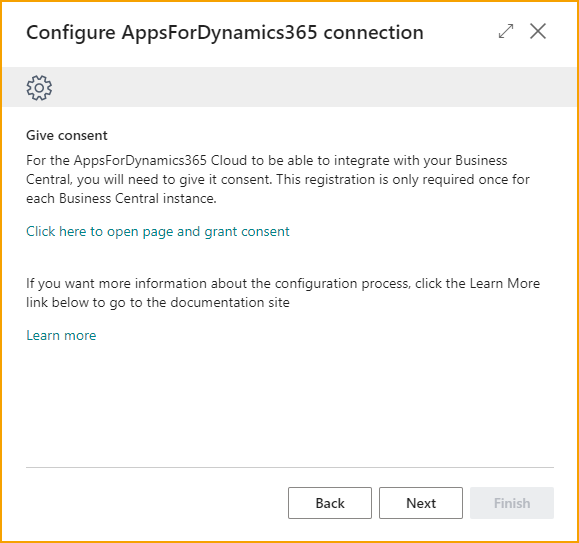
Grant Consent
- This step needs to be completed by the Global Administrator of the Business Central environment.
- Select the link on the page to open and grant consent.
- The Microsoft Entra Application Card will open. Click Grant Consent.
- Click Accept to the Microsoft Permission Request window.
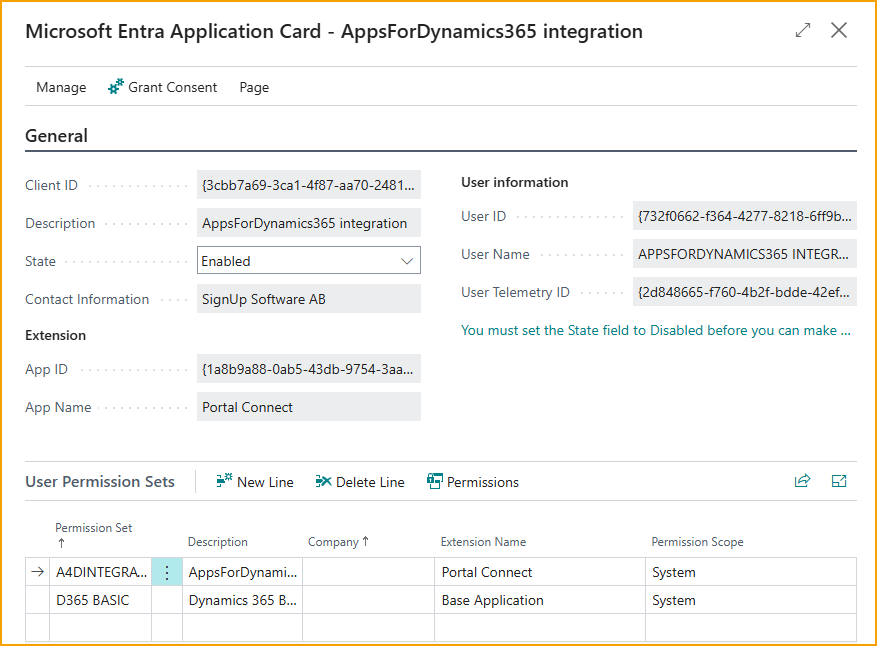
- Click OK to the message that consent was given successfully.
- Close the Microsoft Entra Application Card.
- Click Next
-
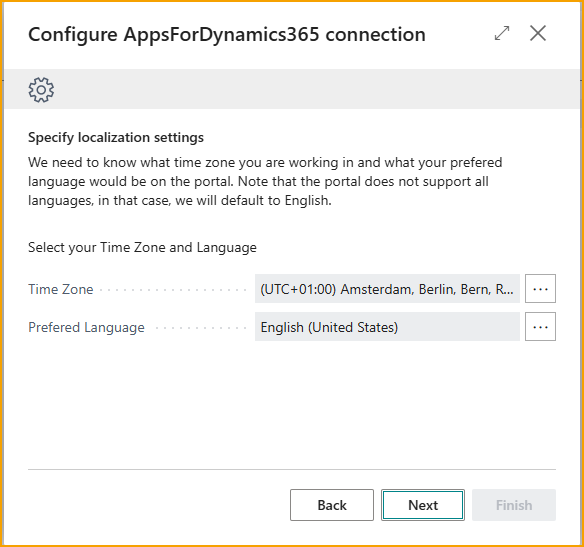
Localization Settings
-
Select the Time Zone to be used.
-
Select the Preferred Language. Note that the portal does not support all languages.
-
Click Next
-
-
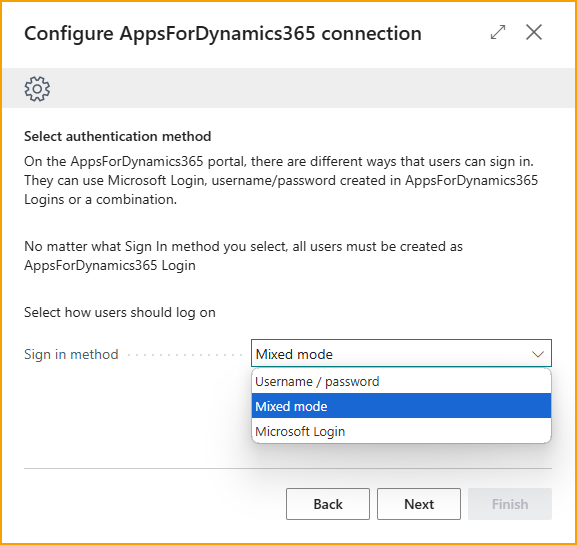
Method of Authentication
-
Select how the users should log on
- Microsoft login is recommended for most companies that use Business Central as it allows the use of existing Microsoft logins just like in other applications.
- AppsForDynamics365 username and password is useful for when most employees do not have access to Microsoft logins. Each user will have to have a password and username made.
- Mixed mode allows the option to use both, which can be useful in some cases where individual employees may not have Microsoft logins.
-
Click Next
-
-
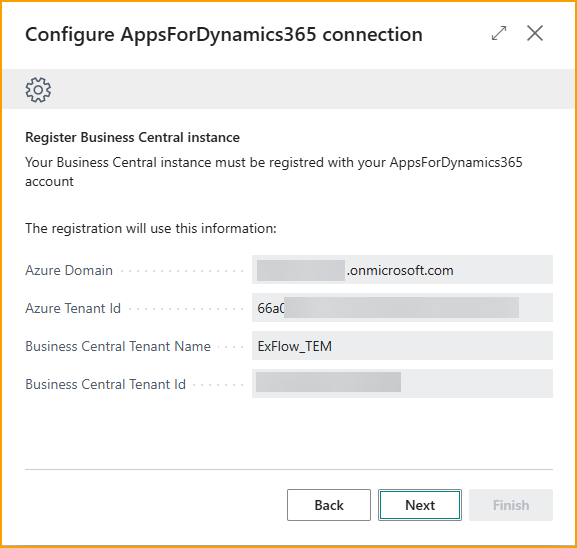
Register Business Central Instance
- Confirm that the information presented is correct.
- Click Next and the wizard will register the Business Central instance with the AppsForDynamics365 account.
-
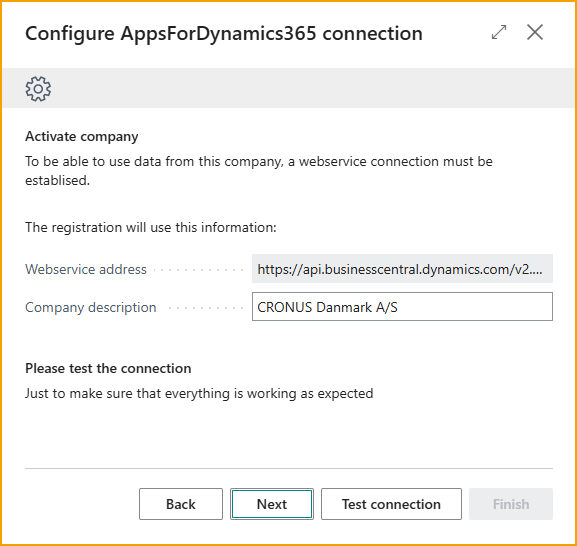
Activate Company
-
Modify the Company Description as needed.
-
Click Test Connection to confirm that the connection is working as expected.
-
Click Next
-
-
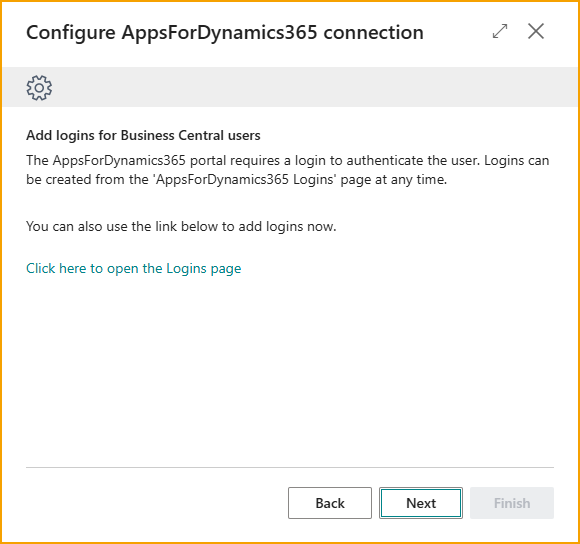
Add TEM Logins for Business Central Users (Optional)
-
To create AppsForDynamics365 (TEM portal) logins for existing Business Central users, click the link to open the Logins page. If you do not wish to do this now, this can be done at any time in Business Central >> “AppsForDynamics365 Login” page.
- “AppsForDynamics365 Login
- Select Create Logins for Users which will open a list of existing Business Central users.
- Select the users you wish to create TEM portal logins.
- “AppsForDynamics365 Login
-
Click Next when finished setting up users.
-
-
Click Finish to complete the AppsForDynamics365 connection configuration wizard and proceed to the Configure ExFlow Travel & Expense wizard, which will launch directly after.
ExFlow Travel & Expense Configuration Wizard
The Configure Travel & Expense wizard streamlines the basic configuration of ExFlow Travel & Expense. If the Configure ExFlow Travel & Expense wizard did not automatically start, using the Business Central search function, search for Travel & Expense Overview. Click on Setup Wizard. Click Next to get started.
-
Use Mileages
-
Number Series
- Select which number series you wish to use for each record type. You have the option to select from:
- The list of available number series in Business Central.
- Create a new number series.
- Use default No Serie: If selected, the application will generate a number series. You can modify generated number series if needed.
- Select which number series you wish to use for each record type. You have the option to select from:
-
Mileage Setup
-
Use Mileage: Enable to allow expense entry for mileage.
-
No. Series: Select the number series you wish to use for mileage expenses. You have the following options:
- Select from list of available number series in Business Central.
- Create a new number series.
- Use Default No Series: If selected, the application will generate a number series. You can modify generated number series if needed. modify generated number series if needed.
-
Account: Select the GL Account to use for posting mileage expenses.
-
Mileage Unit: Select the unit of measurement that will be used for recording mileage.
-
Click Next
-
-
Expense Report Setup
-
Use Expense Reports
- Disable to require users to enter and submit expenses individually. Each expense is processed and approved separately, and expenses cannot be grouped into an expense report.
- Enable to allow users to group multiple expenses into a single expense report, keeping related expense lines together during submission and approval. This option is useful for organizing expenses by trip, month, or other criteria. This options also allows users to submit individual expenses without creating an expense report.
-
No. Series for Expense Report:
- Select which number series you wish to use for each record type. You have the option to select from:
- The list of available number series.
- Create a new number series.
- Use default No Series: If selected, the application will generate a new number series. You can modify generated number series if needed.
- Select which number series you wish to use for each record type. You have the option to select from:
-
Click Next
-
-
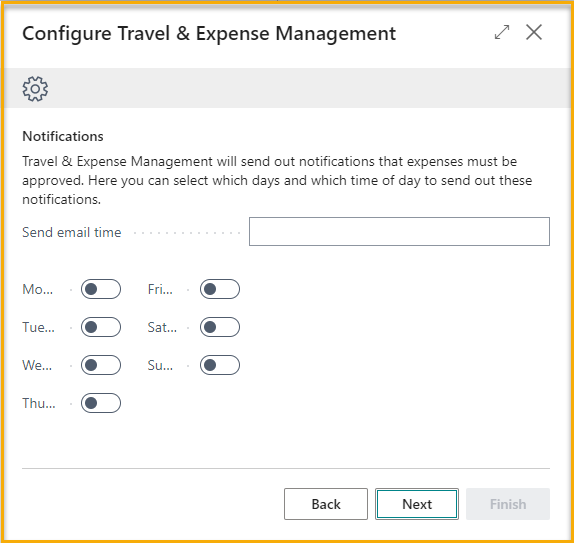
Notifications
-
Configure the frequency of daily summary and reminder emails. Reminder emails serve three main purposes:
- Notify users of expenses that have been started but not yet submitted.
- Alert credit card holders when imported credit card transactions are missing receipts.
- Notify approvers of expenses or reports that are pending review.
-
Click Next
-
-
Grant Permission
- Select the link to specify which users are allowed to view, process, and post expenses in Business Central after approval.
- Select the link to specify administrator user(s) who have permission to modify Travel & Expense setup settings.
- Click Next
-
Finish - Congratulations! ExFlow Travel & Expense has been successfully configured.
- Click Finish

- Click Finish