Create and Submit a Mileage Expense via the Mobile App
ExFlow Travel & Expense is quick and designed for ease of use. The mobile app allows users to enter and submit mileage expenses for approval in just a few steps.
Note:* Before submitting a mileage expense, a vehicle must be assigned to the employee record. Refer to User Management > Vehicle Assignment for setup instructions.
Create a Mileage Entry
-
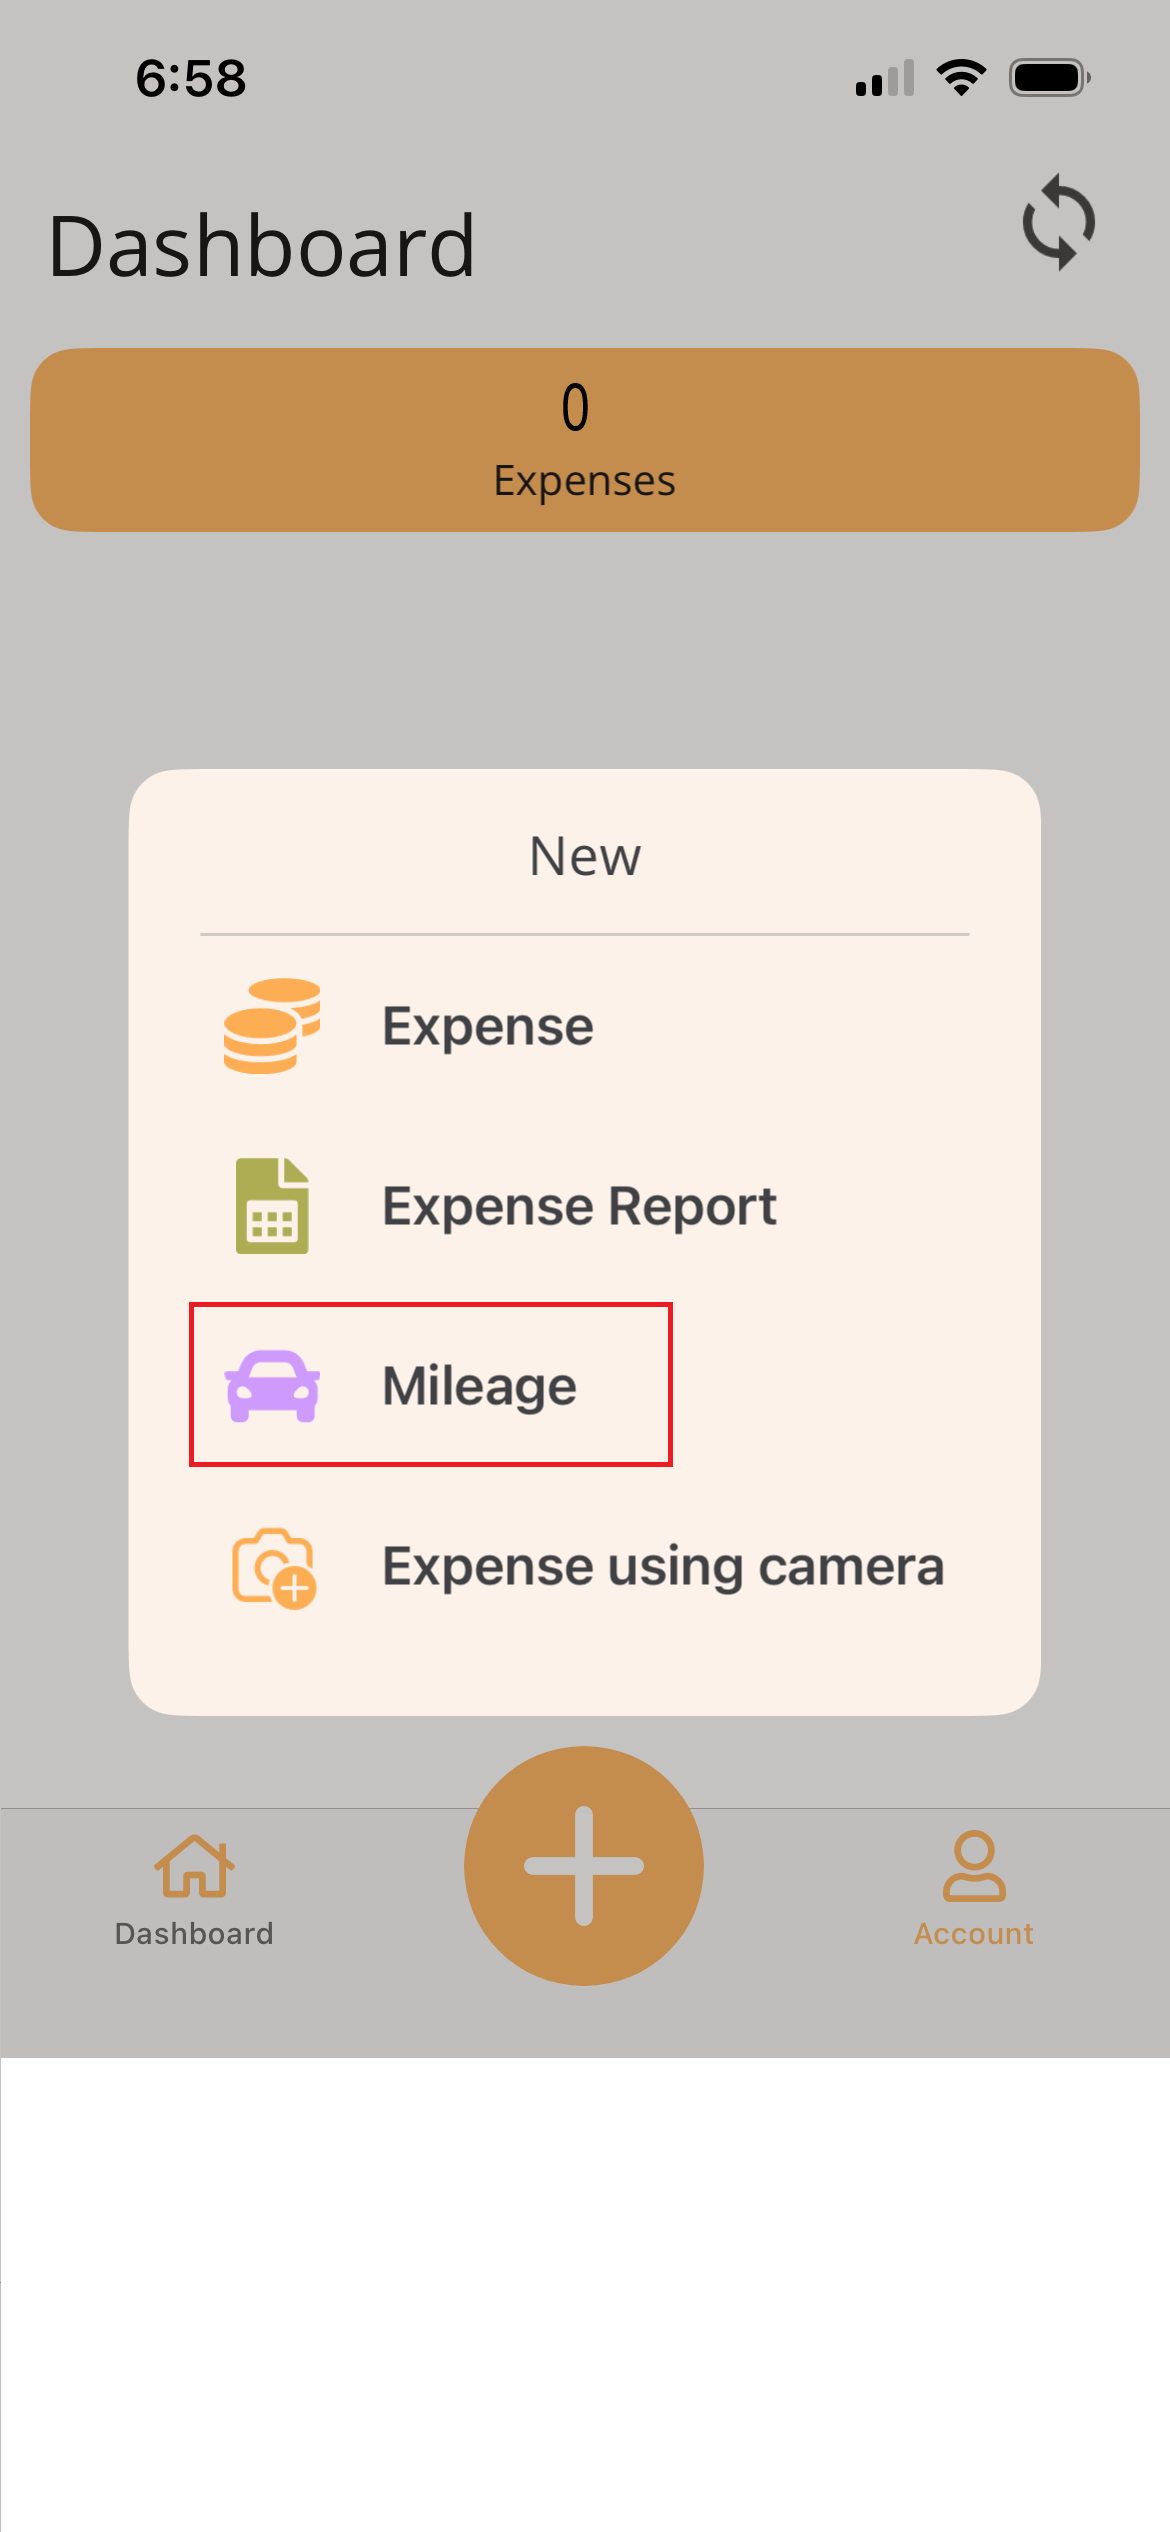
Tap the Plus (+) icon at the bottom of the app.
-
Select Mileage.
-
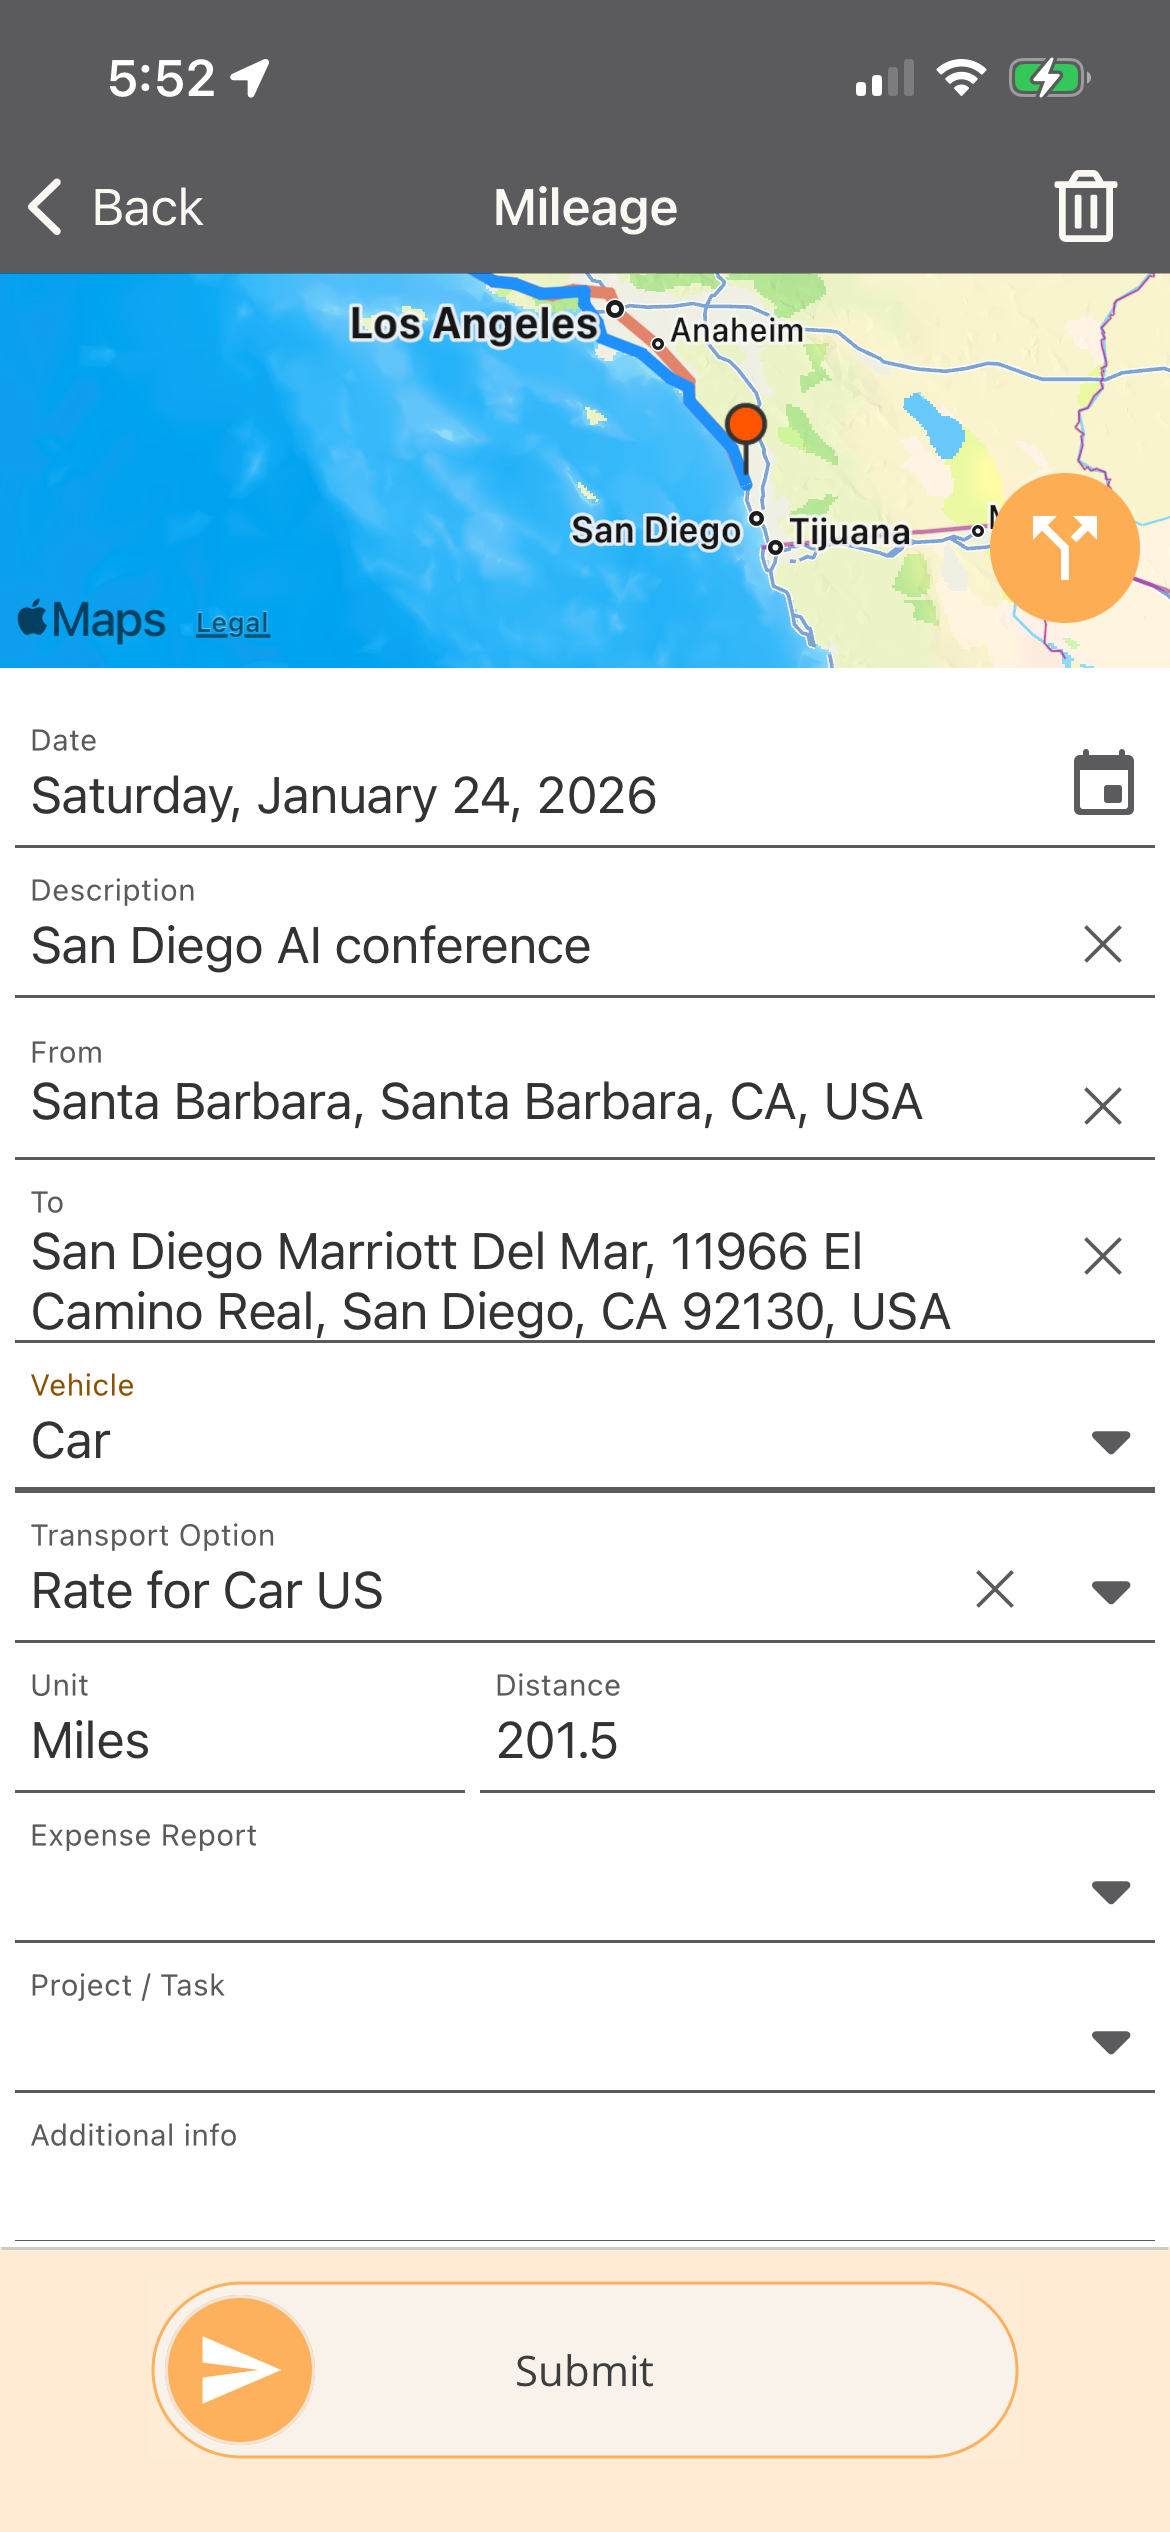
Enter Mileage Details - Complete the fields below to submit your mileage for approval. Fields marked with a red line are required.
- Date: Modify the date of the mileage entry. When using the app, today’s date is applied by default.
- Description: Enter a brief description of the trip.
- Route Enter route by using the Map or entering the From and To fields.
- Map Option - The map at the top of the screen displays the user's current location. The user can drag and zoom the map to adjust the route. Once a route is entered, tap the Alternative Route icon to switch between available route options.
- From & To Fields -
- From: Tap in the From field and enter the starting address or location name into the search field. Select the correction location for a starting point.
- To: Tap in the To field and enter the destination address or location name into the search field. Select the correction location for your destination.
- Vehicle: Select the vehicle that was used.
- Unit: Will default assigned unit from vehicle.
- Distnace: The distance is calculated automatically based on the route. You can manually adjust the distance if needed.
- Expense Report: Optionally select an existing expense report to group this expense. If creating the expense within the expense report, the value will automatically populate.
- Project / Task: Search for and select the project, then the task. Once selected, the project and task descriptions are displayed.
- Additional Info: Enter any additional details related to the trip.
-
Slide to Submit: When all required fields are completed, use Slide to Submit to send the mileage for approval.
-
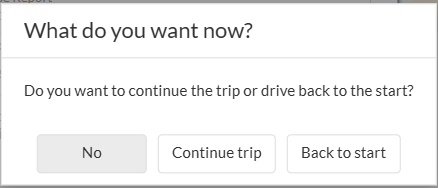
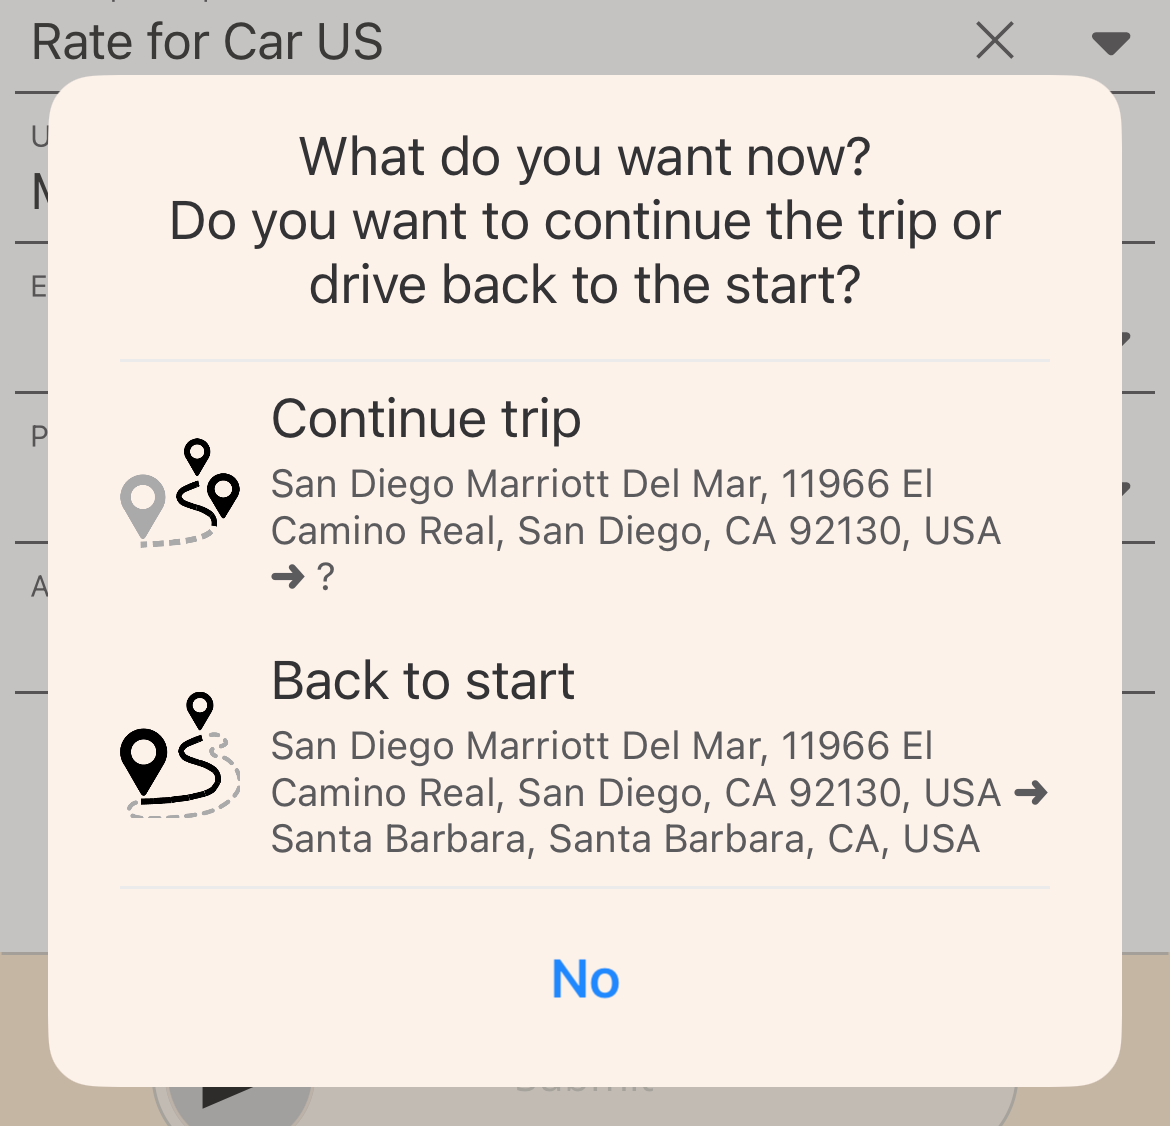
Return Trip: After submitting the mileage expense, the user will be prompted to indicate whether the trip will continue or return to the starting location. Select one of the following options:
- Continue Trip: Select if the trip includes additional stops. A new mileage entry is created, with the From field automatically populated using the previous trip’s Destination address.
- Back to Start: Select if making a return trip using the same route. A new mileage entry is created for the return route.
- No: Ends the trip and submits the mileage entry.
Create and Submit Mileage Expense via Web Portal
Per Diems are daily allowances provided to employees to cover day-to-day expenses incurred during business travel.
-
Open the Travel & Expense Web Portal
-
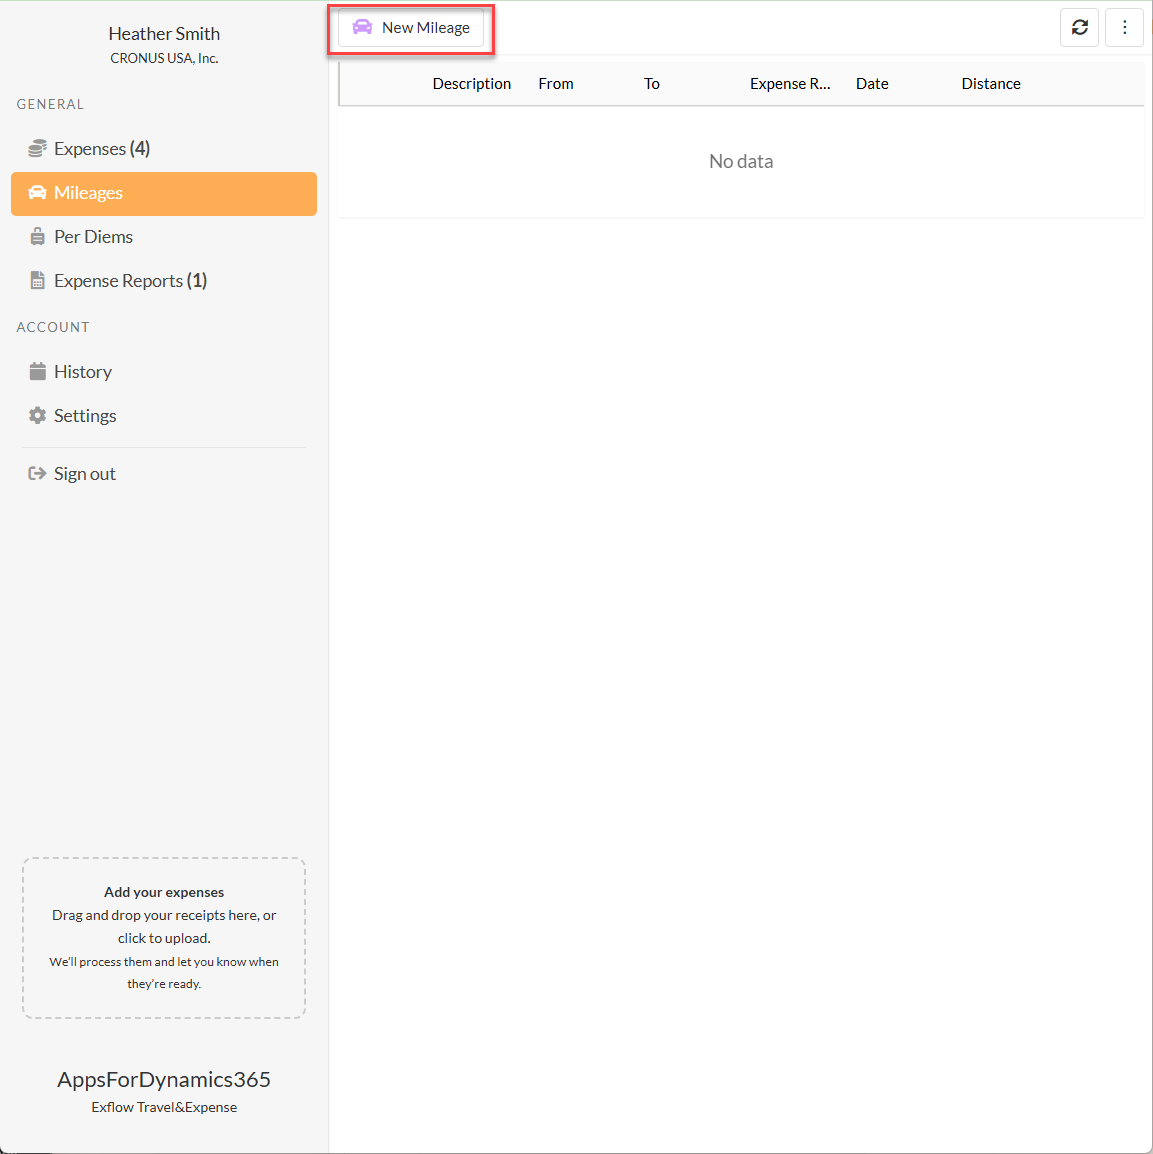
From the General menu on the left-hand side, select Mileage.
-
Select New Mileage at the top of the page to create a new expense.
-
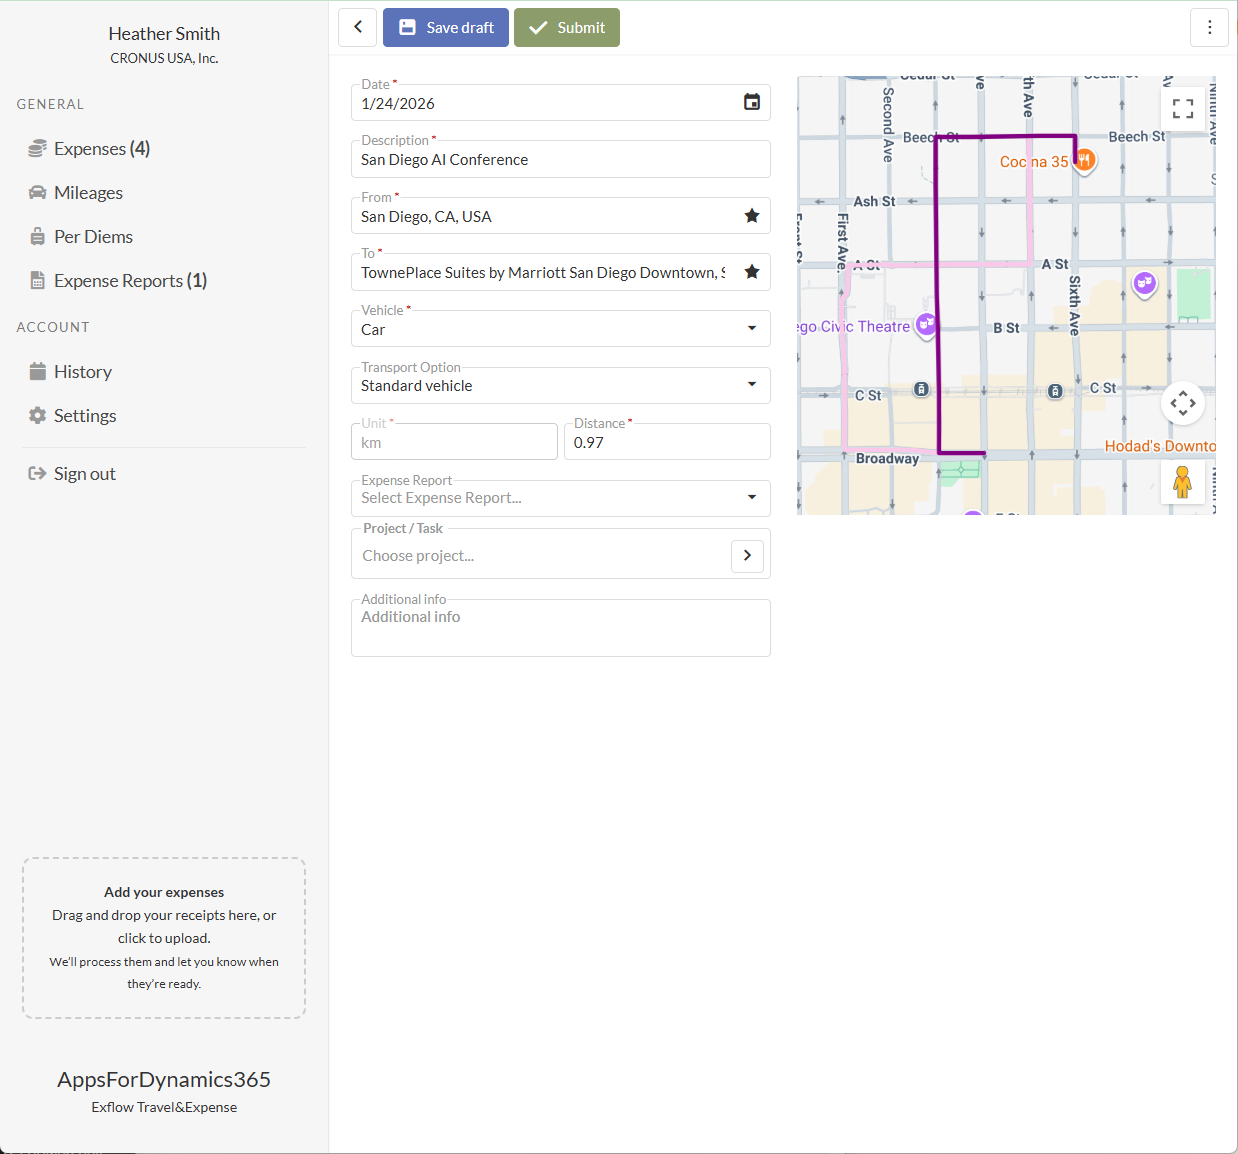
Enter the expense details in the following fields: Enter Mileage Details - Complete the fields below to submit your mileage for approval. Fields marked with a red line are required.
- Date: Modify the date of the mileage entry. When using the app, today’s date is applied by default.
- Description: Enter a brief description of the trip.
- From: Start typing the starting address or location name and select the appropriate value from the list. You can also select the Star icon to choose from your Favorite locations
- To: Start typing the destination address or location name and select the appropriate value from the list. You can also select the Star icon to choose from your Favorite locations.
- Vehicle: Select the vehicle that was used.
- Unit: Will default assigned unit from vehicle.
- Distnace: The distance is calculated automatically based on the route. You can manually adjust the distance if needed.
- Expense Report: Optionally select an existing expense report to group this expense. If creating the expense within the expense report, the value will automatically populate.
- Project / Task: Search for and select the project, then the task. Once selected, the project and task descriptions are displayed.
- Additional Info: Enter any additional details related to the trip.
-
Choose Save as Draft to finish later or Submit to send the mileage expense for processing.
-
Return Trip: After submitting the mileage expense, the user will be prompted to indicate whether the trip will continue or return to the starting location. Select one of the following options:
- Continue Trip: Select if the trip includes additional stops. A new mileage entry is created, with the From field automatically populated using the previous trip’s Destination address.
- Back to Start: Select if making a return trip using the same route. A new mileage entry is created for the return route.
- No: Ends the trip and submits the mileage entry.