Processing Credit Card Expenses
Before processing credit card transactions, ensure that credit cards and agreements have been configured as described in the Company Card Setup section under Setup & Configuration. Proper setup enables credit card transactions to be imported into ExFlow Travel & Expense and, when applicable, automatically matched to expenses, reducing manual effort.
Users can create expenses before or after a credit card transaction is imported. Once credit card statements are imported into Business Central, credit card transactions can be reviewed, completed, merged with existing expenses, and submitted for approval.
Create and Submit a Credit Card Expense (Before Transaction Is Imported)
ExFlow Travel & Expense allows employees who have company credit cards to scan receipt the moment they incur expenses and not have to worry about keeping them for later submission.
These expenses and associated receipts will wait in Travel & Expense until the Credit Card statement has been imported in to Business Central for reconcilation purposes. The status of these expenses will be "Waiting for Transaction".
The moment that credit card transactions are improted from a credit card statement into Business Central, ExFlow Travel & Expense will match them automatically and will be submitted for approval without the need for employee to submit manually.
Note: When entering an expense, attaching a clear photo or scan of the receipt is important. Travel & Expense uses OCR and SmartExtract (AI) technology to read the receipt and automatically extract details such as date, amount, and vendor, reducing the amount of manual data entry required.
Create a Credit Card Expense Entry
-
Travel & Expense → New Expense (Mobile or Web Portal):
- Mobile App >> Tap the + icon and choose Expense or Expense Using Camera.
- Web Portal >>
- Go to Expenses >> New Expense or
- Drag and drop the receipt image into the Add Your Expenses section and SmartExtract will automatically extract the receipt details and create the expense for you.
-
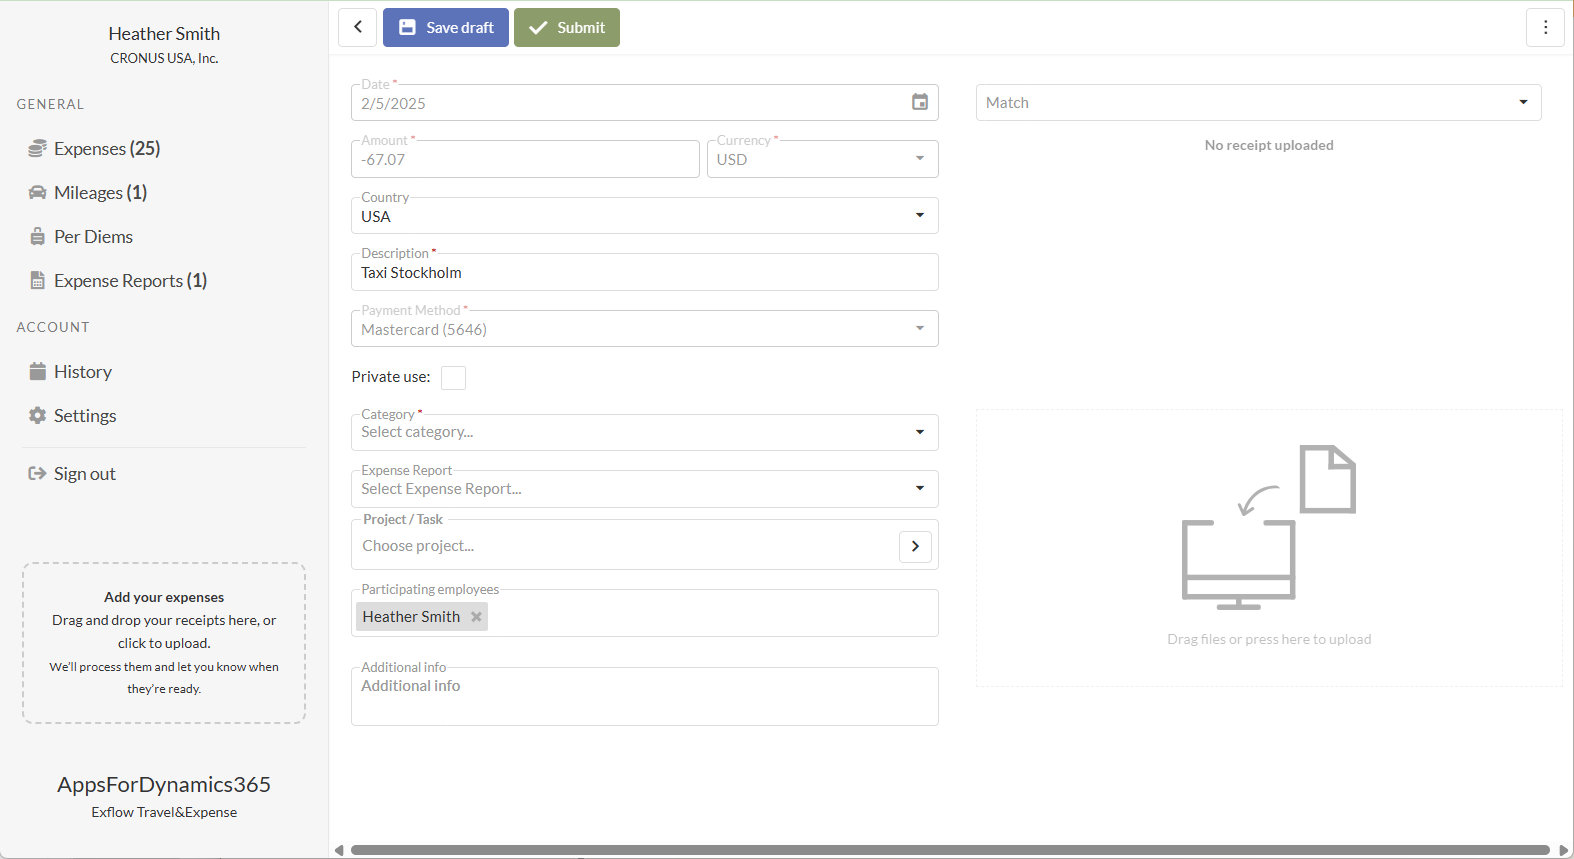
Enter and/or review expense details:
-
Required Fields:
-
File or Photo - Upload a receipt or supporting document by clicking the upload area or dragging the file.
-
Date: The date the expense was incurred. This field is automatically populated when a receipt is attached and the receipt data is extracted.
-
Currency: The currency of the receipt amount. This field is automatically populated when a receipt is attached and the receipt data is extracted.
-
Amount: The amount to be reimbursed or recorded. This field is automatically populated when a receipt is attached and the receipt data is extracted.
-
Country: The country where the expense was incurred. This field is automatically populated when a receipt is attached and the receipt data is extracted.
-
Description: Description of the expense. This field is automatically populated when a receipt is attached and the receipt data is extracted.
-
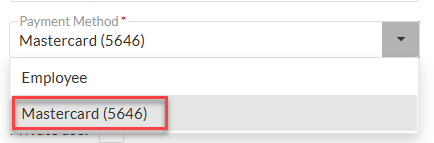
Payment Method: Select the applicable company card.
-
Category: Select the category that best describes the expense. This field is automatically populated when a receipt is attached and the receipt data is extracted.
-
-
Optional Fields:
- Expense Report: Select an existing expense report to group this expense. If creating the expense within the expense report, the value will automatically populate.
- Project/Task:
- Search for and select the project.
- Search for and select the task.
- Once both values are selected, the project and task descriptions are displayed.
- Participating Employees: The employee entering the expense is added by default. Add any additional employees included in the expense.
- Guest (Not Employees): Add outside sources, like customers, who this expense was for.
- Additional Info: Enter any additional details that may help the approver understand the expense.
-
-
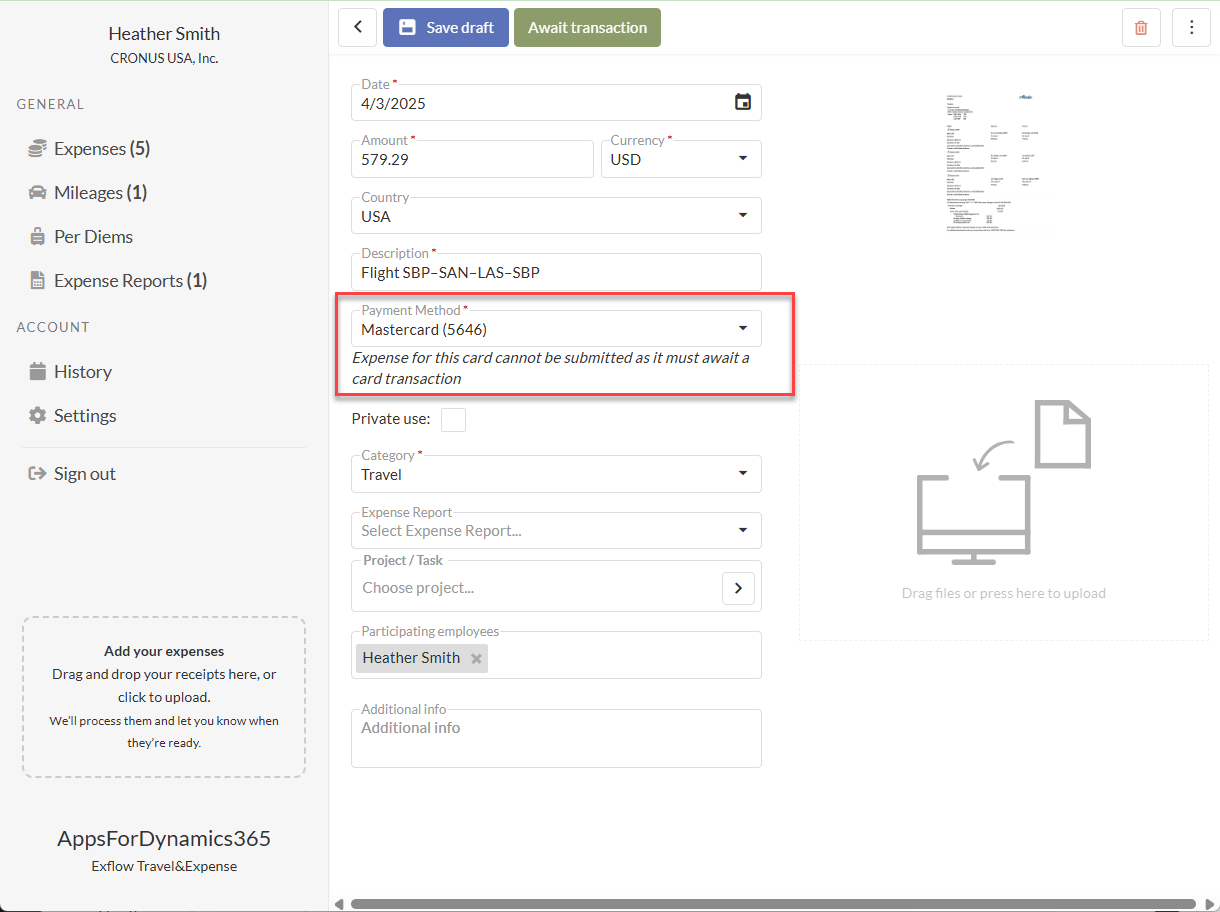
Select Save to complete the expense at a later time, or select Await Transaction if you want to link the expense to a credit card transaction once it is imported.
Note: Use Await Transaction when you have finished entering the expense details, but the credit card statement has not yet been imported. This allows the expense to be matched later with the corresponding credit card statement line once it becomes available.
-
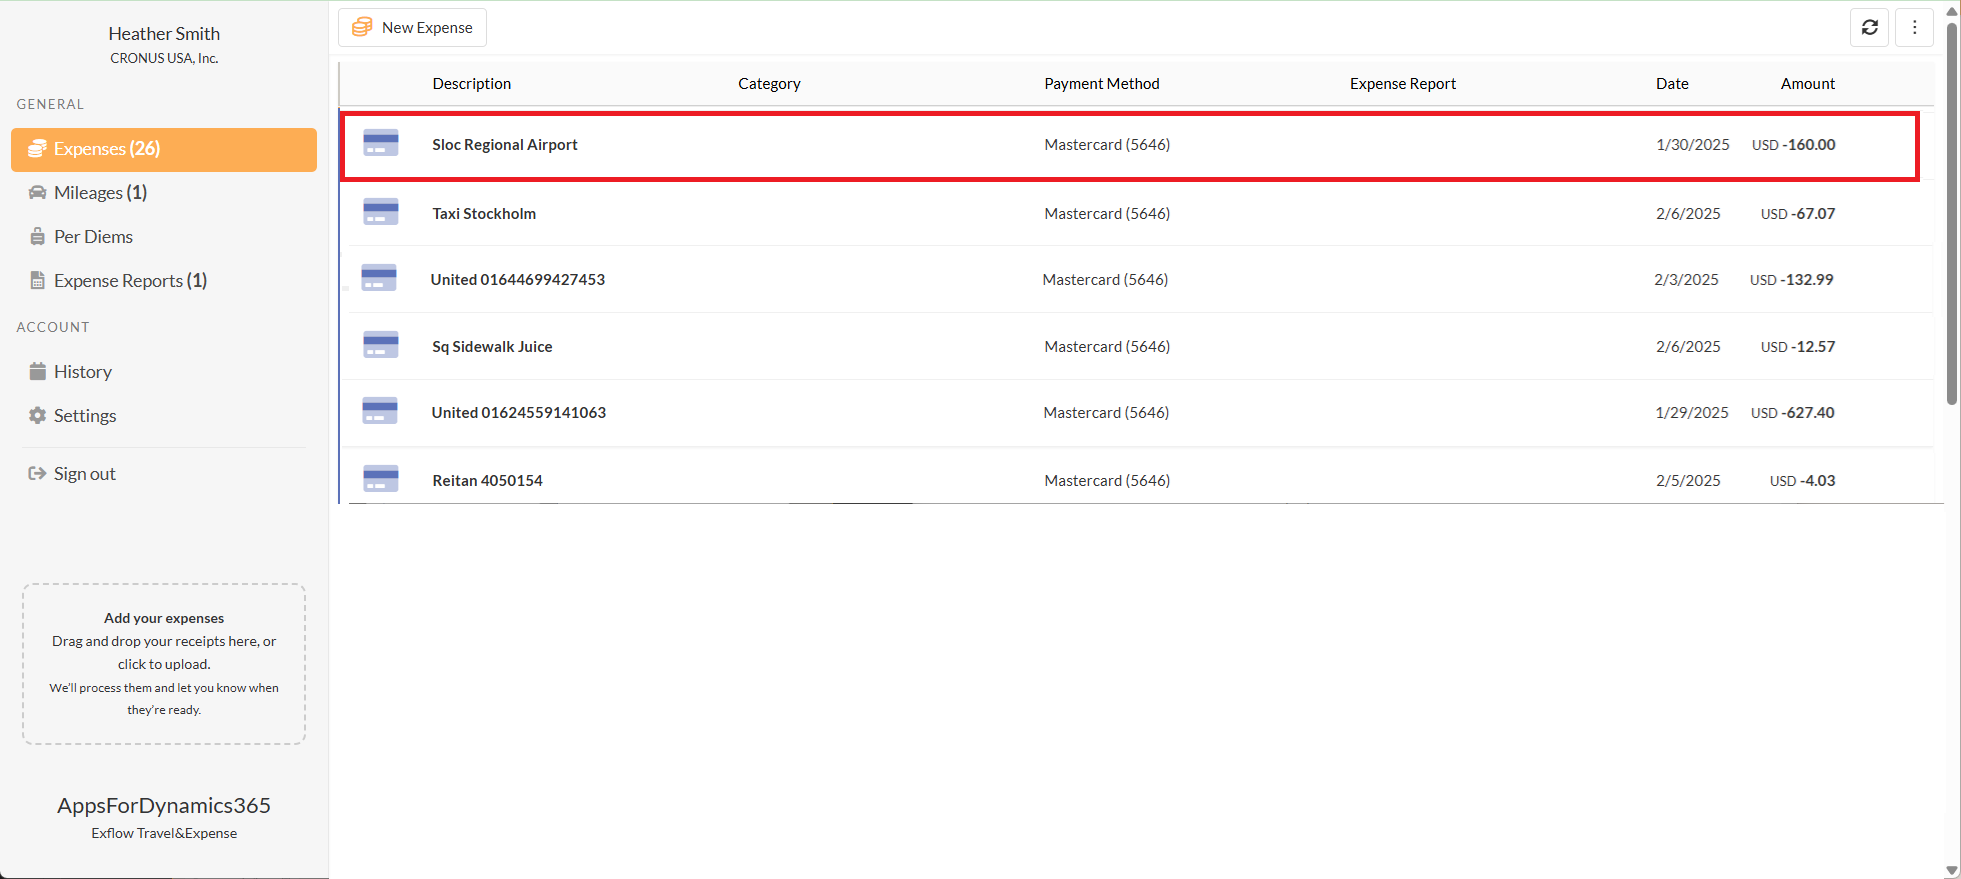
The expense line will display in the user's Expenses with a status of Waiting For Transaction.
-
The user will match the expense transaction to an imported credit card statement line once the crredit card statement has been imported. See the section Matching Expense to Credit Card Statement Line Once Imported for instructions.
Matching Expense to Credit Card Statement Line Once Imported
Once Finance has imported the credit card statement, the user's credit card statement lines will be sent to them to provide a receipt.
If the user has previously entered an expense with the payment method as Company Card, Travel & Expense will try to automatically match the entered expense line with the credit card statement line, and it matched will be automatically submitted.
If the expense report and the credit card transaction cannot be matched automatically, the user needs to match them manually.
Match Credit Card Expense Manually
-
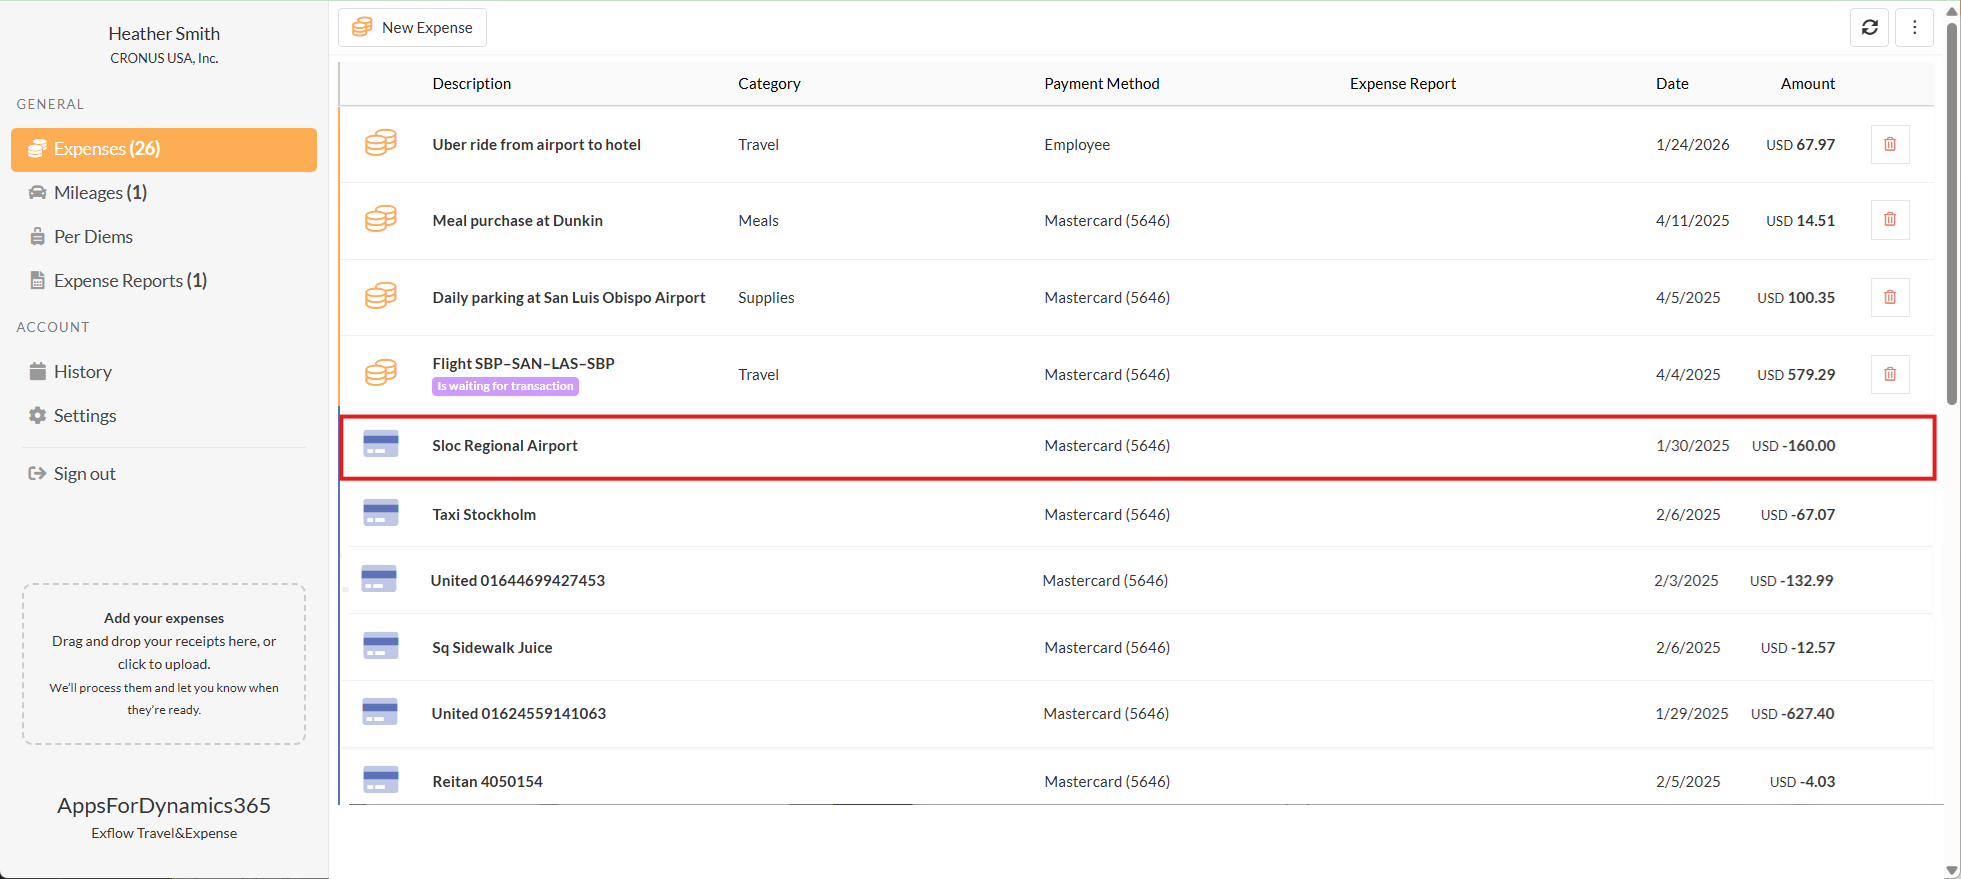
In either the mobile app or web portal, go to Travel & Expense >> Expenses
-
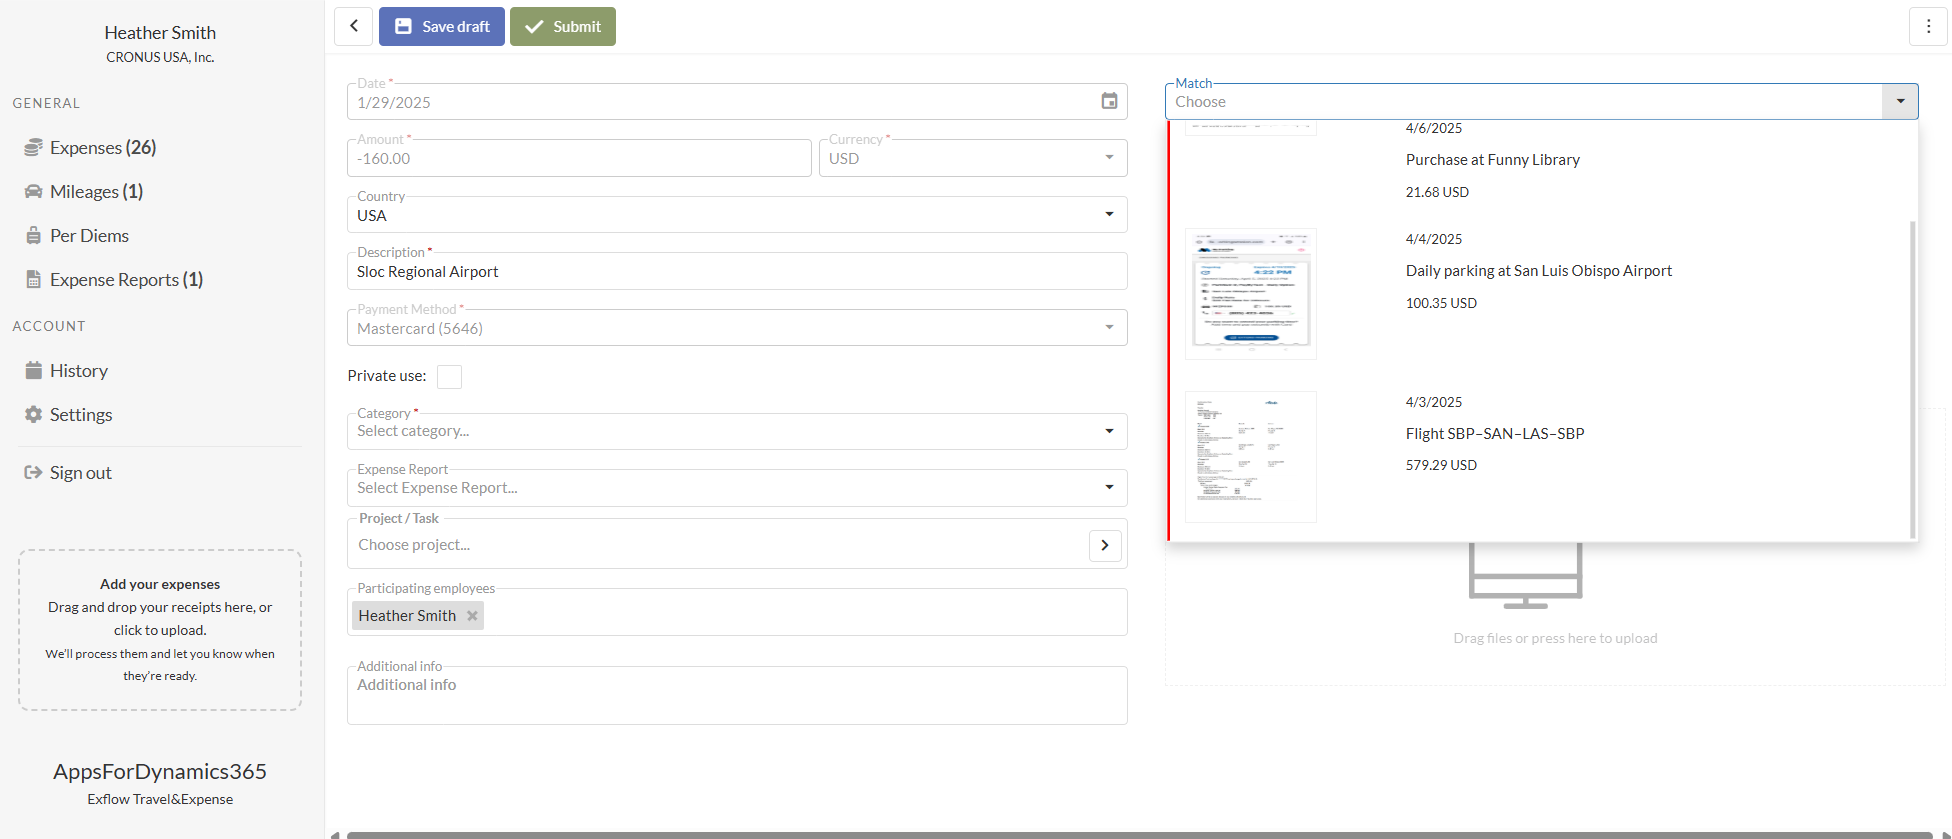
Select the Credit Card imported transaction line. The imported lines will have an icon of a Credit Card.
-
Select the Match drop down.
-
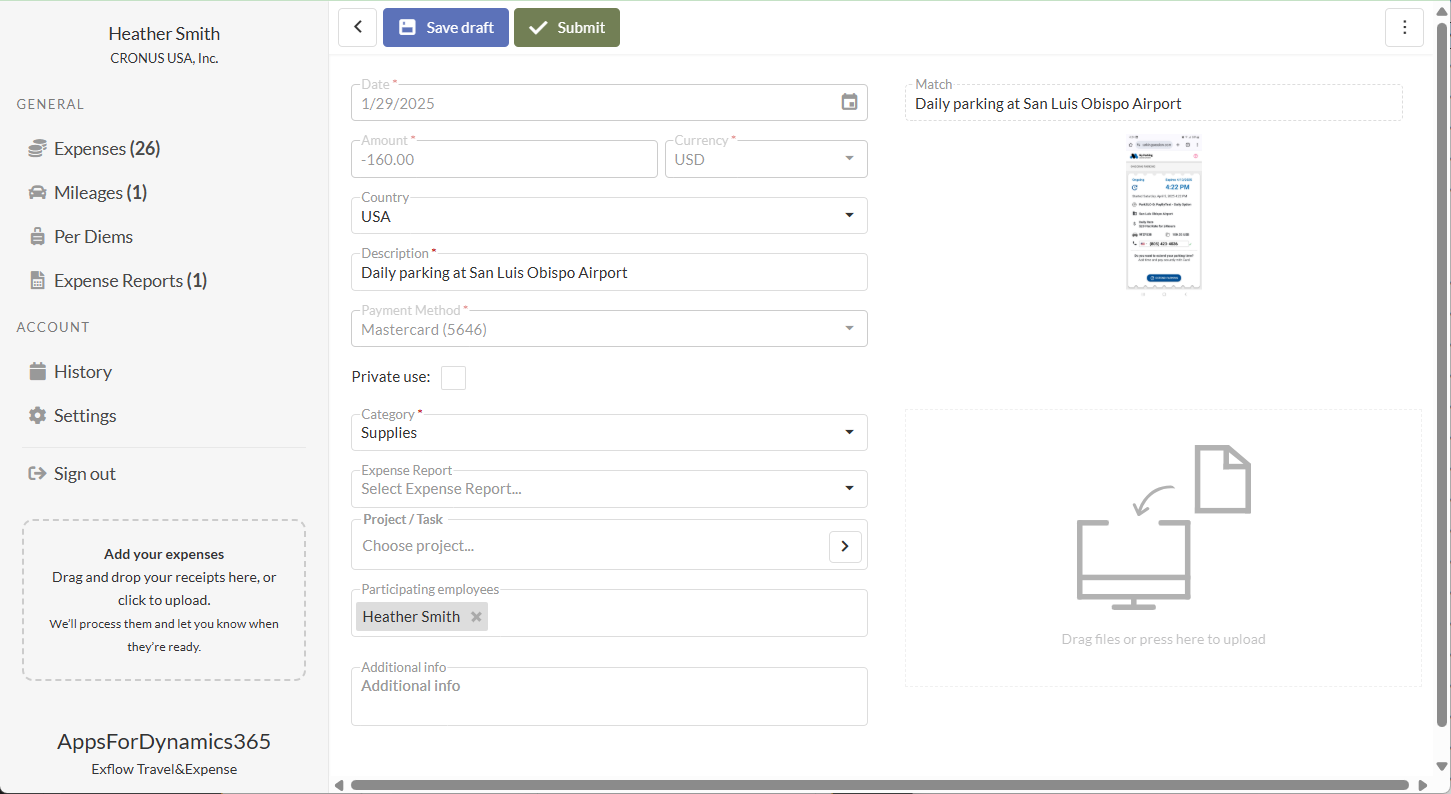
Choose the correct expense associated with the transaction
-
Select Continue to the popup Match messsage

-
Save or Submit the Expense - choose one of the following options:
- Select Save to save the expense as a draft. Draft expenses are not submitted and can be edited later.
- Select Submit to submit the expense for approval.
Create and Submit a Credit Card Expense (After Transaction Is Imported)
-
In either the mobile app or web portal, go to: Travel & Expense --> Expenses
-
Select the Credit Card imported transaction line. The imported lines will have an icon of a Credit Card.
-
Complete the expense details:
-
Required Fields:
- File or photo: Upload a receipt for this expense, by dragging and dropping in the attachment section or selecting the attachment section and selecting a file.
- Date: Will be imported from the credit card statement.
- Currency: Will be imported from the credit card statement.
- Amount: Will be imported from the credit card statement.
- Country: If needed, change the country for the expense. This defaults to your country setting in Business Central.
- Description: Modify the descritption if applicable.
- Payment Method: Will be imported from the credit card statement.
- Category: Choose a category for the expense from the ones provided by your company.
-
Optional Fields:
- Expense Report: Select an existing expense report to group this expense. If creating the expense within the expense report, the value will automatically populate.
- Project/Task:
- Search for and select the project.
- Search for and select the task.
- Once both values are selected, the project and task descriptions are displayed.
- Participating Employees: The employee entering the expense is added by default. Add any additional employees included in the expense.
- Guest (Not Employees): Add outside sources, like customers, who this expense was for.
- Additional Info: Enter any additional details that may help the approver understand the expense.
-
-
Save or Submit the Expense - choose one of the following options:
- Select Save to save the expense as a draft. Draft expenses are not submitted and can be edited later.
- Select Submit to submit the expense for approval.