Mobile App Navigation & Interface Overview
This section describes the main interface elements of the ExFlow Travel & Expense mobile app and how to navigate them.
Home Screen
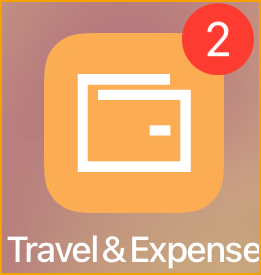
After downloading the app, the ExFlow Travel & Expense icon appears on your device’s home screen.
If the app icon displays an indicator badge, it means there are unsent expenses or mileage entries that have not yet been submitted or synchronized.
Dashboard
The Dashboard is the first screen displayed when you open the app.
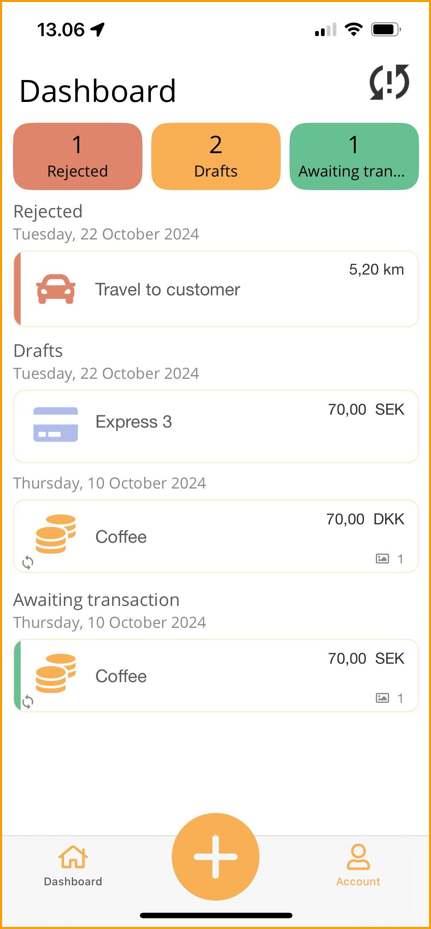
At the top of the dashboard is a Refresh icon, which indicates whether synchronization with the cloud is required. Synchronization may be needed if:
- It has been some time since the last sync, or
- There are pending or newly created entries
You can synchronize data with the cloud at any time by:
- Tapping the Refresh icon in the top-right corner, or
- Pulling down on the dashboard screen
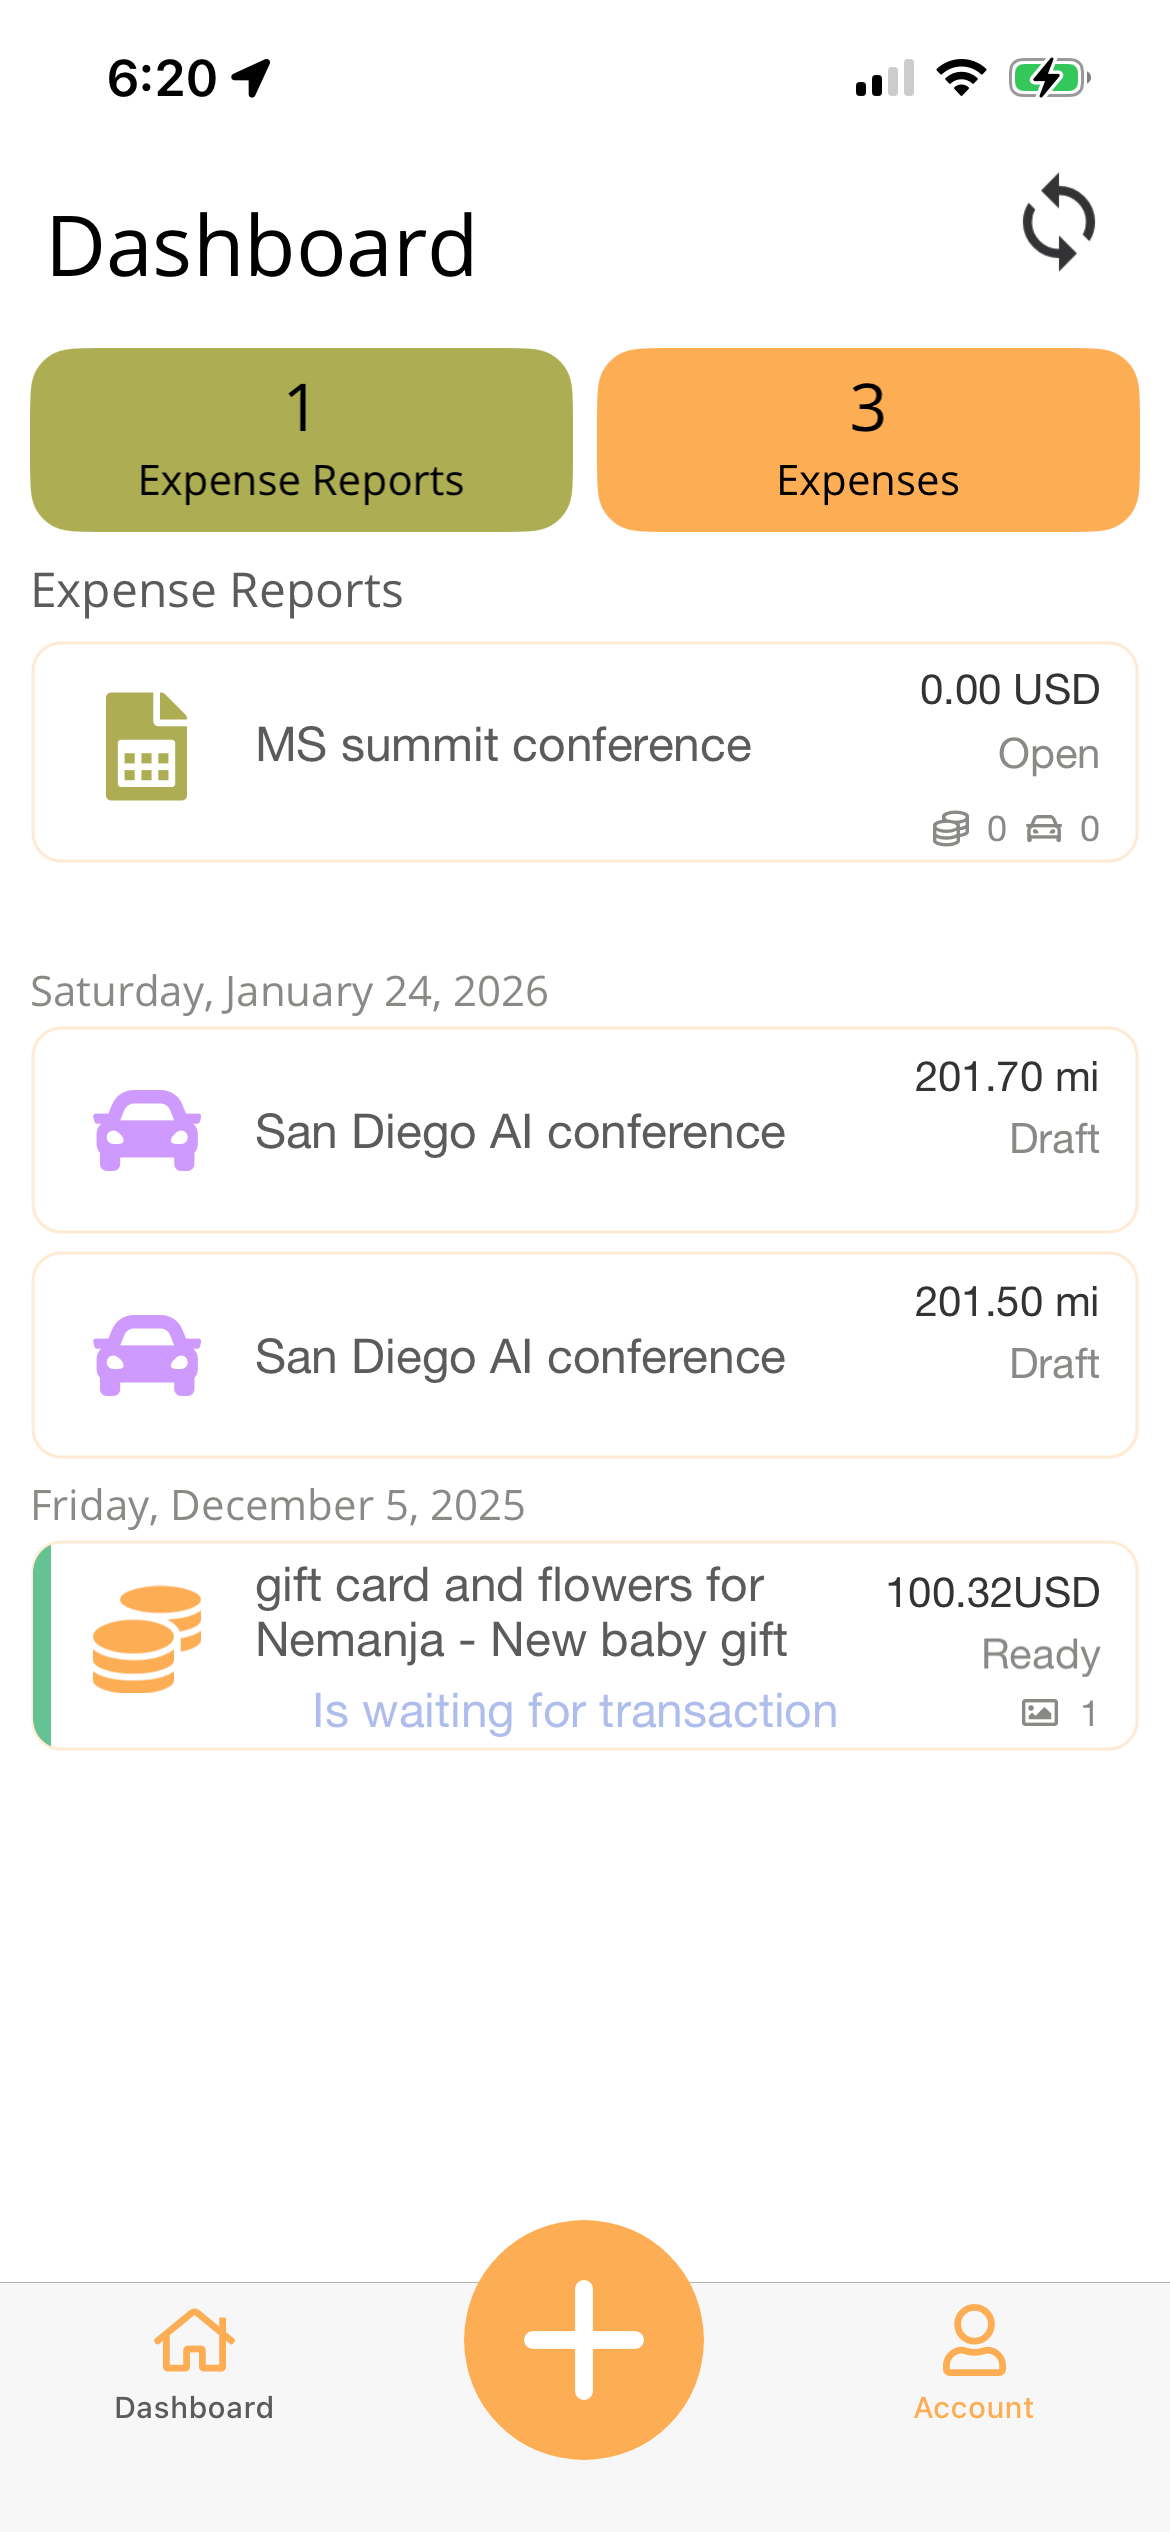
The main area of the dashboard displays a summary of expense types grouped at the top of the screen.

If any expenses or mileages have been rejected, they appear at the top of the list and are highlighted in red.
A small synchronization icon appears on transactions that have not yet been synchronized with the server.
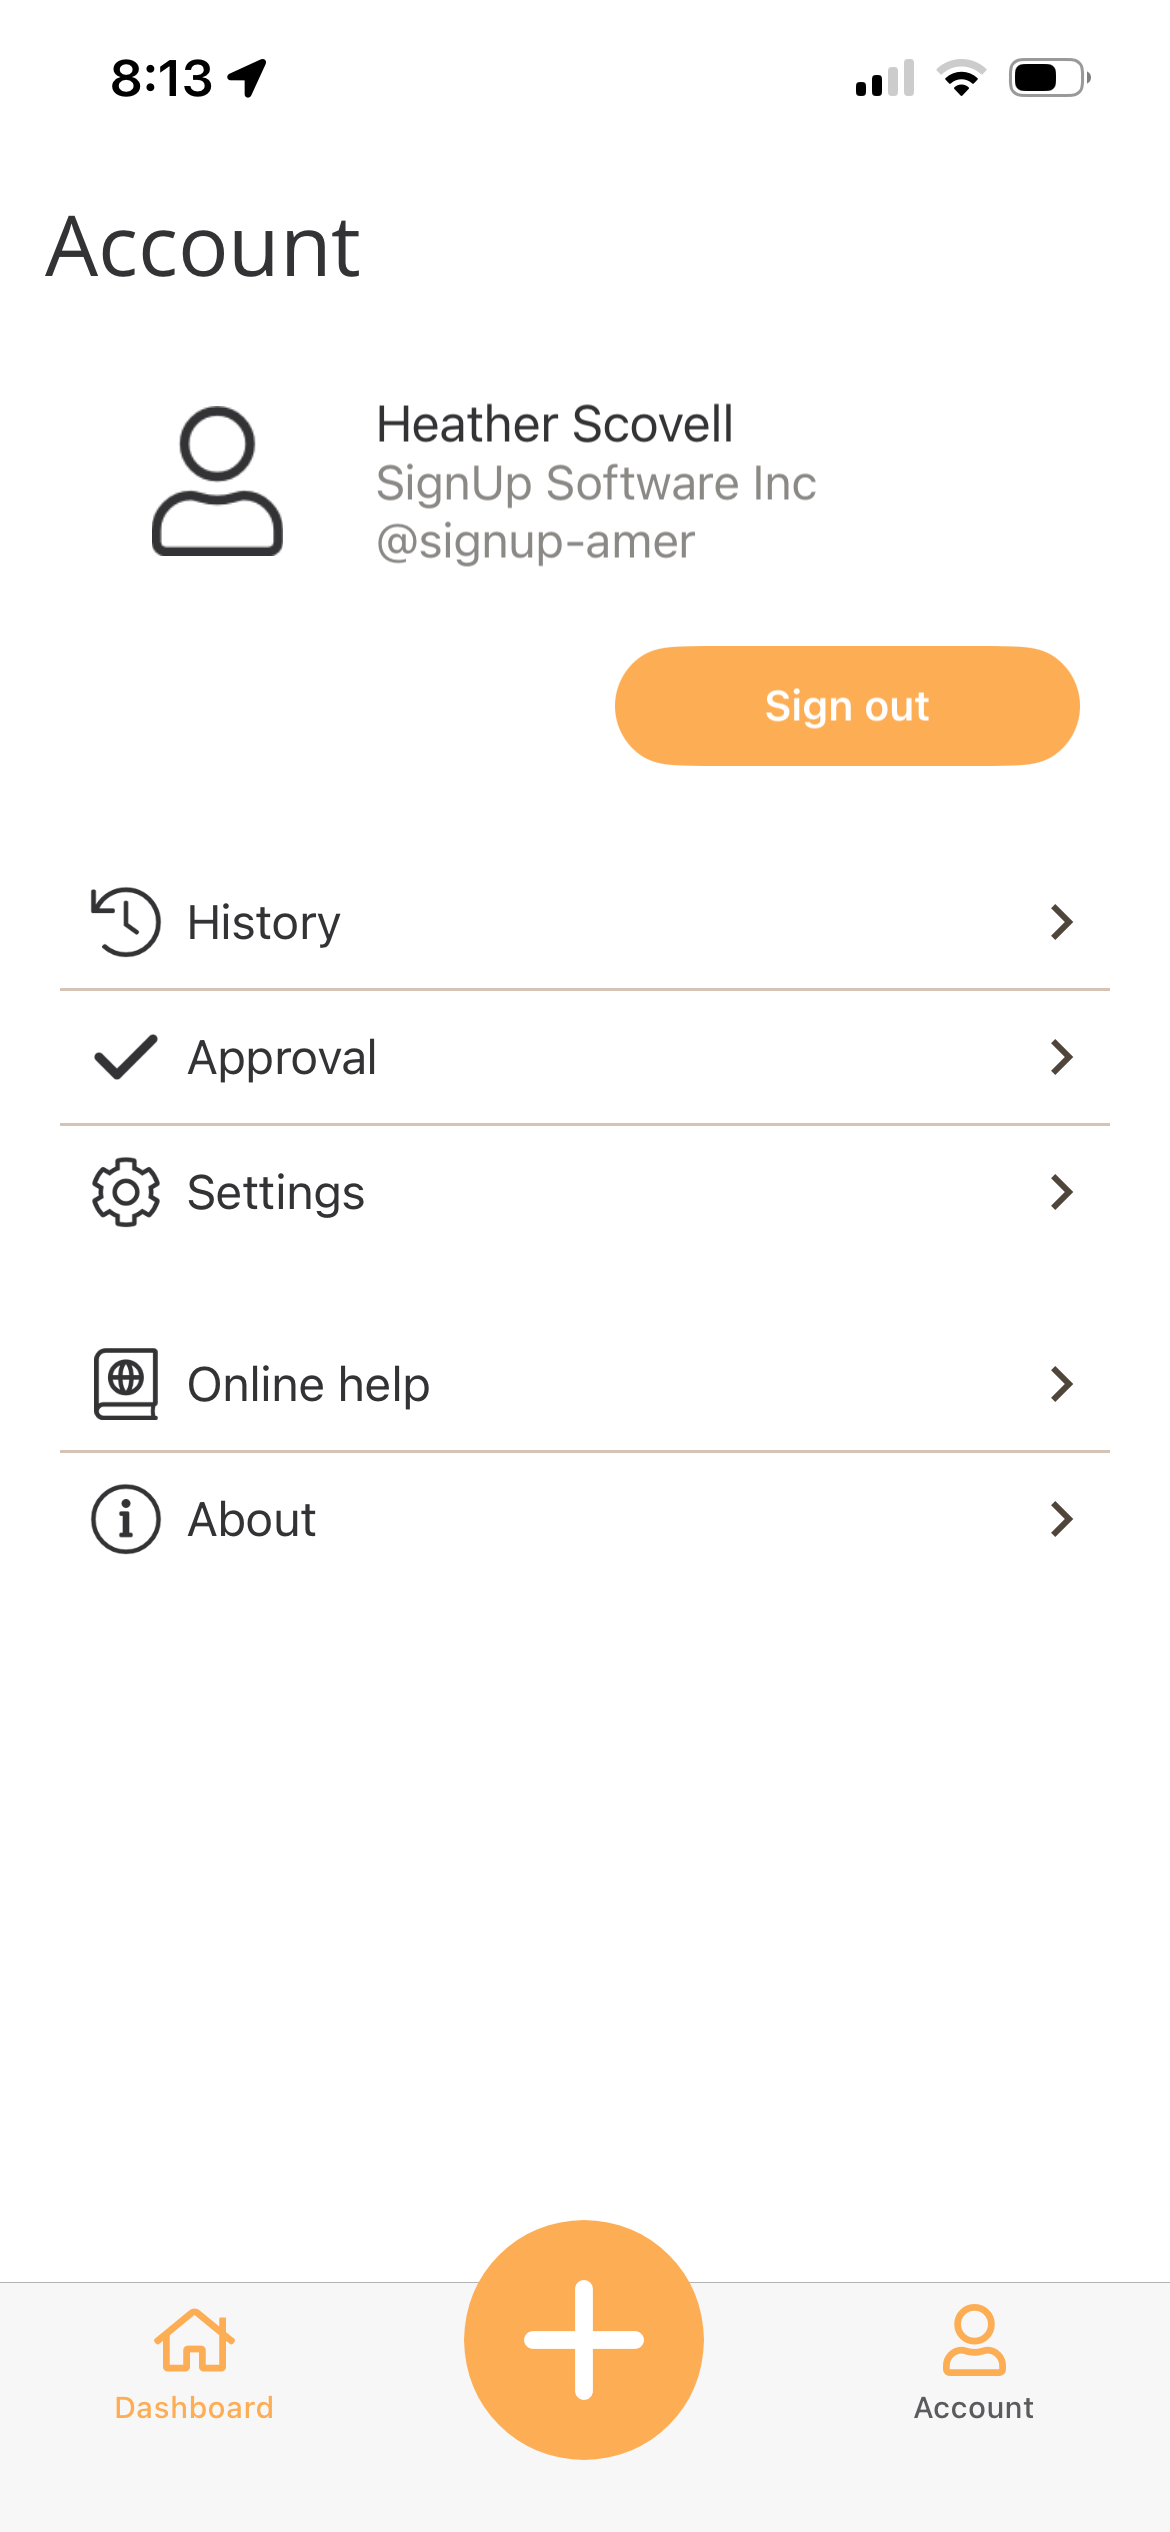
Account
The Account menu, located on the bottom-right side of the screen, provides access to the following options:
- Sign Out: Log out of the app.
- History: View previously submitted expenses and mileage.
- Settings:
- Online Help: Access the Travel & Expense online user manual.
- About: Travel & Expense version, Customer Id, Support Id and Terms & Conditions.
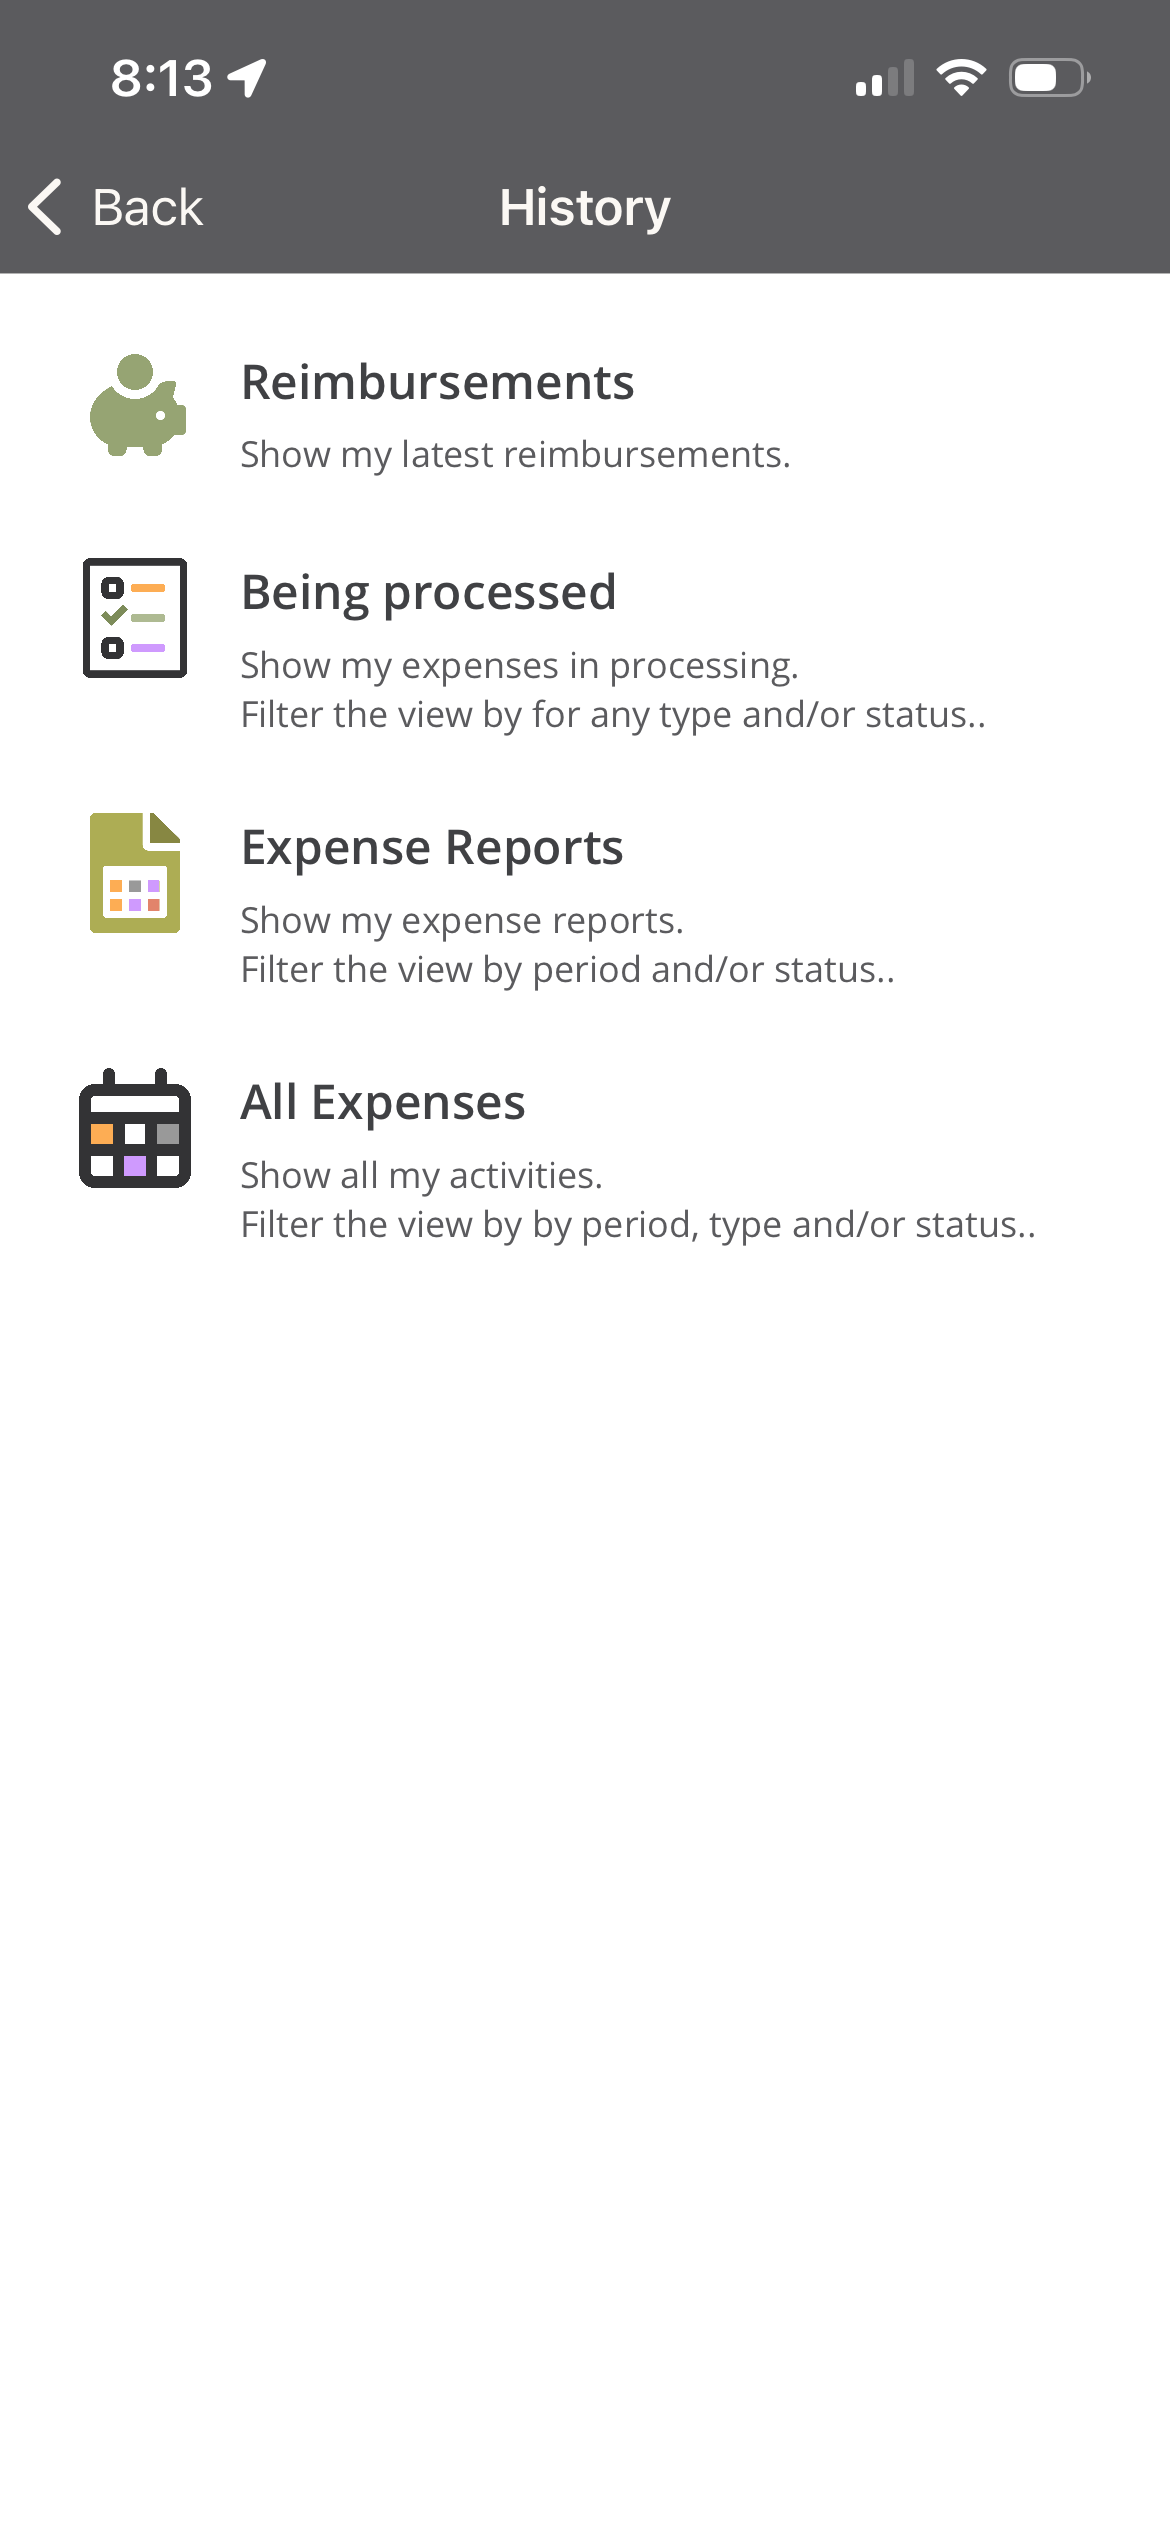
History
The History page provides a centralized view of your past and current expense activity. From this page, you can quickly access reimbursements, expenses that are still processing, submitted expense reports, or all expenses in one place.
Accessing the History Page From the mobile app navigation, select Account > History
Reimbursements Select Reimbursements to view your most recent reimbursements.
- Displays expenses that have been approved and reimbursed
- Allows you to review reimbursement amounts and status
- Helpful for confirming when payments have been completed
Being Processed
- Select Being Processed to view expenses that are currently in progress.
- Includes expenses that have been submitted but are not yet finalized.
- You can filter the list by:
- Expense type
- Expense status
- Useful for tracking where an expense is in the approval or processing workflow.
Expense Reports Select Expense Reports to view your submitted expense reports.
- Displays expense reports by reporting period
- Shows the current status of each report (for example, submitted, approved, or rejected)
- Filters allow you to narrow results by:
- Period
- Status
All Expenses Select All Expenses to view a complete list of your expense activity.
- Includes all expenses regardless of type or status
- Filters allow you to refine the list by:
- Period
- Expense type
- Status
- Best option for reviewing historical expense data in one consolidated view
Approval
Approvals cannot currently be completed within the mobile application. When you select Approval, a web browser will open on your mobile device and redirect you to the Travel & Expense Web Portal, where you can review and complete pending approvals.
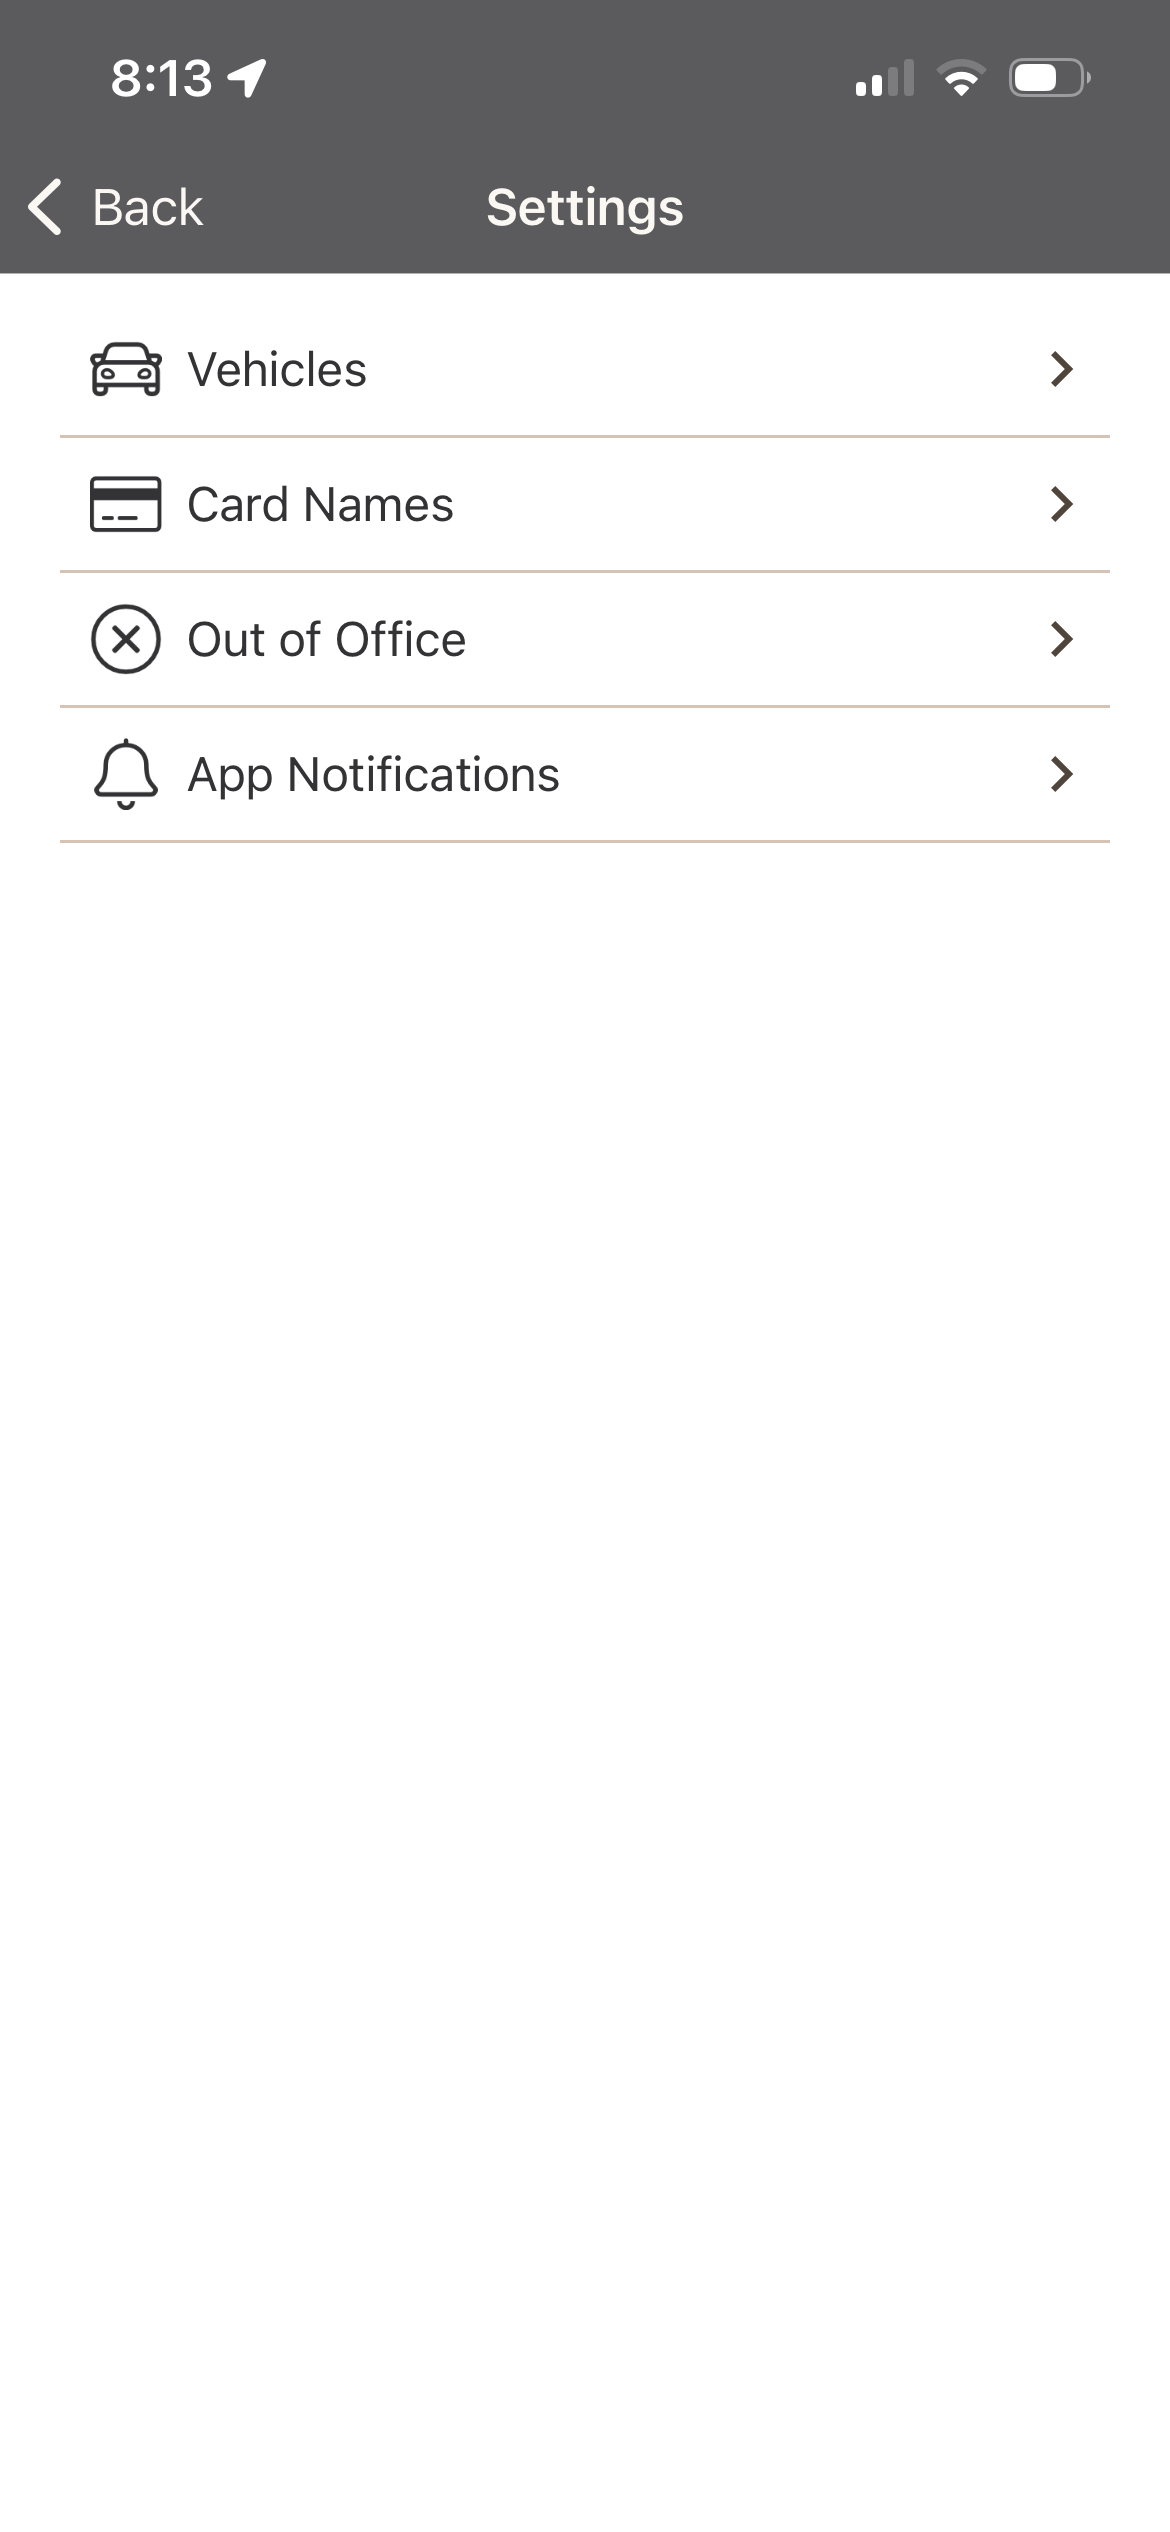
Settings
The Settings menu allows users to manage personal configurations and review assigned resources within the portal. Each option provides control over key aspects of your account.
-
Vehicle Assignments – View and manage vehicles assigned to your account. For each vehicle, the following information is available:
- Description: Name or description of the vehicle
- Vehicle Type: Type of vehicle
- Reimburse Mileage: Indicates whether mileage reimbursement is enabled.
- Use as Default: Indicated is the vehicle is your default for mileage entries.
- Delete: Remove the vehicle from your account if no longer needed.
-
Card Names – Displays the credit cards assigned to your account. You can review and edit card details as needed:
- Card Type: Type of card (e.g., corporate, personal)
- Card No.: Last four digits of the card
- Card Name: User-defined card name for easy identification
- Edit: Modify card details
-
Out of Office – Set up an out-of-office period so the system knows when you are unavailable:
- I am Out of Office: Check this box to enable out-of-office status
- From Date: Enter the start date of your absence
- To Date: Enter the date you will return
-
App Notification - Control which notifications you receive from the portal:
- When Expense is Approved
- When Expense Report is Approved
- When Expense is Reimbursed