Setup-Assistenten ausführen
Zweck
Der Setup-Assistent dient je nach Ihrem Stand in der Einrichtung zwei Zwecken:
| Szenario | Was der Assistent tut | Angezeigte Schritte |
|---|---|---|
| Erstes Unternehmen in einer neuen Business-Central-Umgebung | Registriert die Business-Central-Instanz bei der A4D-Cloud, erteilt die Einwilligung, setzt die Authentifizierungsmethode und aktiviert das Unternehmen | Alle Schritte |
| Weiteres Unternehmen in einer bereits verbundenen Business-Central-Umgebung | Aktiviert das Unternehmen für die Cloud-Synchronisierung – die Business-Central-Instanz ist bereits registriert und die Einwilligung bereits erteilt | Überspringt „Lizenz prüfen", „Einwilligung erteilen", „Business Central registrieren"; geht direkt zu Lokalisierung → Authentifizierung → Unternehmen aktivieren |
→ Konzept: Architektur
Vor dem Start
- Lizenzschlüssel und Kunden-ID bereithalten (nur bei Ersteinrichtung) – siehe Voraussetzungen
- Sie müssen der globale Administrator der Business-Central-Umgebung sein, wenn Sie diese zum ersten Mal verbinden (Einwilligungsschritt)
- Wechseln Sie zu dem Unternehmen, das Sie aktivieren möchten, bevor Sie den Assistenten öffnen
Assistenten starten
Der Assistent wird automatisch gestartet, wenn Sie Expense Management zum ersten Mal installieren. Um ihn erneut auszuführen – für ein neues Unternehmen oder wenn er vorzeitig geschlossen wurde:
- Wechseln Sie in Business Central zu dem Unternehmen, das Sie verbinden möchten
- Suchen Sie nach AppsForDynamics365 Portal Configuration
- Klicken Sie auf Verbindung konfigurieren
Assistentenschritte
Willkommen
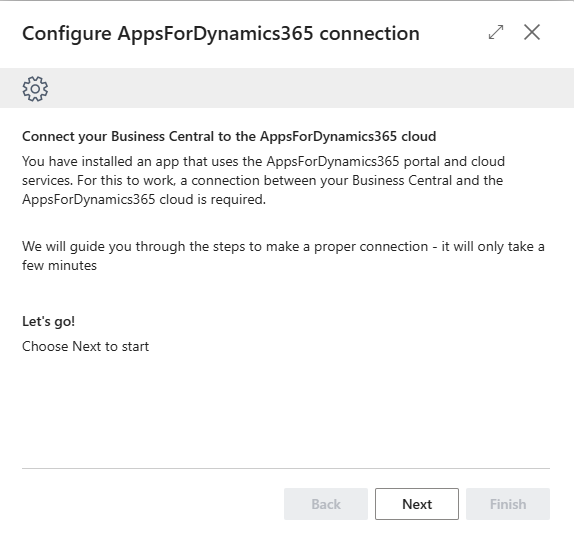
Der Eröffnungsbildschirm bestätigt, was der Assistent tun wird. Klicken Sie auf Weiter, um zu beginnen.
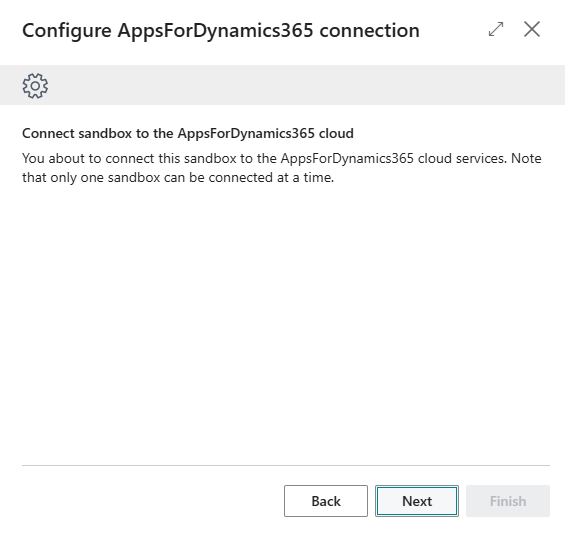
Sandbox-Umgebungen: Wenn Sie eine Sandbox verbinden, erscheint an diesem Punkt ein Hinweis: „Note that only one sandbox can be connected at a time." Klicken Sie auf Weiter, um fortzufahren.
Lizenz prüfen
Dieser Schritt erscheint auf Systemen, die noch nicht konfiguriert wurden. Geben Sie die Zugangsdaten ein, die Sie von Truvio erhalten haben:
| Feld | Wo zu finden |
|---|---|
| Kunden-ID | In der Bestätigungs-E-Mail, die beim Kauf empfangen wurde |
| Lizenzschlüssel | Gleiche Quelle – eine GUID im Format xxxxxxxx-xxxx-xxxx-xxxx-xxxxxxxxxxxx |
Klicken Sie auf Weiter. Der Assistent prüft die Zugangsdaten gegen die A4D-Cloud, bevor er fortfährt. Wenn die Validierung fehlschlägt, prüfen Sie auf zusätzliche Leerzeichen und bestätigen Sie, dass Sie den Schlüssel für das richtige Produkt verwenden.
Auf einem bereits konfigurierten System (z. B. beim erneuten Ausführen des Assistenten) wird dieser Schritt übersprungen und die gespeicherten Zugangsdaten werden verwendet.
Einwilligung erteilen
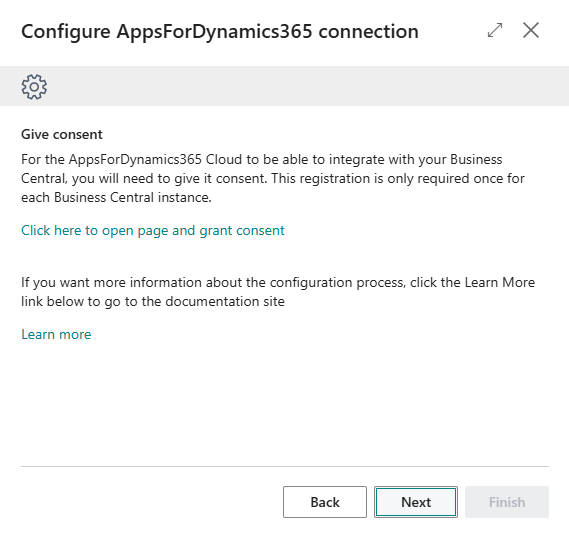
Dieser Schritt gewährt der A4D-Cloud die Berechtigung, den Business-Central-Web-Service aufzurufen. Er ist einmal pro Business-Central-Umgebung erforderlich und kann nicht übersprungen werden.
- Klicken Sie auf Hier klicken, um die Seite zu öffnen und die Einwilligung zu erteilen
- Klicken Sie auf der sich öffnenden Microsoft-Entra-Anwendungsseite auf Einwilligung erteilen, dann auf Akzeptieren
- Schließen Sie die Entra-Seite und kehren Sie zum Assistenten zurück
- Klicken Sie auf Weiter
Wer kann das tun: Der Einwilligungsschritt erfordert einen globalen Administrator von Business Central. Wenn Sie keiner sind, halten Sie hier an und übergeben Sie an die richtige Person, bevor Sie fortfahren.
Lokalisierung
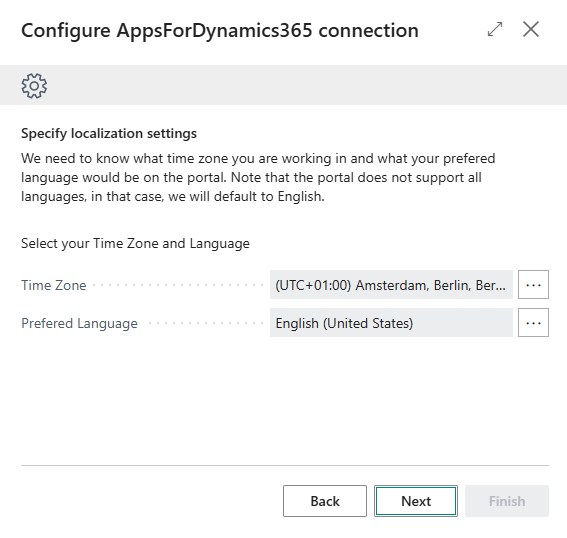
Legen Sie die Standardeinstellungen für die Portal-Anzeige fest.
| Feld | Was einzugeben ist |
|---|---|
| Zeitzone | Die Zeitzone, in der Ihre Organisation arbeitet. Wird verwendet, um Daten korrekt im Portal anzuzeigen. |
| Bevorzugte Sprache | Die Standardsprache für die Portal-Benutzeroberfläche. Nicht alle Sprachen werden unterstützt – nicht unterstützte Auswahlen fallen auf Englisch zurück. |
Klicken Sie auf Weiter.
Authentifizierungsmethode

Wählen Sie, wie Mitarbeiter sich beim A4D-Portal anmelden werden.
| Option | Wann zu wählen |
|---|---|
| Microsoft-Anmeldung | Empfohlen für die meisten Organisationen. Mitarbeiter verwenden ihre bestehenden Microsoft-365-Konten – kein separates Passwort zu verwalten. Anmeldenamen müssen E-Mail-Adressen sein. |
| Benutzername / Passwort | Für Mitarbeiter ohne Microsoft-Konten. Jeder Benutzer benötigt einen in Cloud Configuration erstellten Benutzernamen und ein Passwort. |
| Gemischter Modus | Ermöglicht beide Methoden in derselben Umgebung. Nützlich, wenn einige Mitarbeiter Microsoft-Konten haben und andere nicht. Fügt einigen Verwaltungsaufwand hinzu. |
Klicken Sie auf Weiter.
Sie können die Authentifizierungsmethode nach der Einrichtung über die Portal-Konfigurationsseite ändern – siehe Referenz: Portal-Konfiguration.
Business-Central-Instanz registrieren
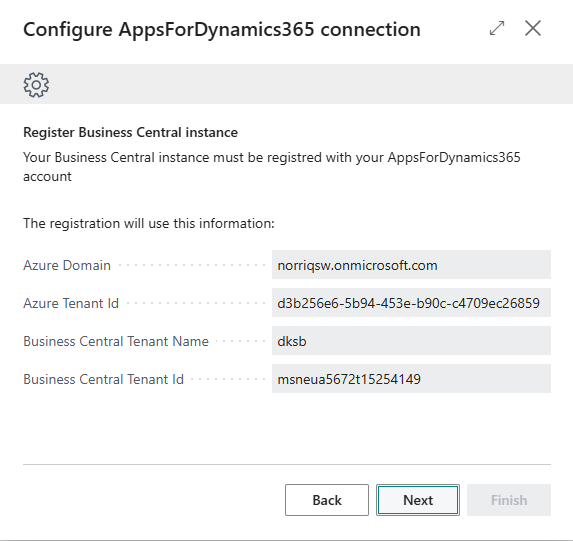
Der Assistent liest Ihre Business-Central-Umgebungsdetails automatisch aus. Bestätigen Sie, dass die angezeigten Informationen korrekt sind.
| Feld | Beschreibung |
|---|---|
| Azure-Domäne | Ihre Microsoft-365-Domain (z. B. ihrunternehmen.onmicrosoft.com) |
| Azure-Mandanten-ID | Ihre Azure-Aktiv-Directory-Mandanten-GUID |
| Business-Central-Mandantenname | Ihr Business-Central-Umgebungsname |
| Business-Central-Mandanten-ID | Ihre Business-Central-Mandantenkennung |
Es ist keine Eingabe erforderlich. Klicken Sie auf Weiter, um zu registrieren.
Unternehmen aktivieren
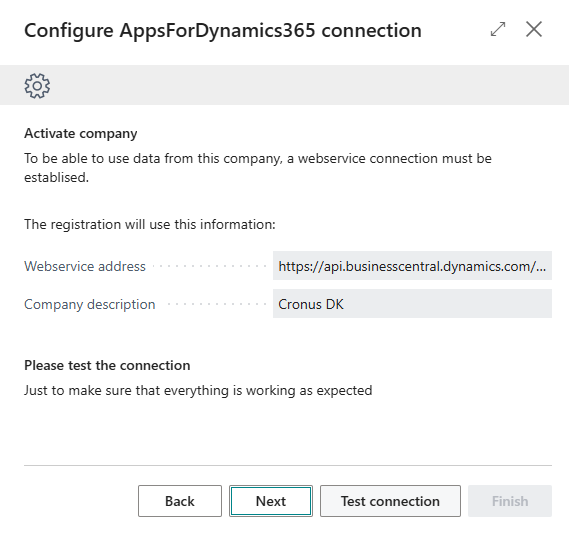
Dieser Schritt stellt die Web-Service-Verbindung für das aktuelle Unternehmen her.
| Feld | Beschreibung |
|---|---|
| Webservice-Adresse | Automatisch ausgefüllt. Kann nicht geändert werden. |
| Unternehmensbezeichnung | Der Name, den die A4D-Cloud zur Identifizierung dieses Unternehmens verwendet. Standardmäßig der Business-Central-Unternehmensname. Bei Bedarf bearbeiten. |
Klicken Sie auf Verbindung testen, bevor Sie fortfahren. Wenn der Test erfolgreich ist, klicken Sie auf Weiter.
Wenn der Test fehlschlägt, überprüfen Sie, ob die Einwilligung im früheren Schritt erfolgreich erteilt wurde, und bestätigen Sie, dass Ihr Lizenzschlüssel und Ihre Kunden-ID auf der Portal-Konfigurationsseite korrekt sind.
Anmeldungen für Business-Central-Benutzer hinzufügen
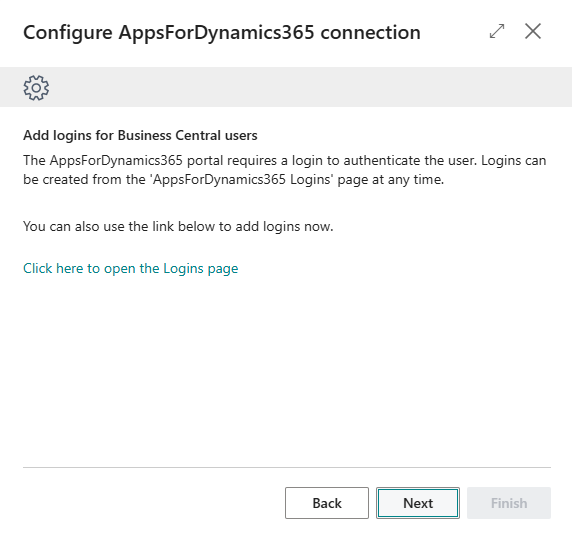
Portal-Anmeldungen sind Benutzerkonten, die Mitarbeitern ermöglichen, sich beim A4D-Portal anzumelden. Jeder Mitarbeiter, der Portal-Zugang benötigt, braucht eine.
Sie können jetzt über den Link auf dem Bildschirm Anmeldungen erstellen oder dies später tun. Klicken Sie auf Weiter, um fortzufahren.
→ Portal-Anmeldungen erstellen
Fertig

Ihre Business-Central-Umgebung ist jetzt mit der AppsForDynamics365-Cloud verbunden. Klicken Sie auf Fertigstellen.
Nach dem Assistenten
- Portal-Anmeldungen für jeden Mitarbeiter erstellen – siehe Portal-Anmeldungen erstellen