Vendor mapping
In short
Vendor Mapping links a merchant name - identified by SmartExtract on a receipt - to a vendor card in Business Central. Once a merchant is mapped, expense spend with that merchant is attributed to the vendor, even though the cost came in through an employee expense claim rather than a purchase invoice.
Why it matters
Expenses incurred through employee claims are normally invisible in vendor statistics - the spend sits on G/L accounts, not against any vendor. Mapping merchants to vendors closes that gap and gives finance a complete picture of spend per vendor: purchase invoices and employee-expensed purchases in one place. That visibility supports supplier negotiation, spend analysis, and consolidated supplier management.
How it works
You confirm or set the mapping on the expense record during review before posting. When the mapped expense is posted, the amount is reflected on the vendor as a purchase, so vendor statistics and reporting include expense-based spend.
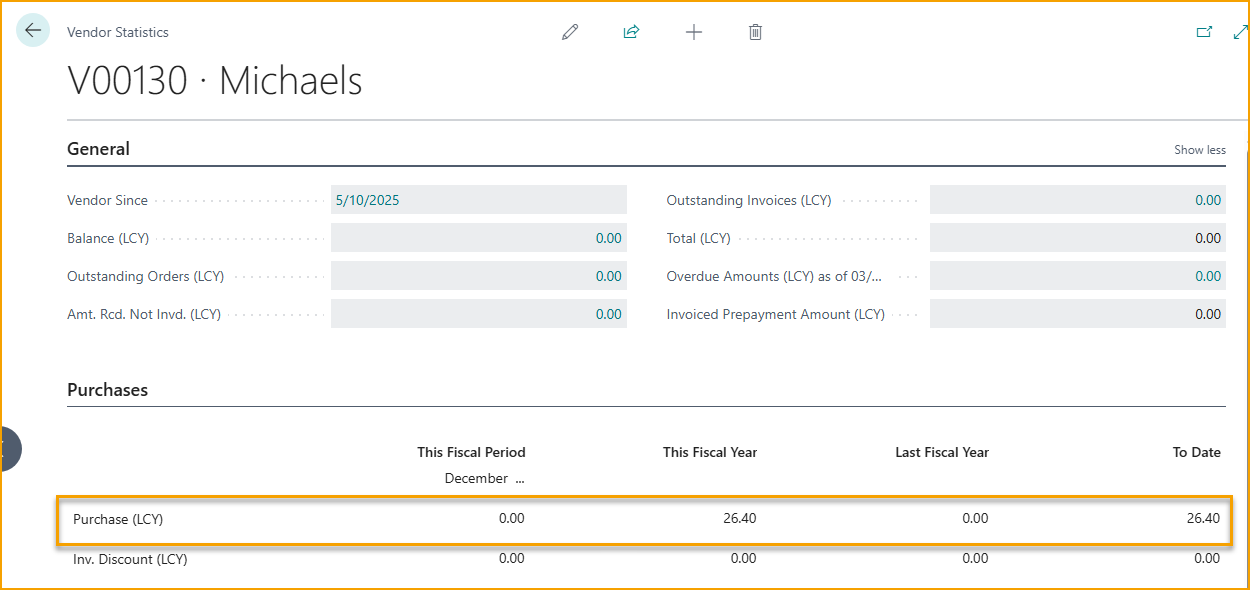
Mapping does not create an open payable on the vendor. When a mapped expense is posted, TEM first creates a vendor entry of type Purchase, balanced against a temporary interim account specified in TEM setup. It then posts a second vendor entry with the opposite sign that applies to - and so settles - the first entry, returning the amount to the interim account. The net effect: the amount appears as a purchase in the vendor's statistics, but the two entries are fully applied, so the vendor carries no outstanding balance from the expense.
Viewing and removing mappings
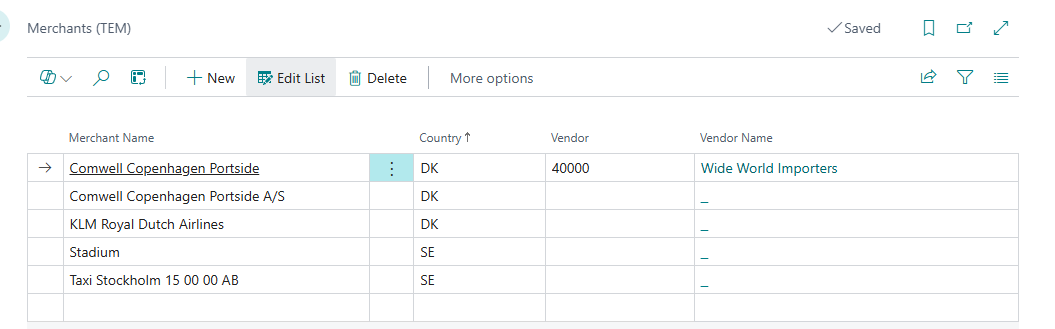
A merchant only needs mapping once; the link is reused for future expenses from the same merchant. Search Business Central for Merchants to open the Merchants (TEM) list - every merchant SmartExtract has identified, with the Vendor it is mapped to. From here you can review a merchant's mapping, point it at a different vendor, or delete the merchant to remove the mapping.
Related
- How-to: Review expense before posting
- Concept: SmartExtract
- Concept: Posting and GL