Post approved items
Goal
Move approved expenses, mileages, and per diems from the approval queue to the general ledger in Business Central.
Before you start
- Items must have status Approved (shown in green) - only approved items can be posted
- You need posting permissions in Business Central
- Review any SmartExtract banner before posting - a blue banner signals that AI-extracted lines should be verified for accuracy before committing
Steps
-
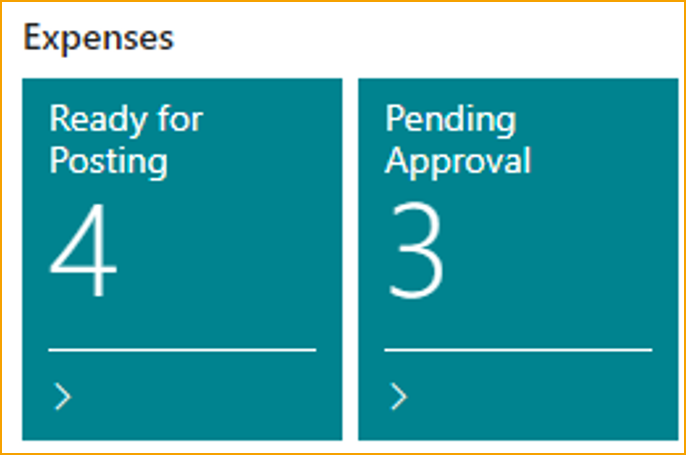
In Business Central, go to Ready for posting (TEM) - this list shows all approved expenses, mileages, and per diems waiting to be posted
-
Review the item. If GL accounts, dimensions, or posting dates need adjusting, open the record and edit before posting - see Review expense before posting
-
To post a single item: select it and press F9 or click Post

-
To post multiple items at once: select them using the checkbox column, then click Post
Mileage and per diems are posted the same way from the same Ready for posting list.
What to check
| Check | Where to look |
|---|---|
| Debit posted to the correct expense GL account | GL entries for the posted item |
| Credit posted to the correct Balance Type account (employee payable or card liability) | Same GL entries |
| Posting date is in an open period | If posting fails, check the If Posting Date is in Closed Period setting in TEM Setup |
Other actions on the expense
| Action | What it does |
|---|---|
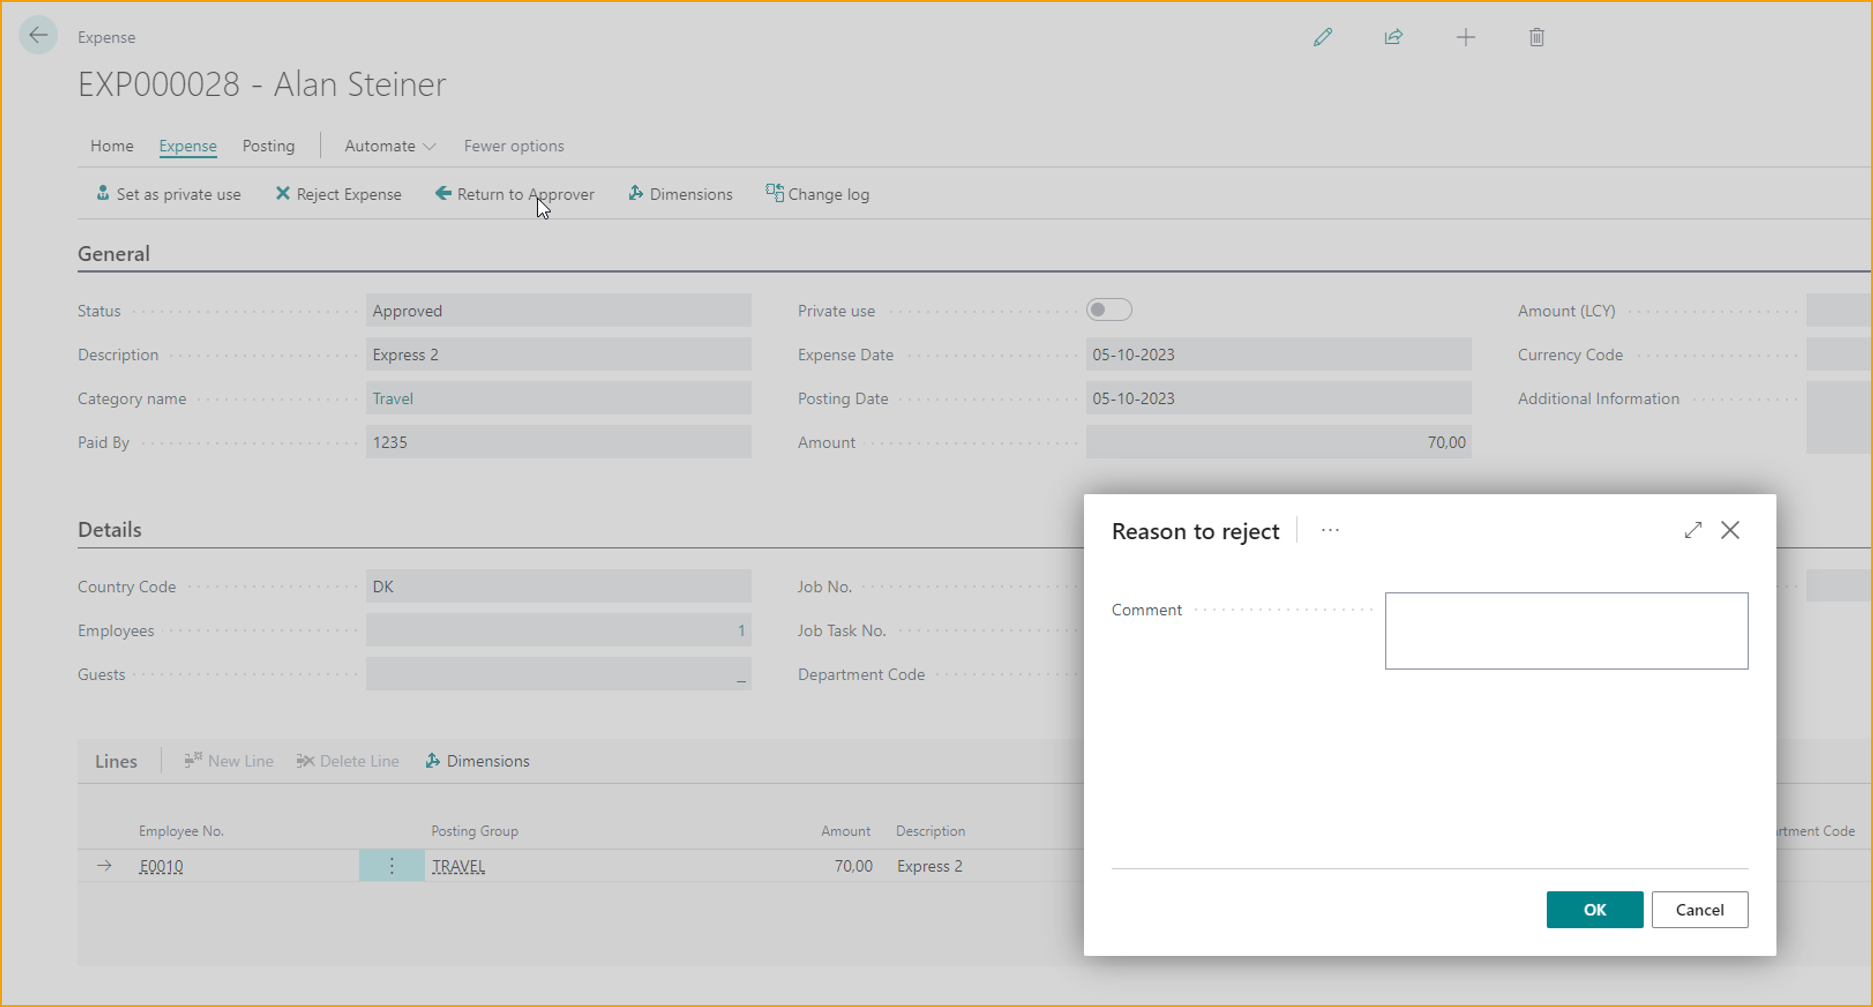
| Reject | Sends the item back to the employee. A reason is required. |
| Force Approval | Overrides approval conditions and approves the item. A comment is required. |
| Set Reimbursement Cap | Overrides the reimbursable amount when a submission exceeds the employee profile cap - see Review expense before posting. |
| Set as private use | Marks a company card expense as non-reimbursable - see Process a private card expense. |
| Add Approver | Adds an extra approver and reopens the expense for one more approval. A comment is required - see Add an approver to an approved expense. |
| Mark as Handled | Removes a company card expense and archives the linked transaction as handled elsewhere. |
Related
- Concept: Expense lifecycle
- Concept: Posting and GL
- Next: Process reimbursements