General Description
Pagero incoming and outgoing invoices will handle the transportation between D365FO and an external party when sending outgoing and receiving invoices in the Pagero (PUF) format. Electronic documents in D365FO must be set up for Pagero outgoing invoices.
The ExFlow Document Integration platform is added as a new module in D365FO and will handle the transportation of the Pagero Invoice from and to D365FO using a Pagero broker and the invoice will be sent to the customers that shall receive the invoices. With this new module you will also get a good overview of your Pagero invoices and what state they are in.
Using Pagero as invoice broker will allow you to send and receive invoices from/to networks that are not interoperable with Peppol network and comply with CTC flows that might be required in your country. Please, make sure that your D365 Finance environment has the functionality to handle the CTC processes.
The ExFlow Document Integration platform is included in the ExFlow module. You subscribe to the solution via Microsoft Marketplace and can choose the plan that best suits your needs. The cost is based per invoice and is not included in the annual ExFlow fee.
Objectives of ExFlow Document integration and Pagero incoming and outgoing invoices
The ExFlow document Integration platform is a new product within the ExFlow family and will in this version handling incoming and outgoing e-invoices through an integration with Pagero network. More functionality within this new module will be added in the future when CTC flows are required and handling of notifications from Tax office applies.
Prerequisites for ExFlow Document Integration
- Requires new code to be installed to gain access to the new menu elements. Make sure you also have latest versions of ExFlow AP and ExFlow Core modules.
- D365 F&O Electronic Reporting, Reporting Configurations must be setup to generate Pagero format invoices.
- A subscription to a Marketplace offer must be setup to be able to use the new ExFlow e-Invoicing (Pagero network) Service.
Menus
When installing the new model two new menu exit is added below ExFlow. ExFlow Core and ExFlow Document Integration. The ExFlow Core menu exit is used to handle the subscription. (This is where you sign up and pay for the new functionality via Microsoft Marketplace).
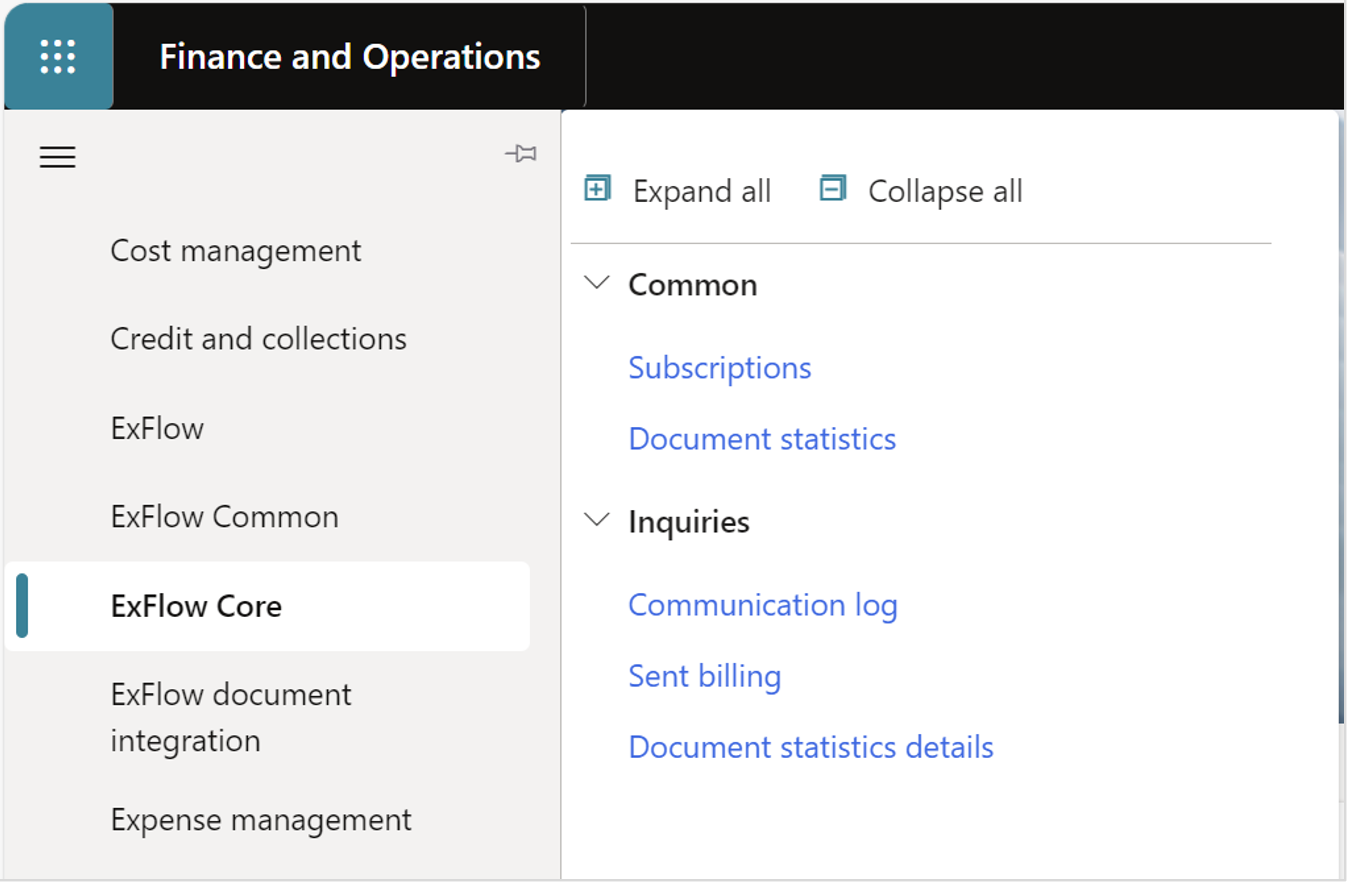
The new e-invoicing through Pagero network functionality is found under the ExFlow Document Integration menu.
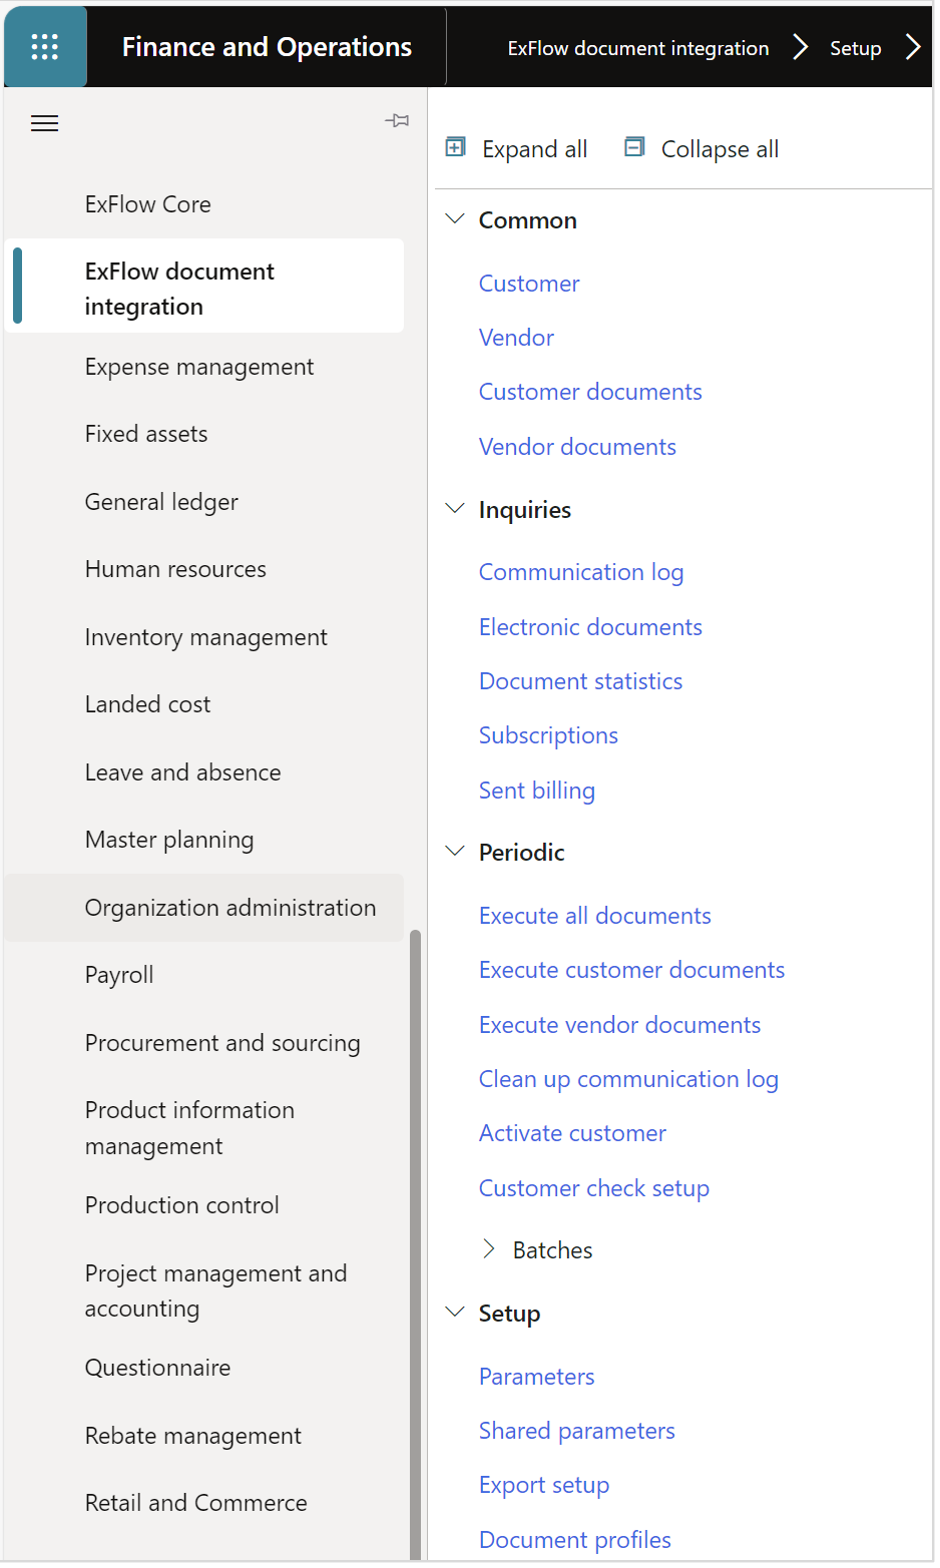
Setup
ExFlow Document Integration Security roles
System administration | Users | Users
| Role name | Description |
|---|---|
| ExFlow DI Admin | Grants access to everything ExFlow Document Integration. |
| ExFlow DI AP setup | Grants access to everything related to setting up vendor and receiving e-invoices. |
| ExFlow DI AP user | Grants access only to the incoming documents form with the manual buttons (Note: no batch jobs since those would have been set up already by the AP setup). |
| ExFlow DI AR setup | Grants access to everything related to setting up customers and sending e-invoices. |
| ExFlow DI AR user | Grants access only to the outgoing document form with the manual buttons (Note: no batch jobs since those would have been set up already by the AR setup). |
| ExFlow DI AR and AP setup | Grants access to both ExFlow Document Integration setup on AR and AP. |
| ExFlow DI Troubleshooting | Grants access to everything ExFlow Document Integration except batch jobs. |
Connect to the subscription for the Pagero Service
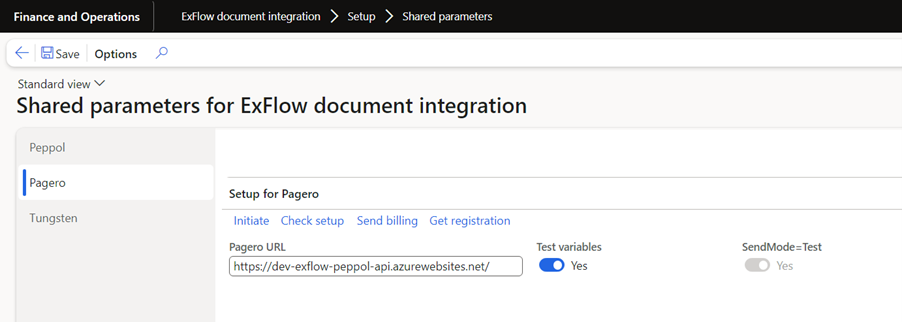
ExFlow Document integration | Setup | Shared parameters
- The first step of setting up the Pagero service is to press the “Initiate” button which will fill in the necessary variables. This also creates a new Pagero line in the subscription table. Note that before pressing initiate you should decide whether you are running a testing environment, or a production environment, this will decide what kind of marketplace offer you will get.
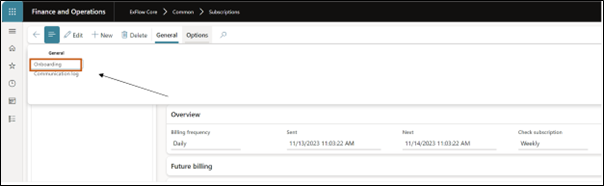
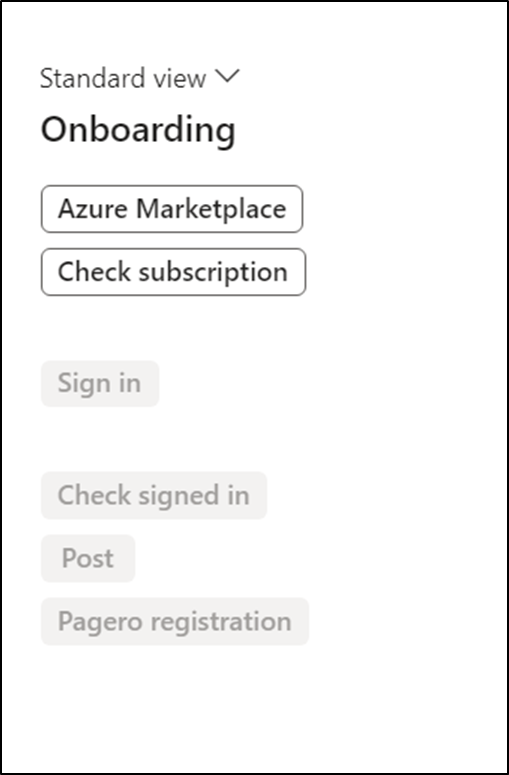
- Select General/Onboarding to start the subscription for the Pagero Service at Microsoft Marketplace.
ExFlow Core | Common | Subscriptions
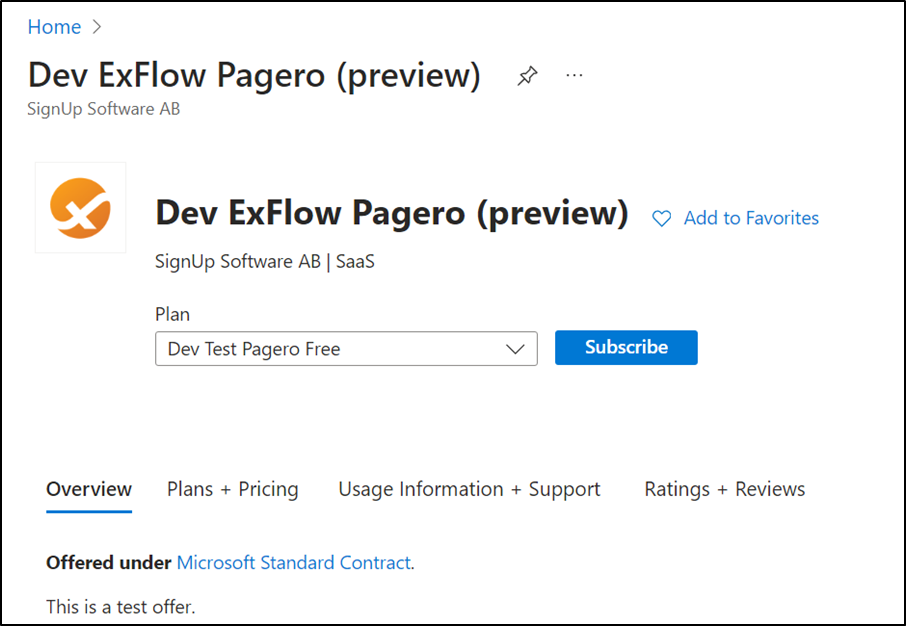
Push on the button Azure Marketplace and follow the instructions to subscribe to an offer.
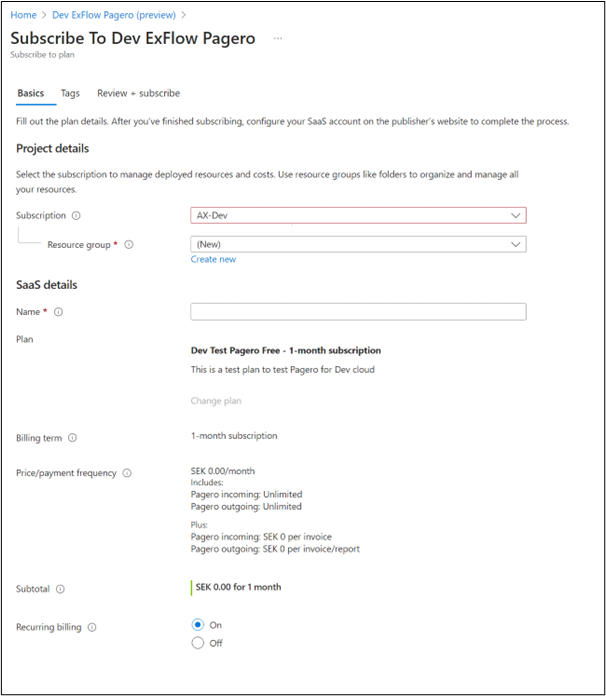
A web page in Microsoft Azure is opened with the Pagero E-Invoicing offer. Choose your desired plan and follow the instructions on the web page. Make sure you have the correct permissions in your Azure tenant to do purchases in Azure Marketplace.
Fill in the Resource group, Name and click Review+subscribe.
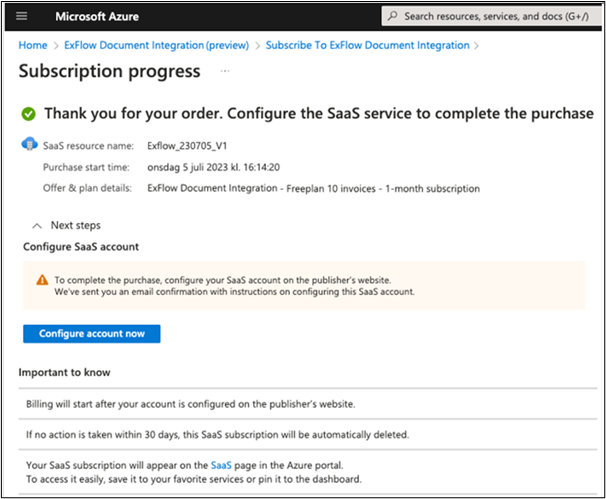
Back at the subscription form:
- Push the "Check subscription" button and please notice that the text has changed to “Subscribed”.
- Push the button “Sign in” and then “Post”, ExFlow Document Integration is now connected to a subscription.
- After the post button is pressed the subscription shall be set to onboarded = yes.

- Finally press the “Pagero registration” button and when being redirected to Pagero Online, login there to connect the token to your subscription.
- For this step, it is mandatory to use the Pagero integration accounts created by your Pagero consultant.
- Use a different account per environment. Do not use the same account for your production environment and for your UAT/Test environment. Contact your Pagero consultant in case you need more integration accounts for more environments or need to remember the password.
- Do not use Pagero users that you may have created in Pagero Online. These type of accounts have Pagero password policies that may break your integration and stop the e-invoicing flows.
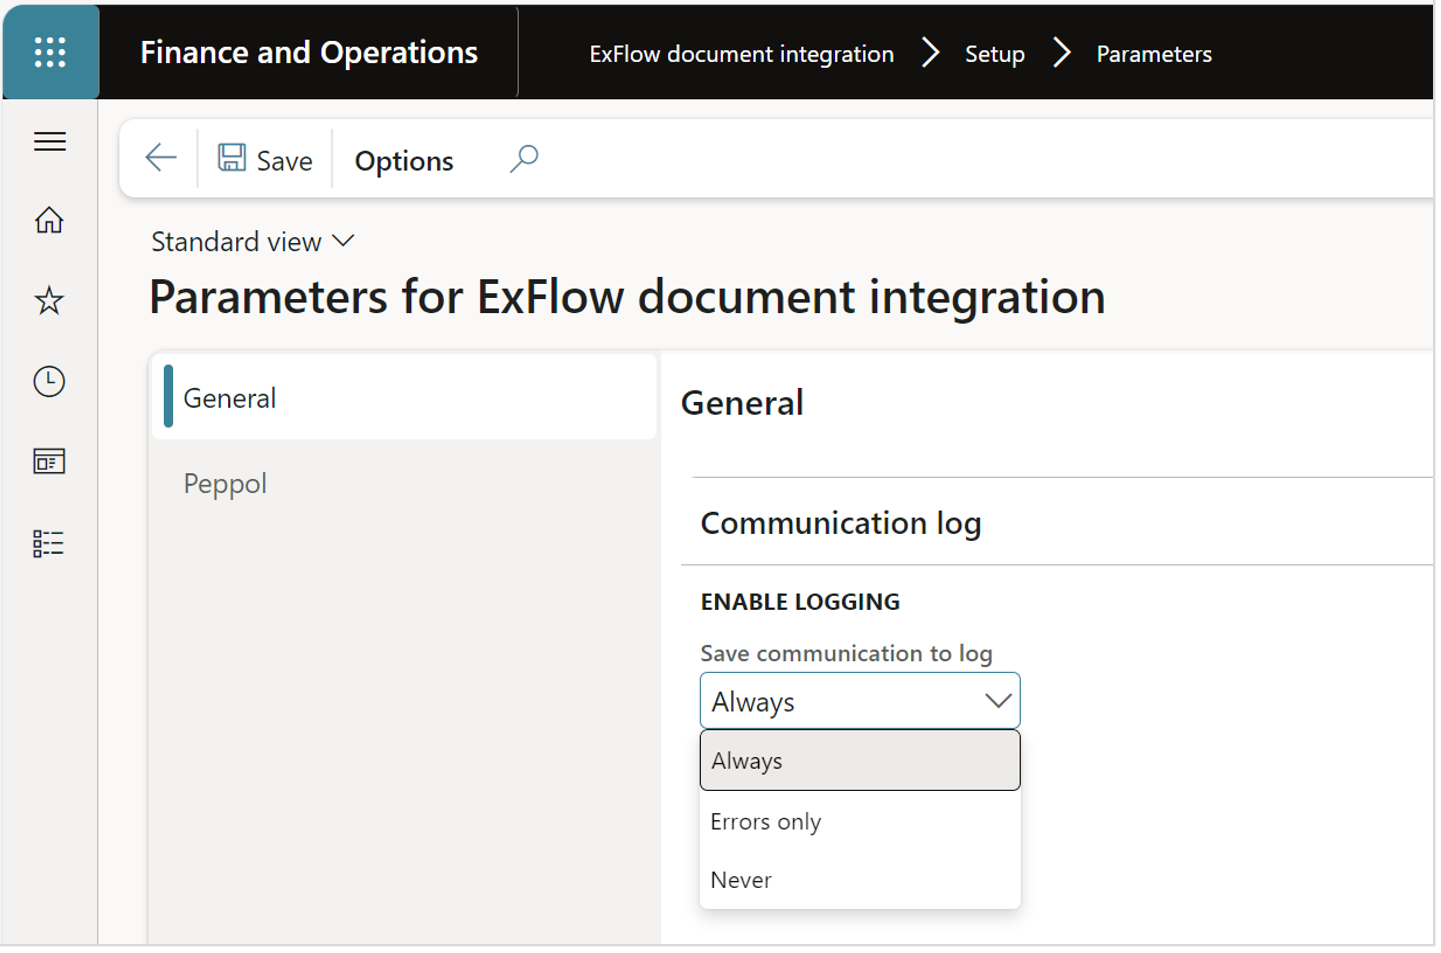
Parameters
ExFlow Document integration | Setup | Parameters
General
Select the type of logging you prefer, when testing the system it is recommended to set logging to "Always" and when running in production it should be set to Errors only.
Pagero
Go to the Pagero tab and press “Get Company ID”. This will match your legal entity to the one set up in Pagero Online and give you the id (which will be used automatically when sending invoices). Additionally, you can setup a default import method that will be used in case a vendor doesn’t have an import method assigned.

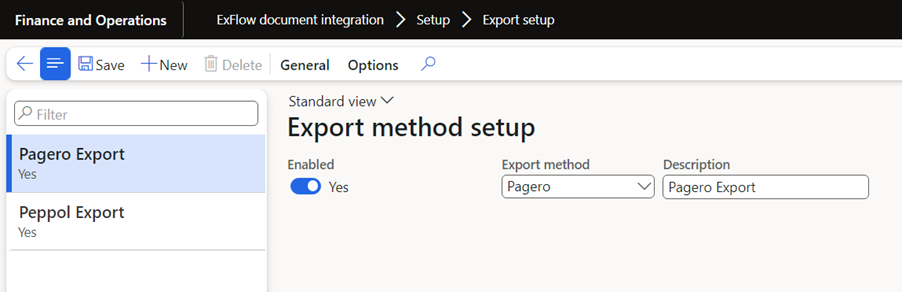
Create export method
ExFlow document integration | Setup | Export setup
Create a new export method for Pagero.
- Select New
- Select the Export method - In this case Pagero
- Add the description
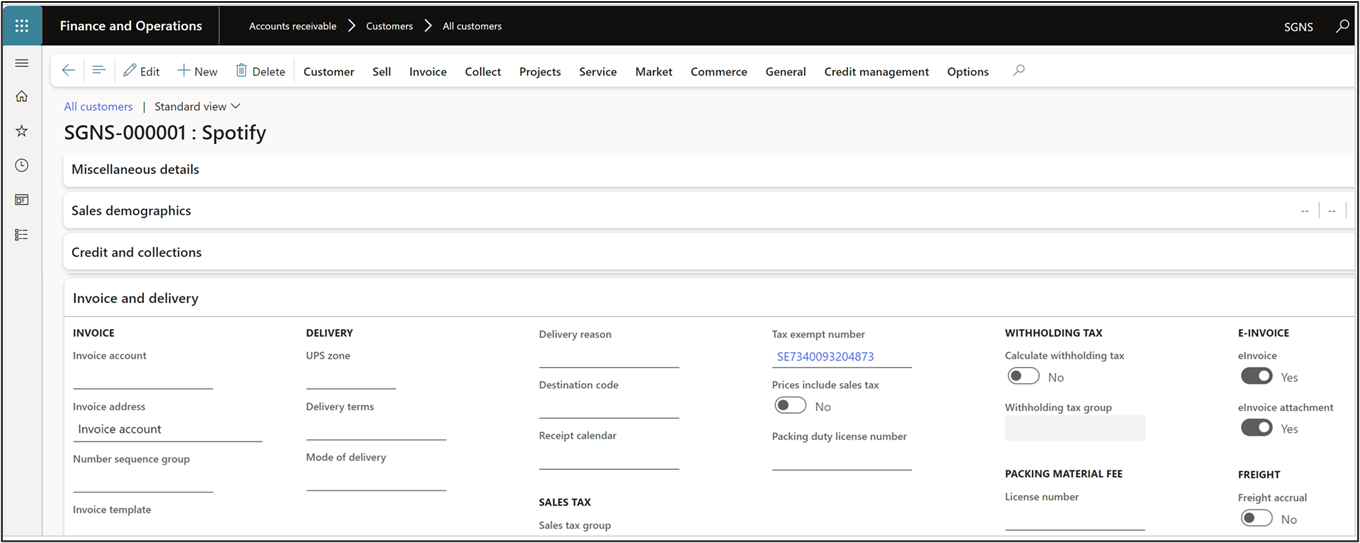
Customers
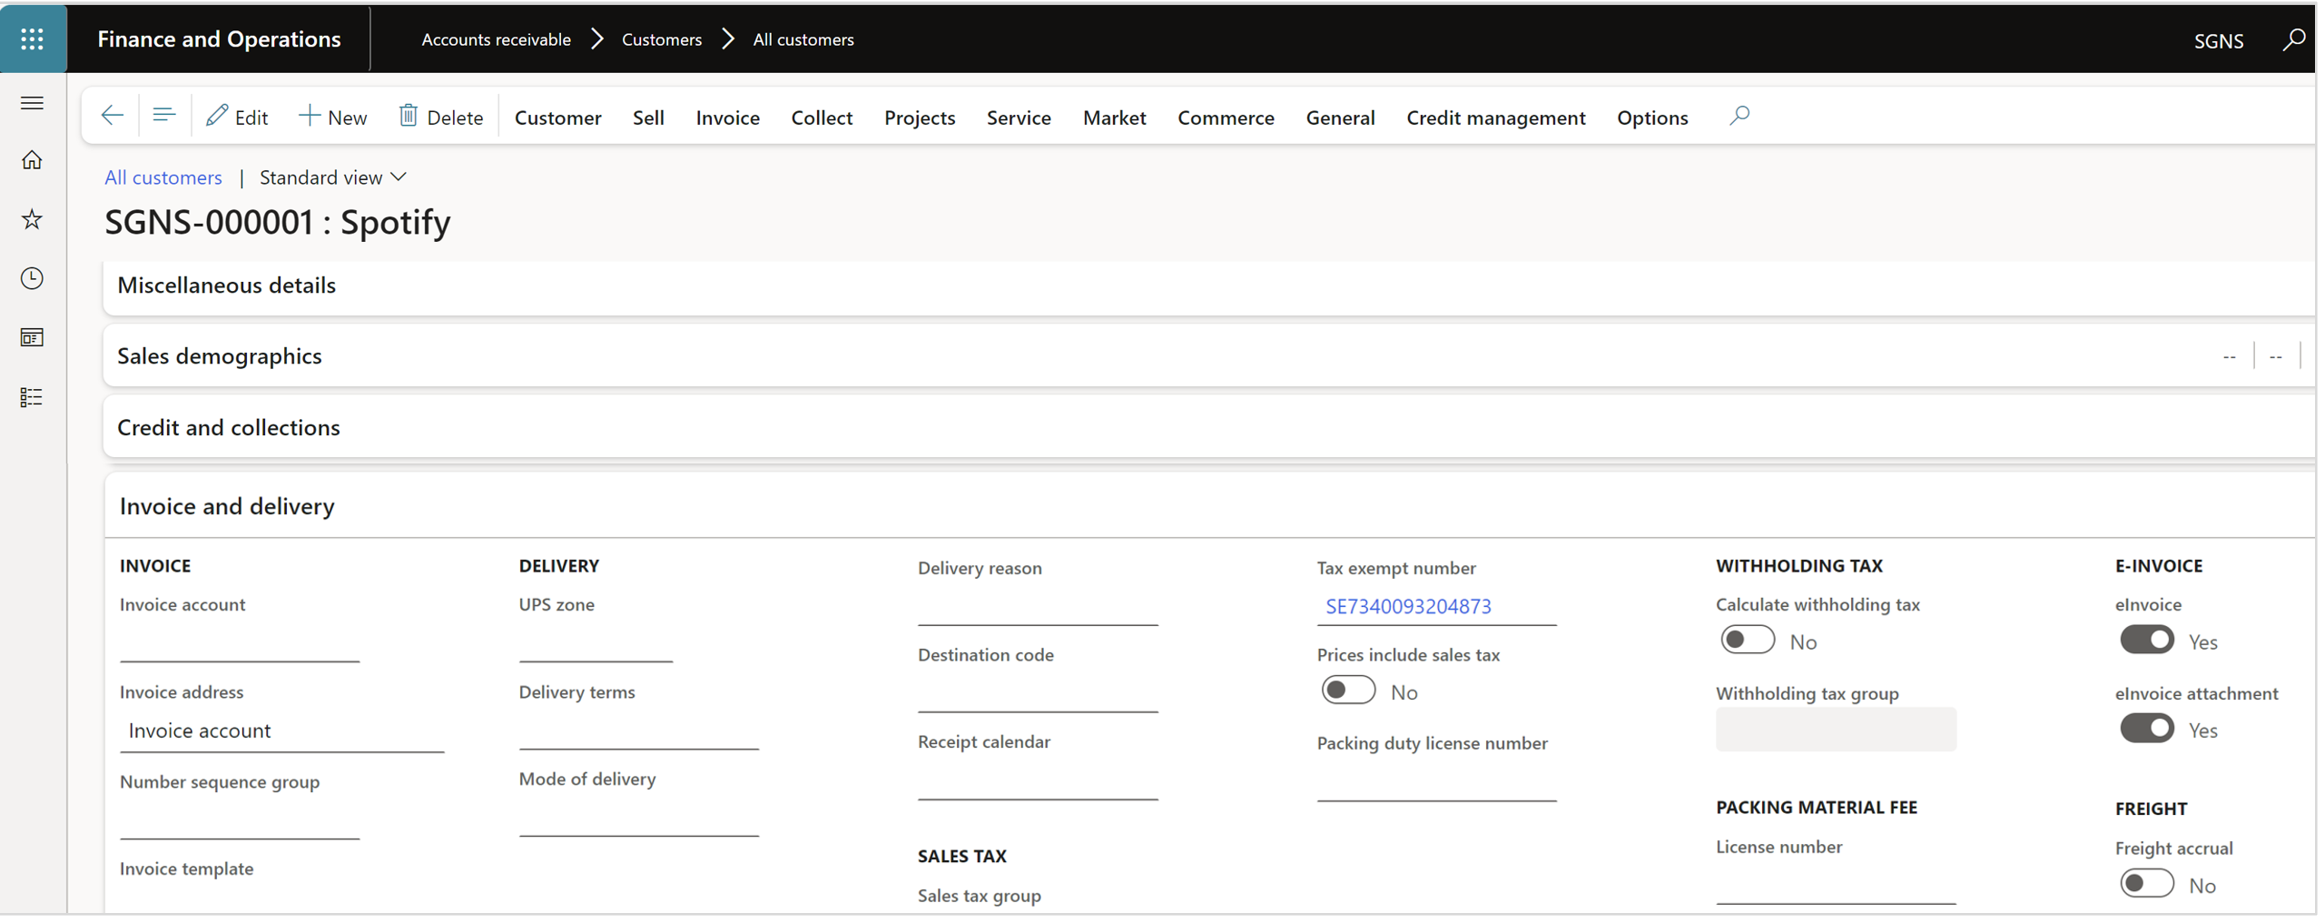
On the customer card in D365 F&O the customers that shall receive Pagero invoices must be set to eInvoice equals yes.
ExFlow document integration | Common | Customer
To set up your customer to send Pagero invoices, select a customer and under the Type drop down choose Pagero.
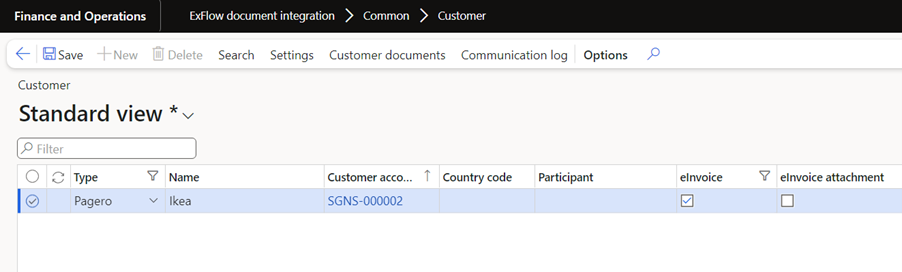
Then press “Settings” and add the type of invoices that the customer will use by pressing “New” and choosing from the drop down box. Also fill in the export method you previously created.
Customer documents
ExFlow document integration | Common | Customer documents
The Customer documents is an overview form of all outgoing e-invoices. The handling of sending, receiving different statuses etc. can all be handled from this form. When the system is set up a batch job is taking care of the whole process, but it can also be done manually during for example a test phase.
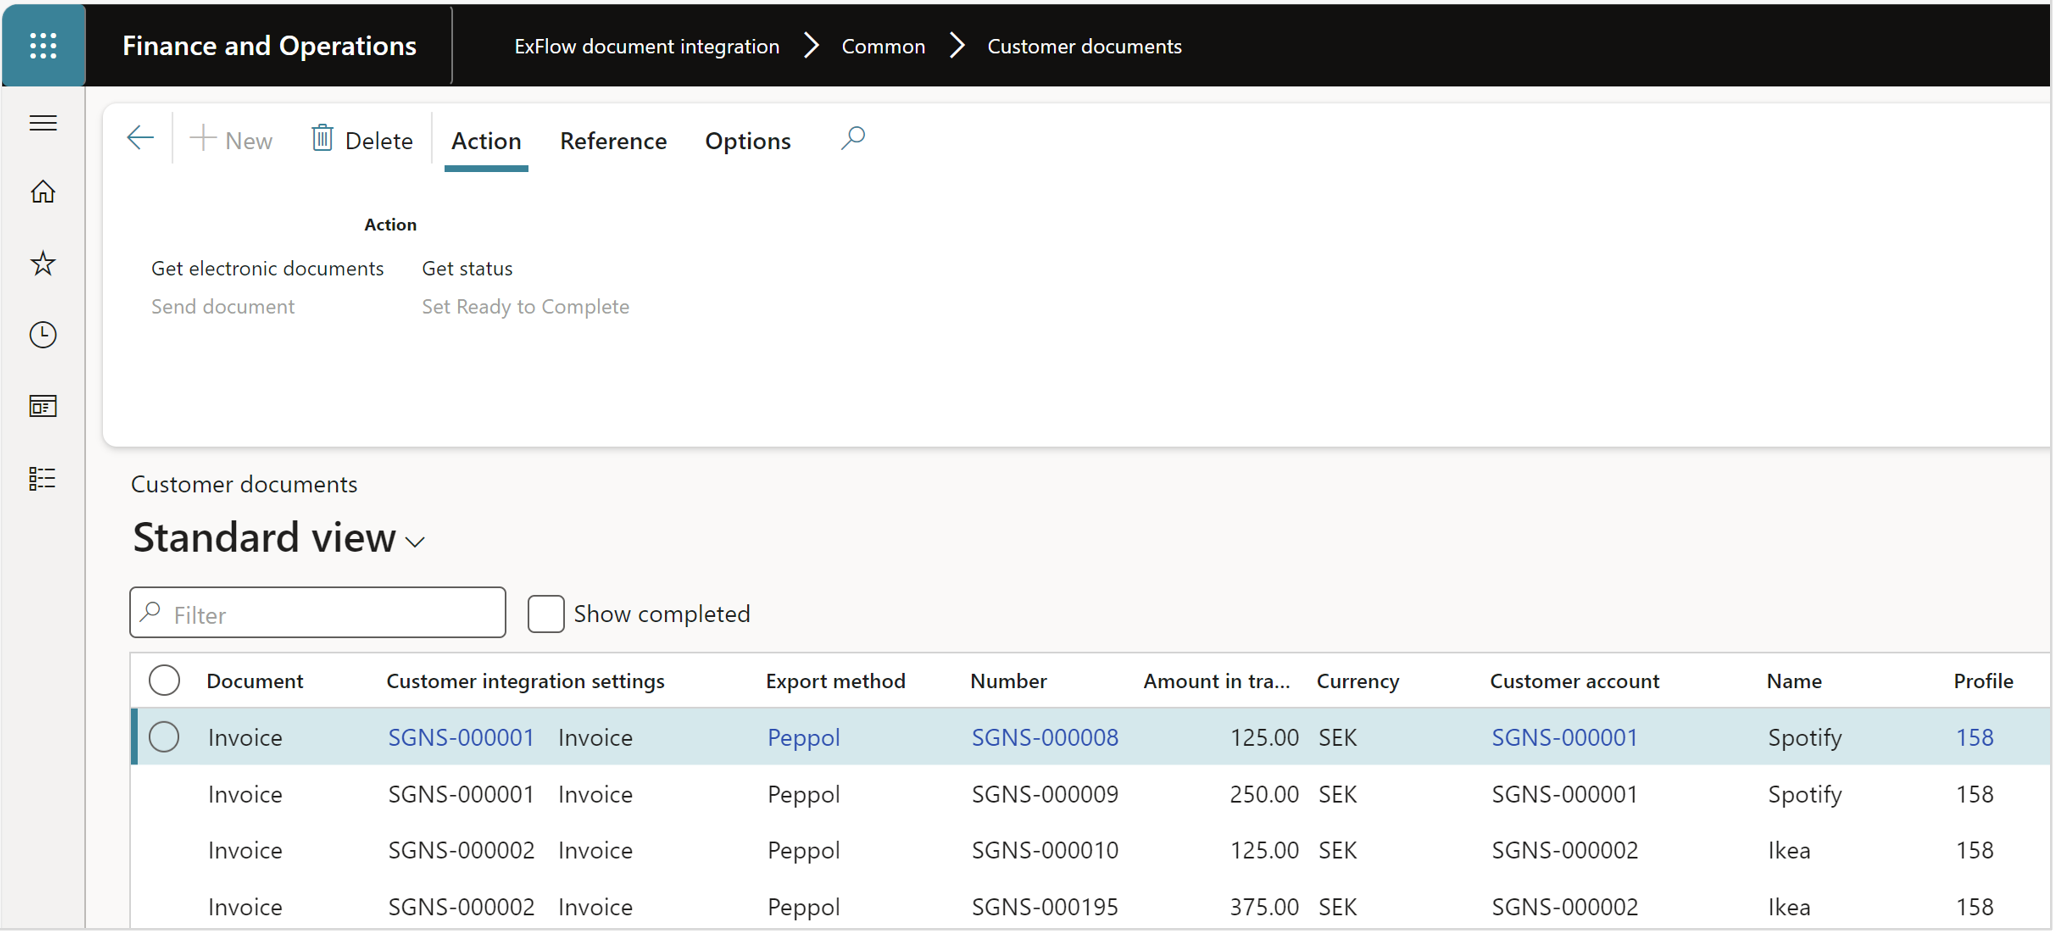
Action
| Button | Description |
|---|---|
| Get electronic documents | Retrieve the documents from the standard que “Electronic reporting jobs” and gets the status “Waiting”. |
| Send document | Send the document via the API to the Pagero network. |
| Get status | Retrieves the status of the invoice from the Pagero network. |
| Set ready to complete | When the status of an invoice is “Ready” it can be set to complete and will disappear from the list. |
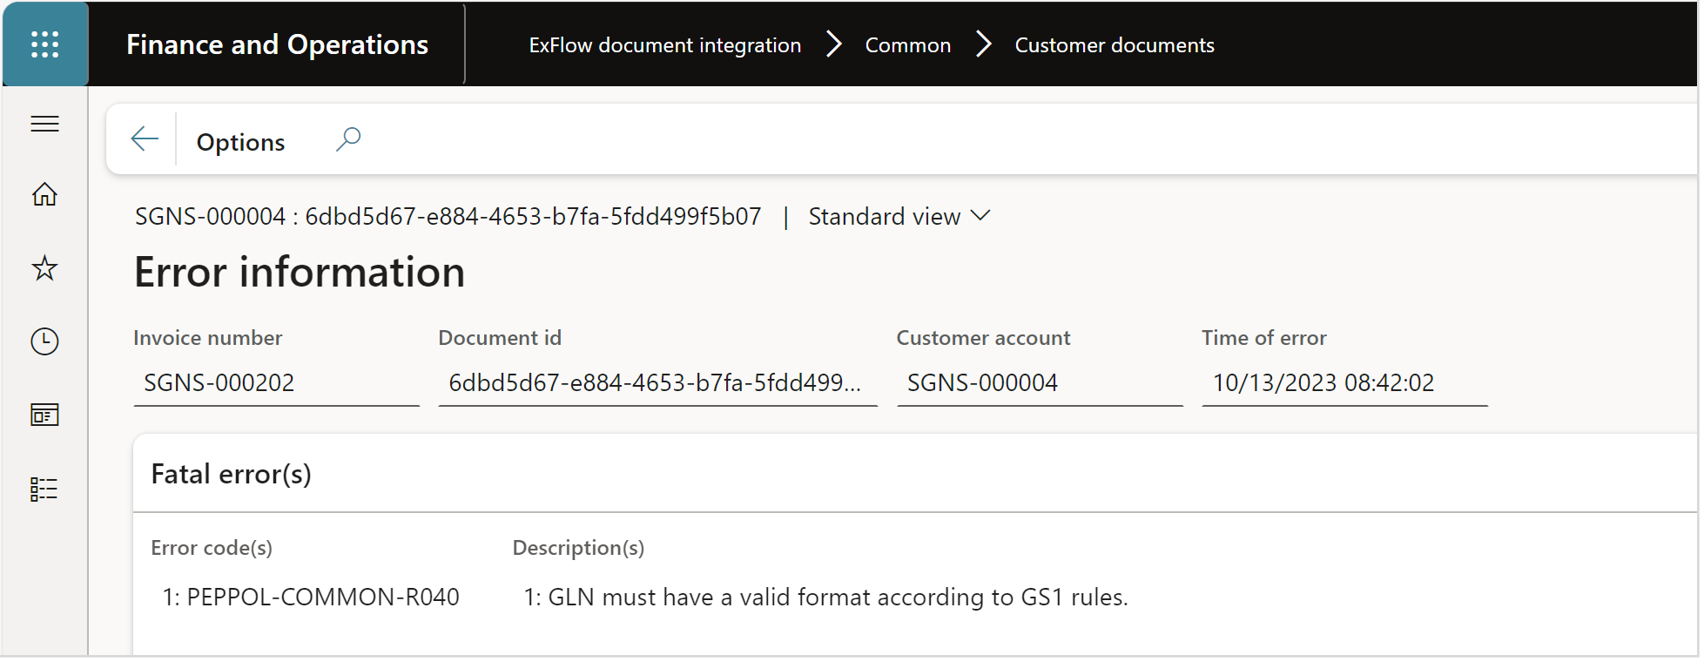
Reference
| Button | Description |
|---|---|
| Batch | Opens all batch jobs that are associated with ExFlow Document integration. |
| Communication log | This opens the log form and displays the communication for this unique invoice. See more detailed instructions further down in the section “Communication log”. |
| Error information | If an invoice has the status “Error” more information can be found about the error, for example if a GLN number is missing when an invoice is sent out, the validation in the Pagero network will reject the invoice and inform that it has errors. This function retrieves the error information from the communication log and makes it easier to read in plain text. |
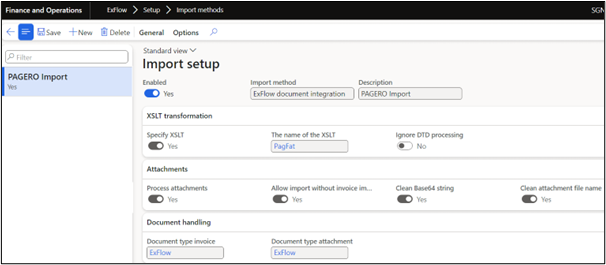
Import methods
ExFlow | Setup | Import methods
To import vendor invoices received from Pagero a new import method (ExFlow document integration) must be setup in standard ExFlow.
More information on how to setup import methods can be found under sections import methods.
Vendors
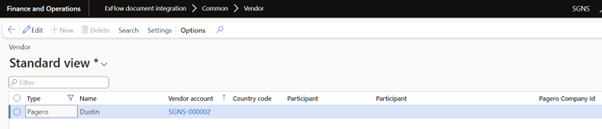
ExFlow document integration | Common | Vendors
To set up your vendor to send Pagero invoices, select a vendor and under the Type drop down choose Pagero.
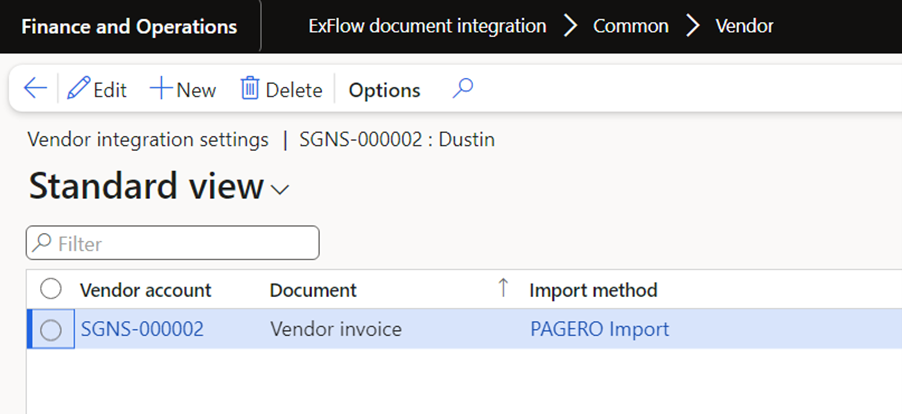
Then press “Settings” and add the type of invoices that the vendor will use by pressing “New” and choosing from the drop down box. Also fill in the import method you previously created.
Vendor documents
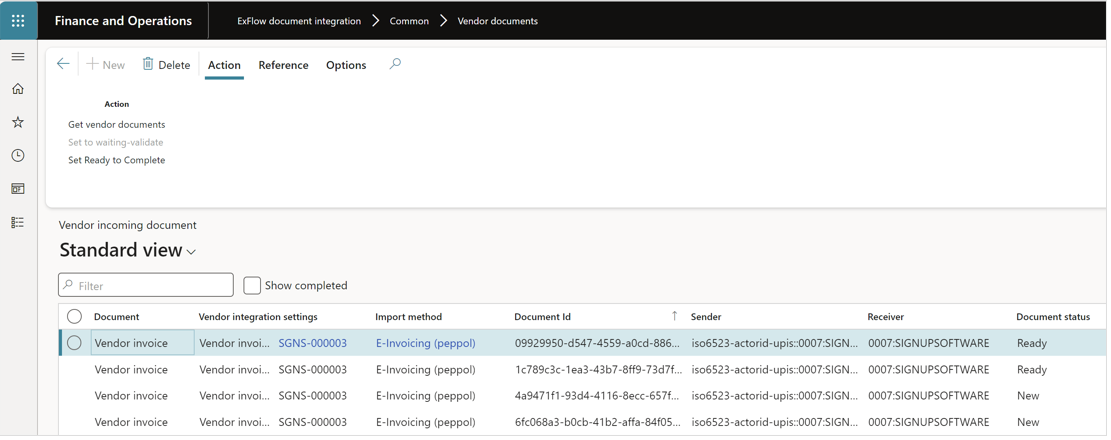
ExFlow document integration | Common | Vendor documents
The Vendor documents is an overview form of all incoming e-invoices. The handling of receiving different statuses etc. can all be handled from this form. When the system is set up a batch job is taking care of the whole process, but it can also be done manually during for example a test phase.
When the invoice is set to the status “waiting” it can be imported in ExFlow as any other invoice. The invoice will be imported by running the selected import method.
Action
| Button | Description |
|---|---|
| Get vendor documents | Retrieve the documents from all configured network. |
| Set to waiting-validate | Validates that the invoice has the correct format, and that the vendor is set up in the system. |
| Set Ready to Complete | When the status of an invoice is “Ready” it can be set to complete and will disappear from the list. |
Reference
| Button | Description |
|---|---|
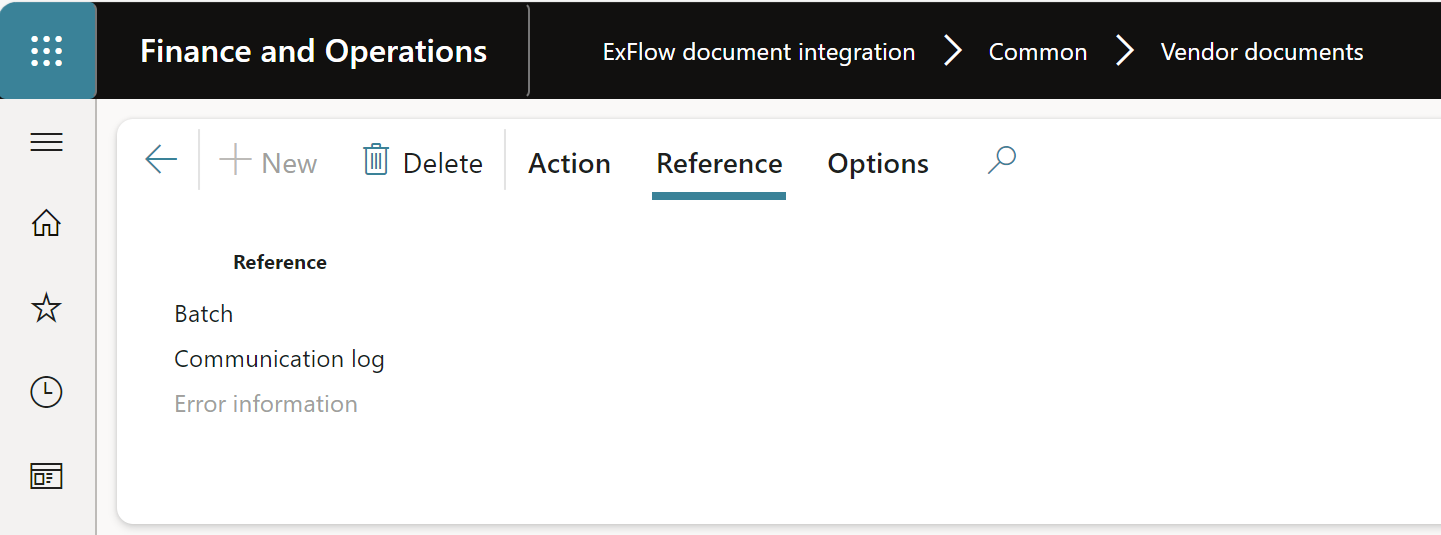
| Batch | Opens all batch jobs that are associated with ExFlow Document integration. |
| Communication log | This opens the log form and displays the communication for this unique invoice. See more detailed instructions further down in the section “Communication log”. |
| Error information | If an invoice has the status “Error” more information can be found about the error. This function retrieves the error information from the communication log and makes it easier to read in plain text. |
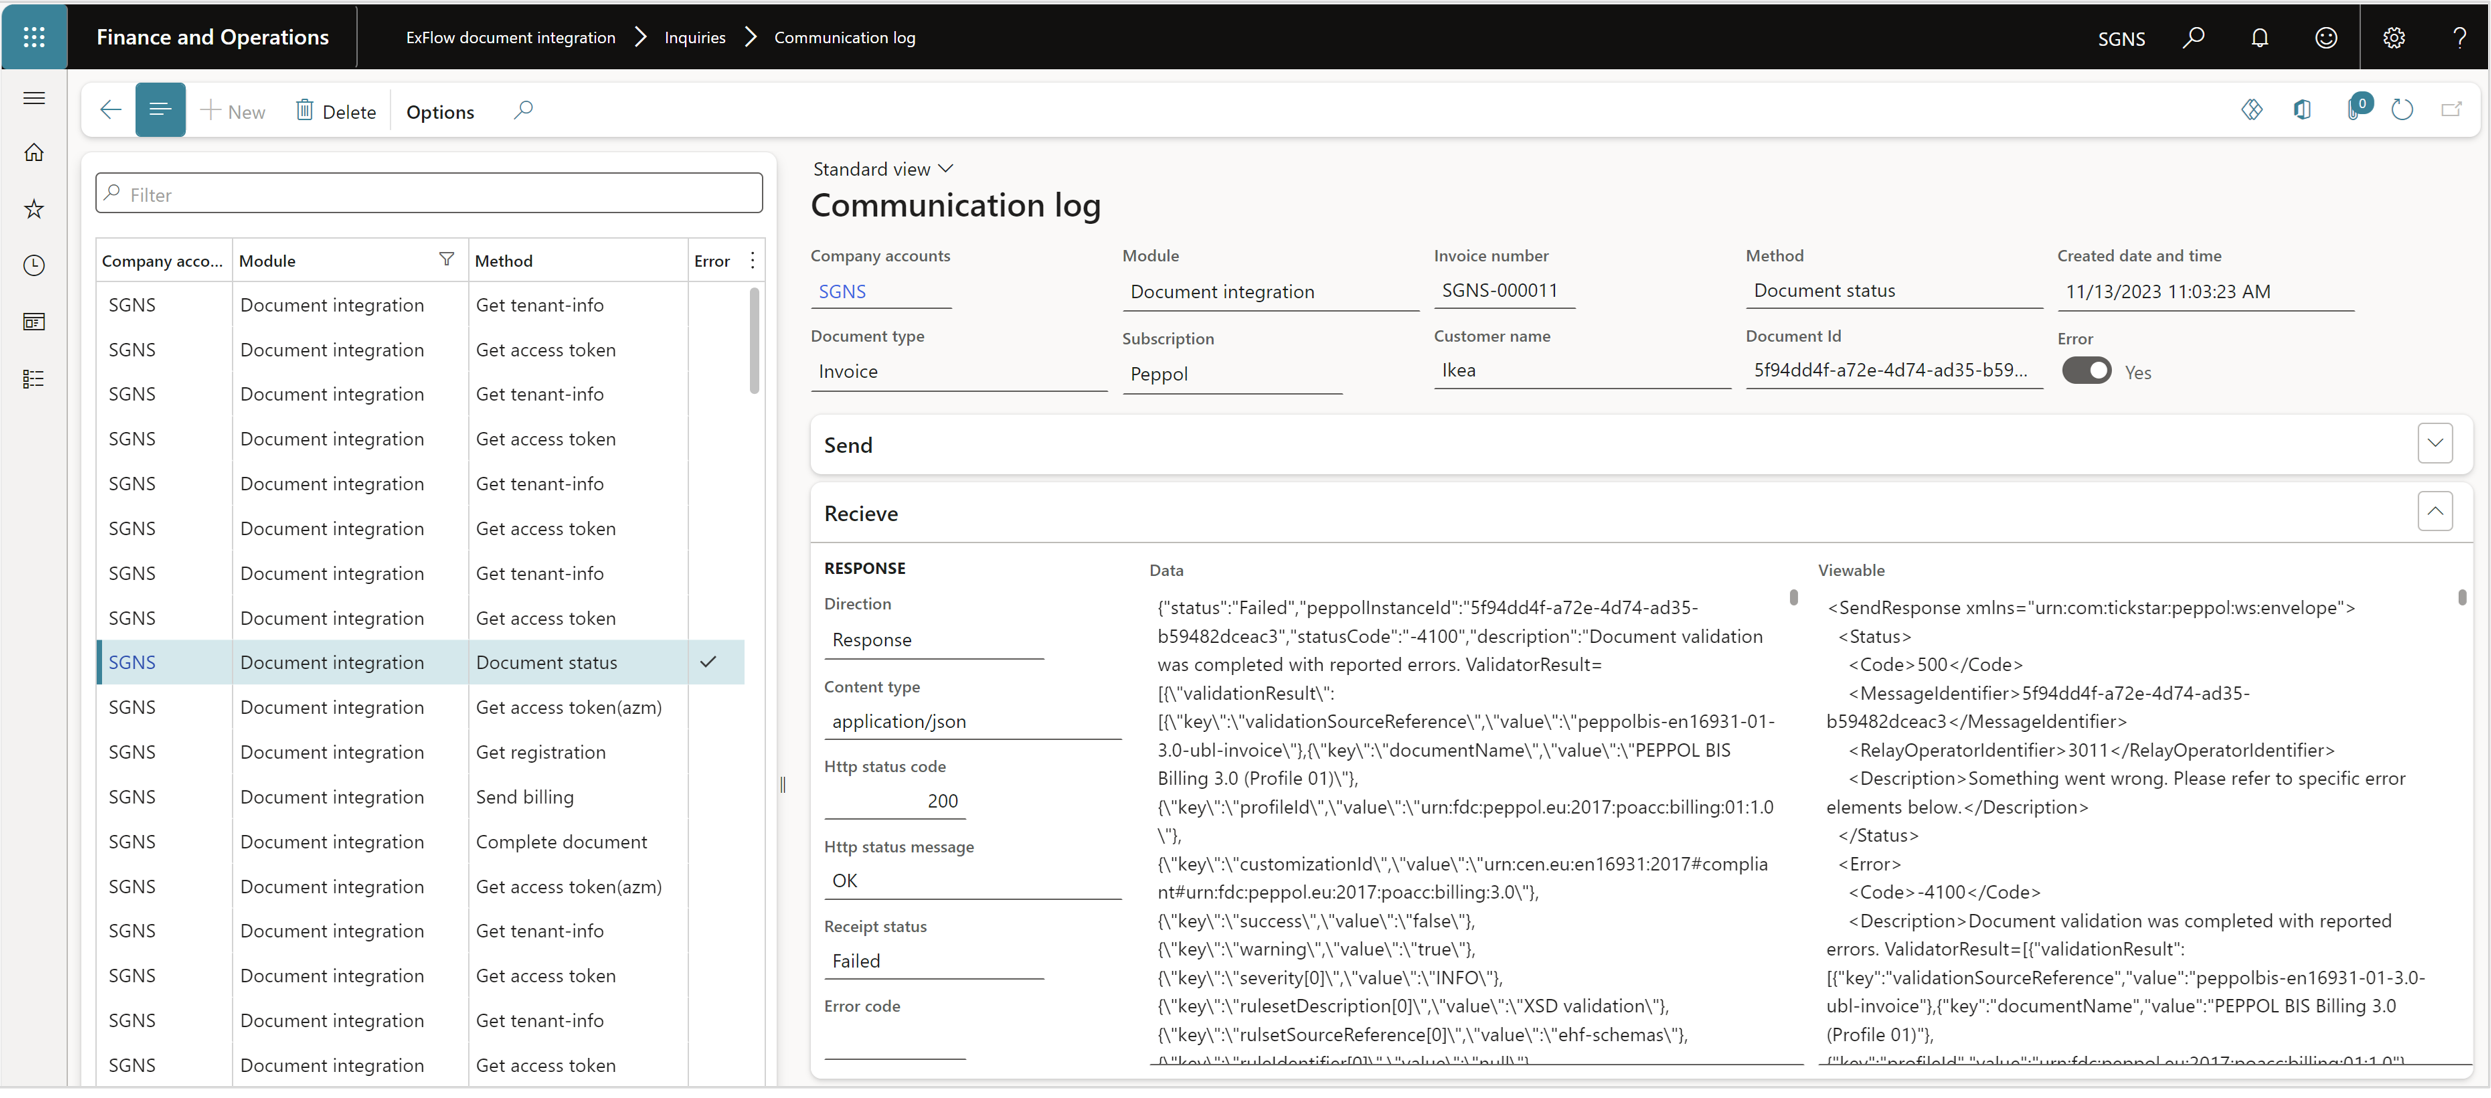
Communication log
ExFlow document integration | Inquiries | Communication log
The communication log logs all the communication between F&O and the Pagero Network. If you receive an error message it can be retrieved from the log.
Inquiries
ExFlow document integration | Inquiries
| Menu | Description |
|---|---|
| Electronic documents | Opens the standard FO form for Electronic reporting jobs. |
| Document statistics | Opens a statistics page of all documents processed via ExFlow Document Integration. |
| Subscriptions | Opens the form that display the active subscriptions used. |
| Sent billing | Opens a form displaying transactions sent for billing. |
Periodic
ExFlow document integration | Periodic
| Menu | Description |
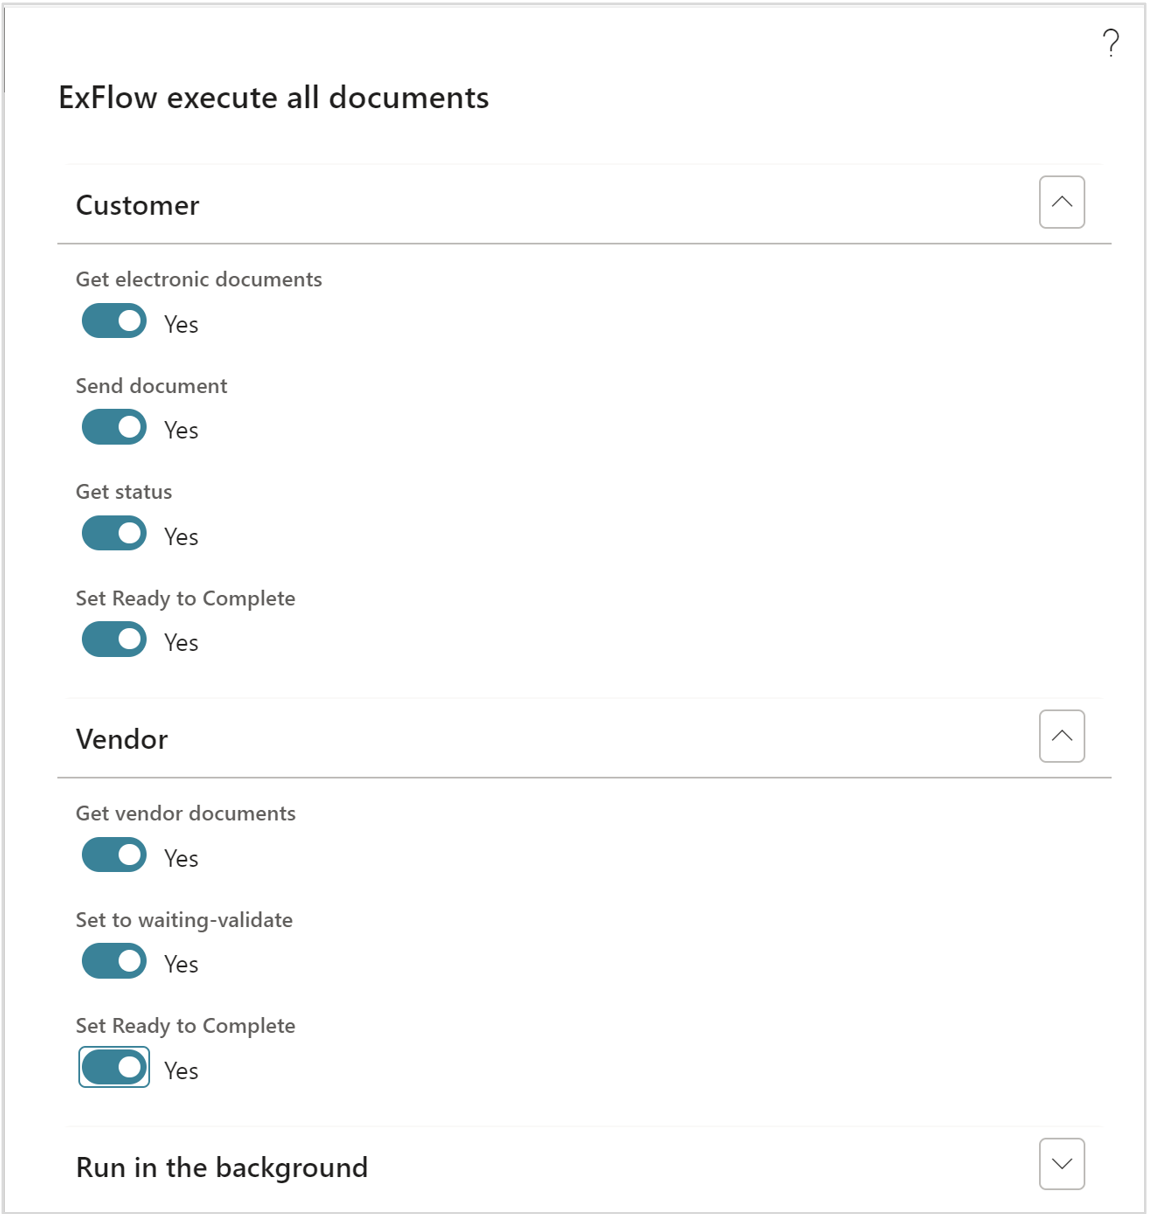
|---|---|
| Execute all documents | This batch job handles the complete process of all the steps processing incoming and outgoing invoices through the e-invoicing networks and subscriptions configured, see pic. below. |
| Execute customer documents | This batch job handles the complete process for outgoing invoices through the networks and subscriptions configured. |
| Resubmit electronic documents | This batch job regenerates the xml payload for outgoing invoices and make them available again in Outgoing documents for submision. Sending to the access point must be done either manually or in next batch job run. This function is also available from Ougoing documents page. |
| Execute vendor documents | This batch job handles the process for incoming invoices through the networks and subscriptions configured. To handle incoming invoices also the Import method that is used to import invoices in ExFlow must be set up. |
| Clean up communication log | This batch job deletes the messages in communication log. |
| Activate customer | Activate customer is used to automatically set one or several customers to set up the eIncvoice parameter to yes in the standard customer form. |
| Customer check setup | Used to verify the setup of customer settings in standard that is used with Peppol outgoing invoices. |
ER Configuration files for sending AR invoices
The file formats supported by ExFlow e-Invoicing when sending using Pagero integration are listed below:
- Standard ".puf" format for non-CTC countries for Sales order invoices, Free text invoices, Project invoices and correspondant Credit notes.
- Italian ".puf" format for Sales Order invoices, Free text invoices and correspondant Credit notes.
- Polish ".puf" format for Sales Order invoices, Free text invoices and correspondant Credit notes.
Note: Truvio ER Configurations provide handling of a subset of subset of UNCL5305 codes as described in the Release notes. Any code not covered needs to be handled by tax setup in D365 Finance Tax | Sales Tax codes | External codes