Register invoices for ExFlow Web in FnO
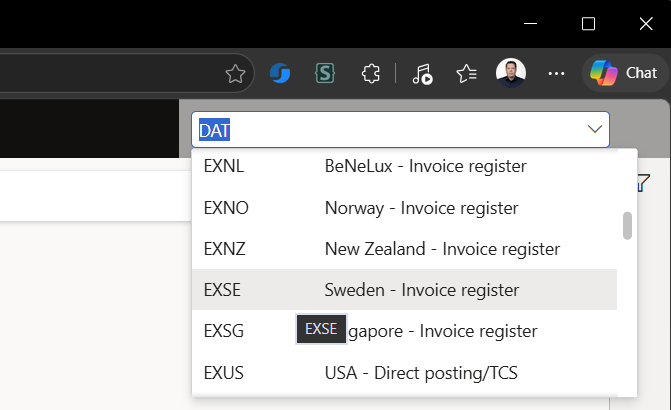
After logging in to FnO, check whether the selected company (very top-right corner of the browser window) is set to DAT. If so, change it to EXSE:
Mark invoices for import
-
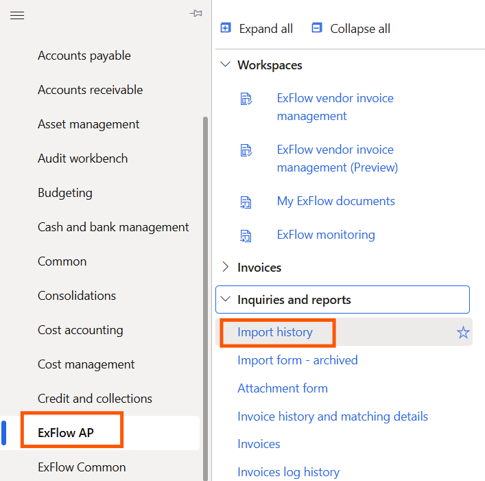
From the main hamburger menu in FnO, go to Modules → ExFlow AP → Inquiries and reports → Import history:
-
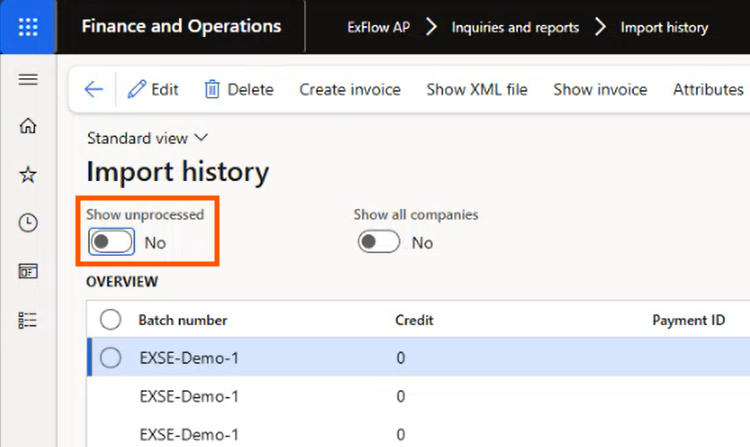
Uncheck Show unprocessed to view all invoices:
-
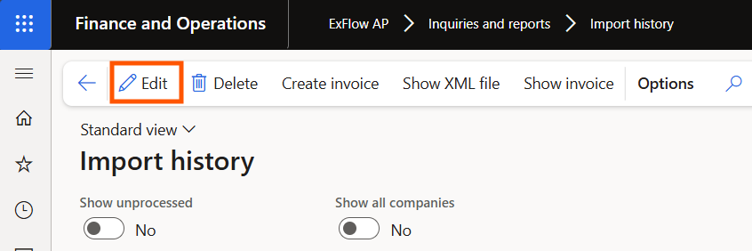
Click Edit:
-
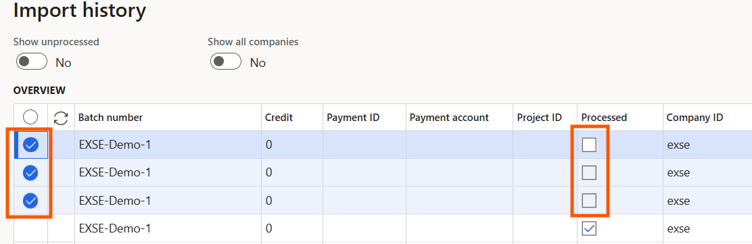
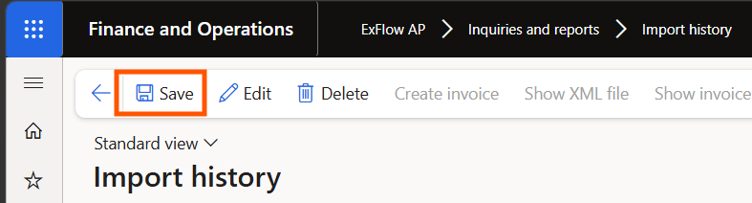
In order to import invoices, they must not have the status Processed. Mark all the invoices that should be imported, uncheck Processed for those, and press Save:
Import the invoices
-
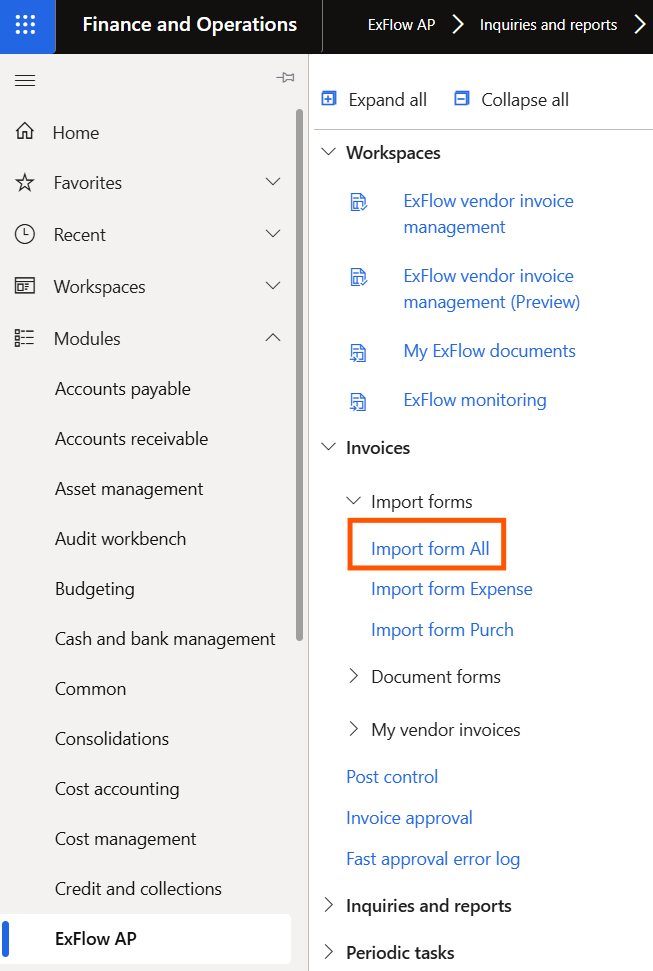
Back in the main hamburger menu, go to Modules → ExFlow AP → Invoices → Import forms → Import form All:
-
Click Import and wait for the invoices to show up:
-
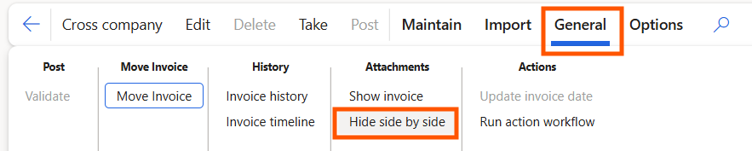
To get a better view of the invoices, click Hide side by side under the General tab menu:
Edit and post the invoices
-
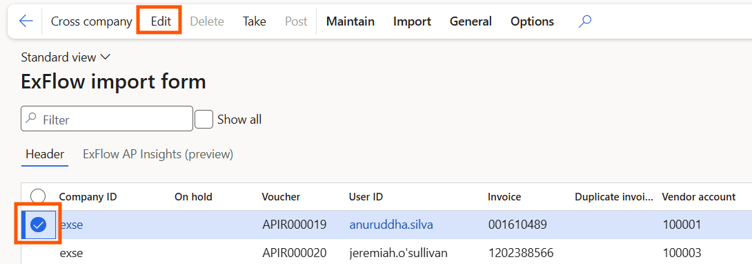
The Invoice number has to be changed. Mark an invoice and click Edit:
-
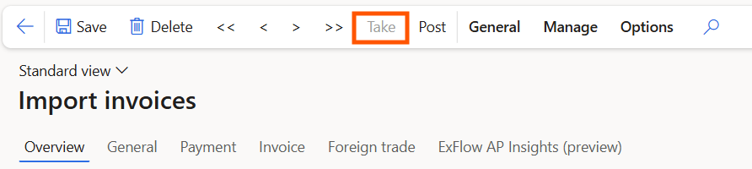
In order to actually change the invoice data, click Take:
-
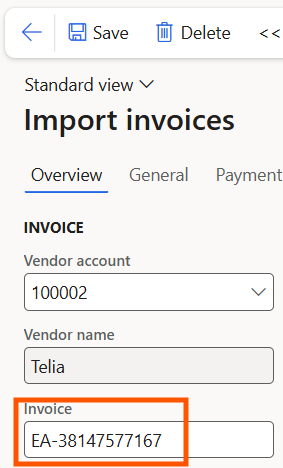
Change the Invoice number to something random. You can also add your initials in front:
-
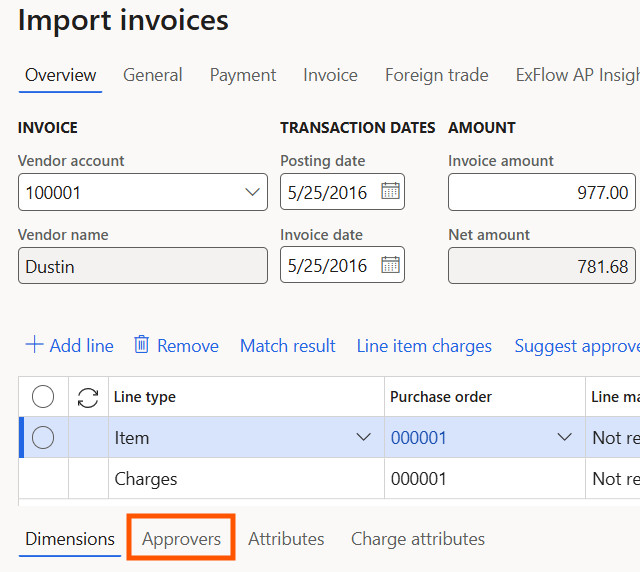
You can also add things like Lot ID on line level. The important part: below the lines table, click Approvers:
-
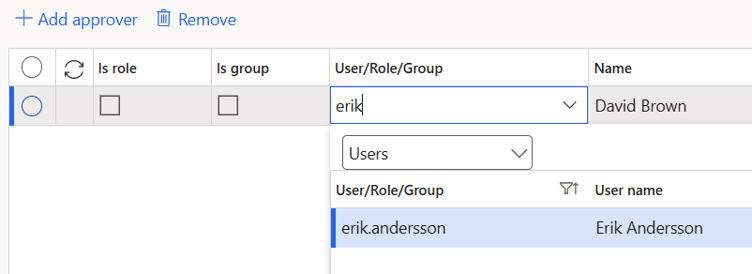
Select the new approver:
-
Do this for all lines and click Post from the top menu. You might have to adjust the amounts in the invoice head if Balance is showing red there.
The invoices should now show up in ExFlow.