Administration
Content Item Properties
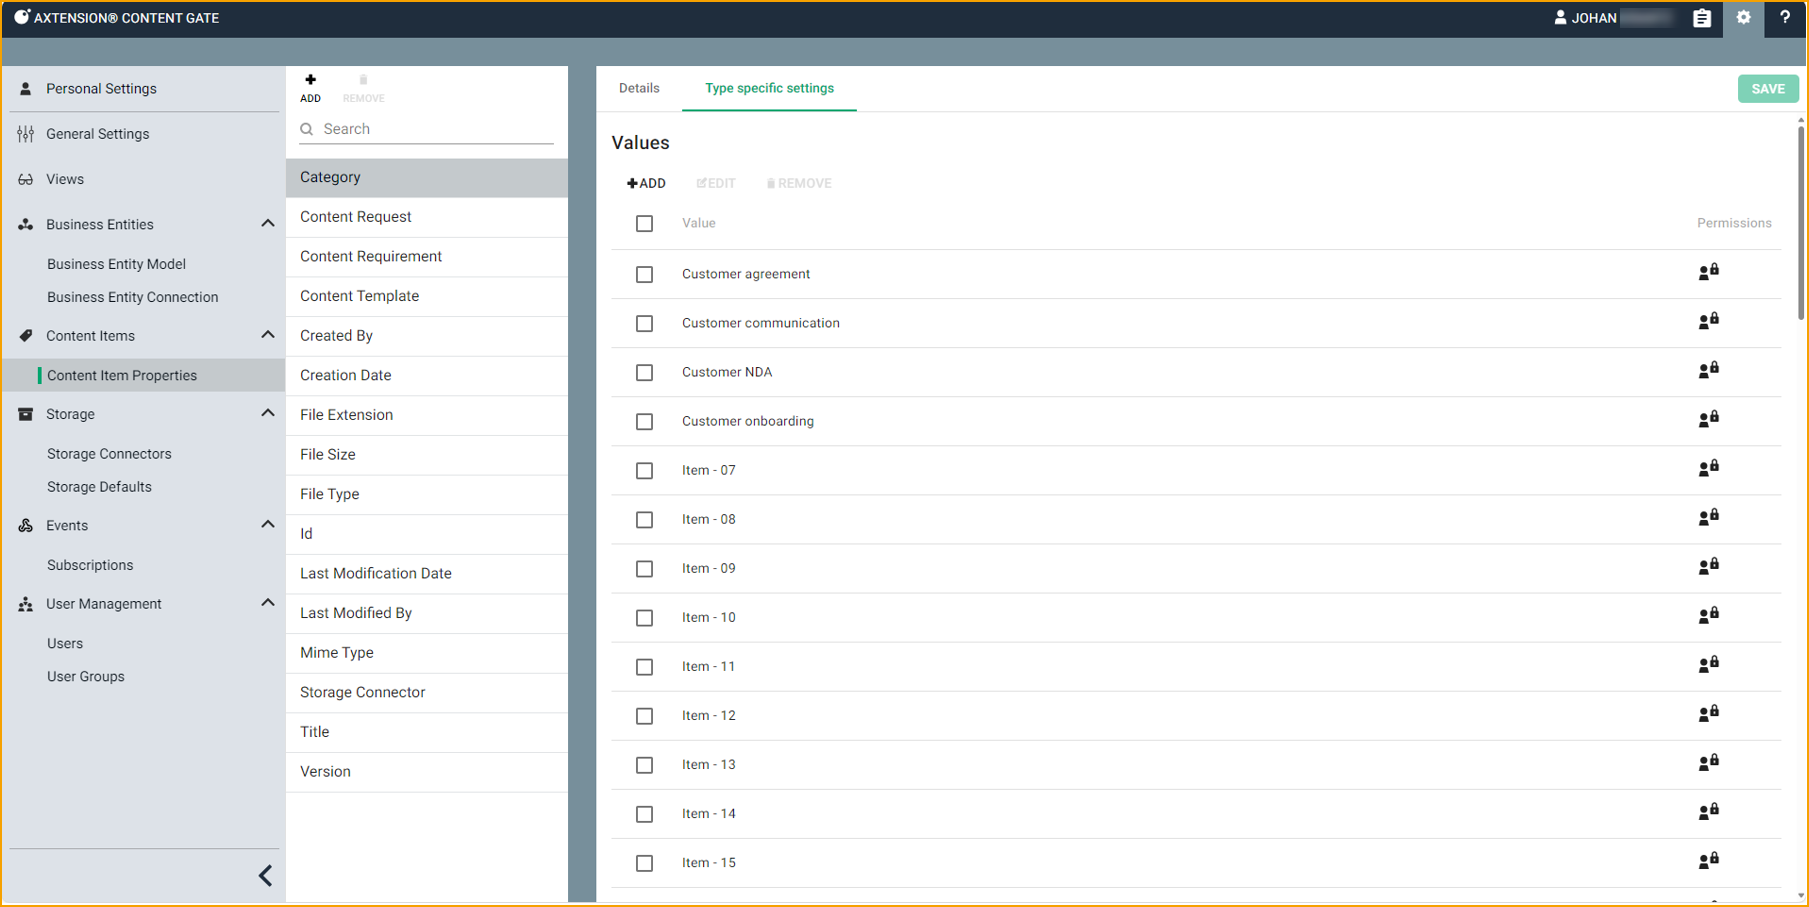
The page “Content Item Properties” can be used to define custom properties that can be specified when uploading new content.
The system property “Category” can be used to configure the categories that are available for storing content.
When clicking the icon next to a category, the permissions for the specific category can be modified.

Note that by default, no users have access to a category.
If specific permissions are required for third-party applications or integrations, the toggle “Specify explicit permissions for third-party applications” can be enabled. This allows users to setup additional permissions for integrations or, for example, the Content Gate Power Platform connector.
Additional properties can be created by clicking the “Add” button and enter the name of the custom property.
The following type of properties can be created:
• Text input field
• List (single select)
• List (multi select)
• Toggle
• Number
Based on the selected type, each property has some type specific settings that can be changed.
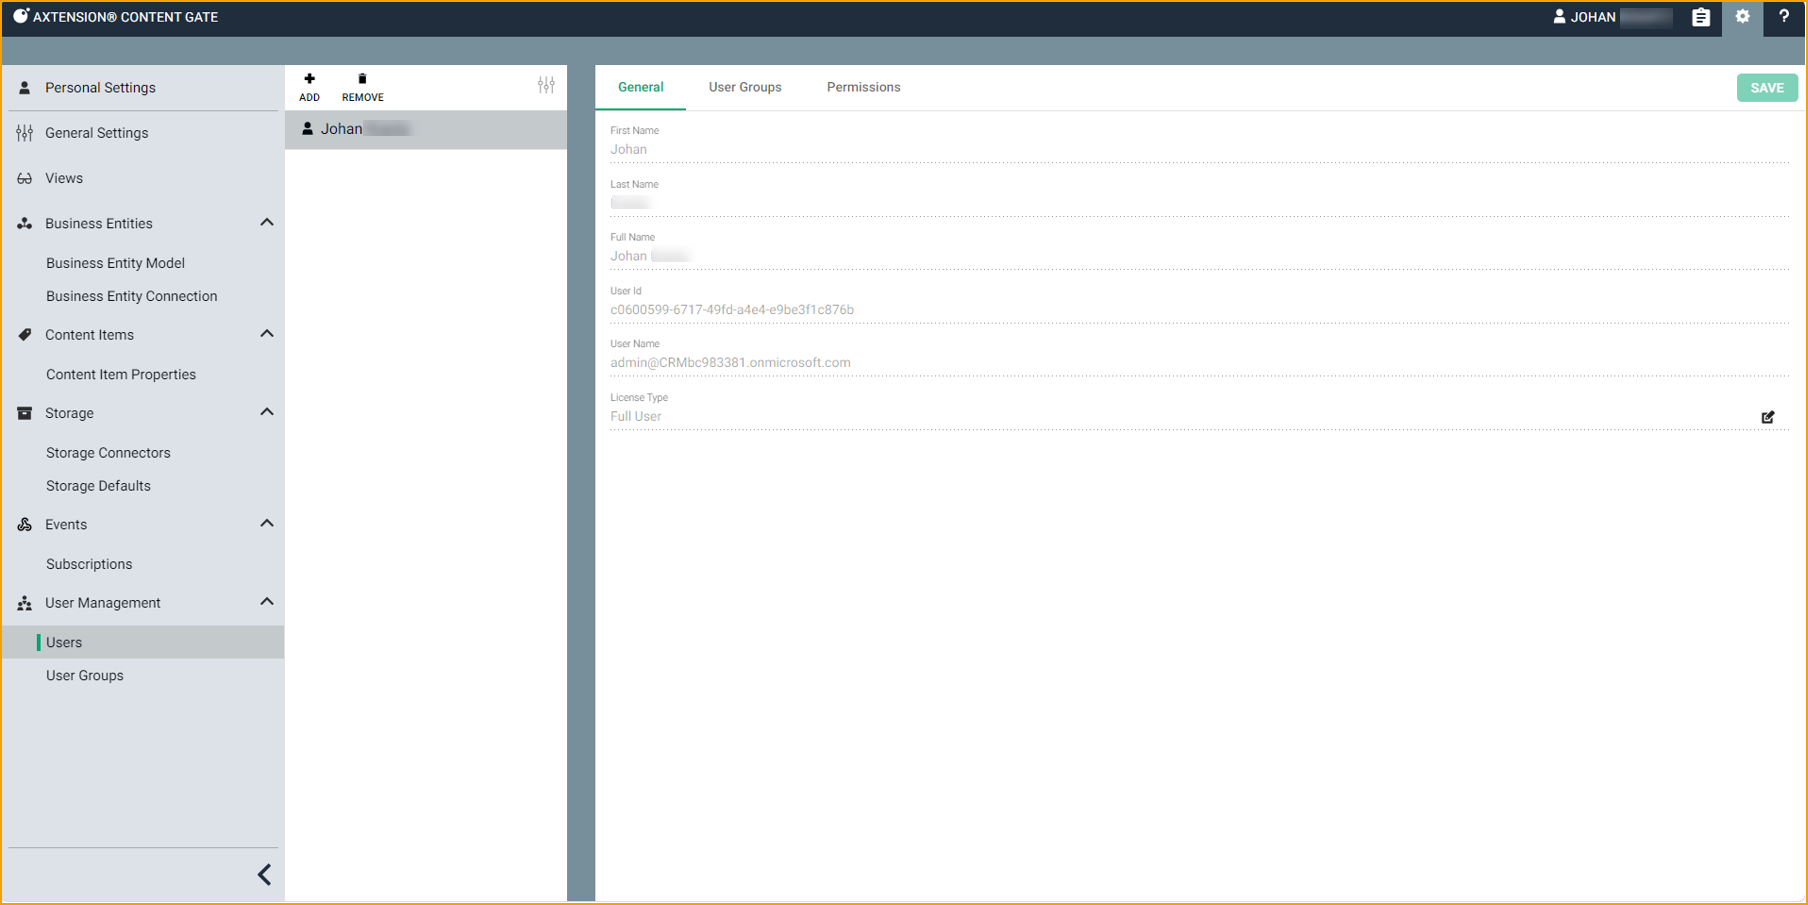
Users
In the section “Users” the users that use Content Gate must be added. To add a user, click the “Add” button and start typing the name of the user you want to add.
If a user is added, some configuration options and information are available.
General
The tab “General” shows the general information about the user.
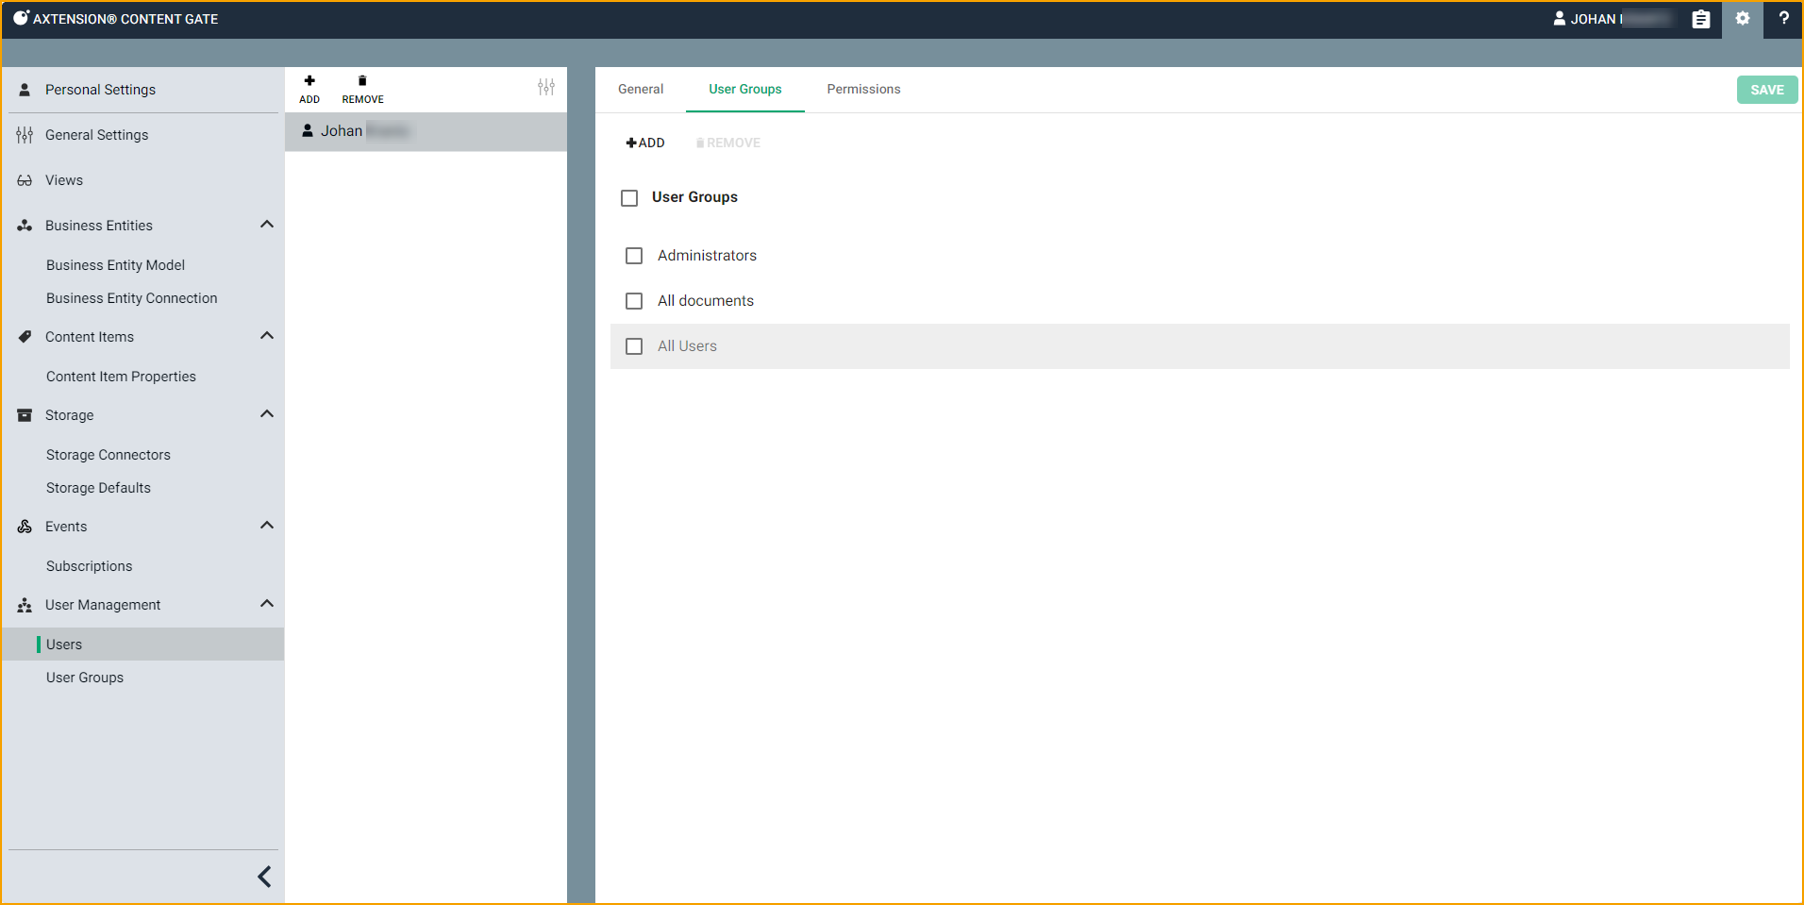
User Groups
In the tab “User Groups” the user can be added to one or more user groups by clicking on the “Add” button. In the dialog that appears, the groups that are available can be selected and the user will be added to these groups.
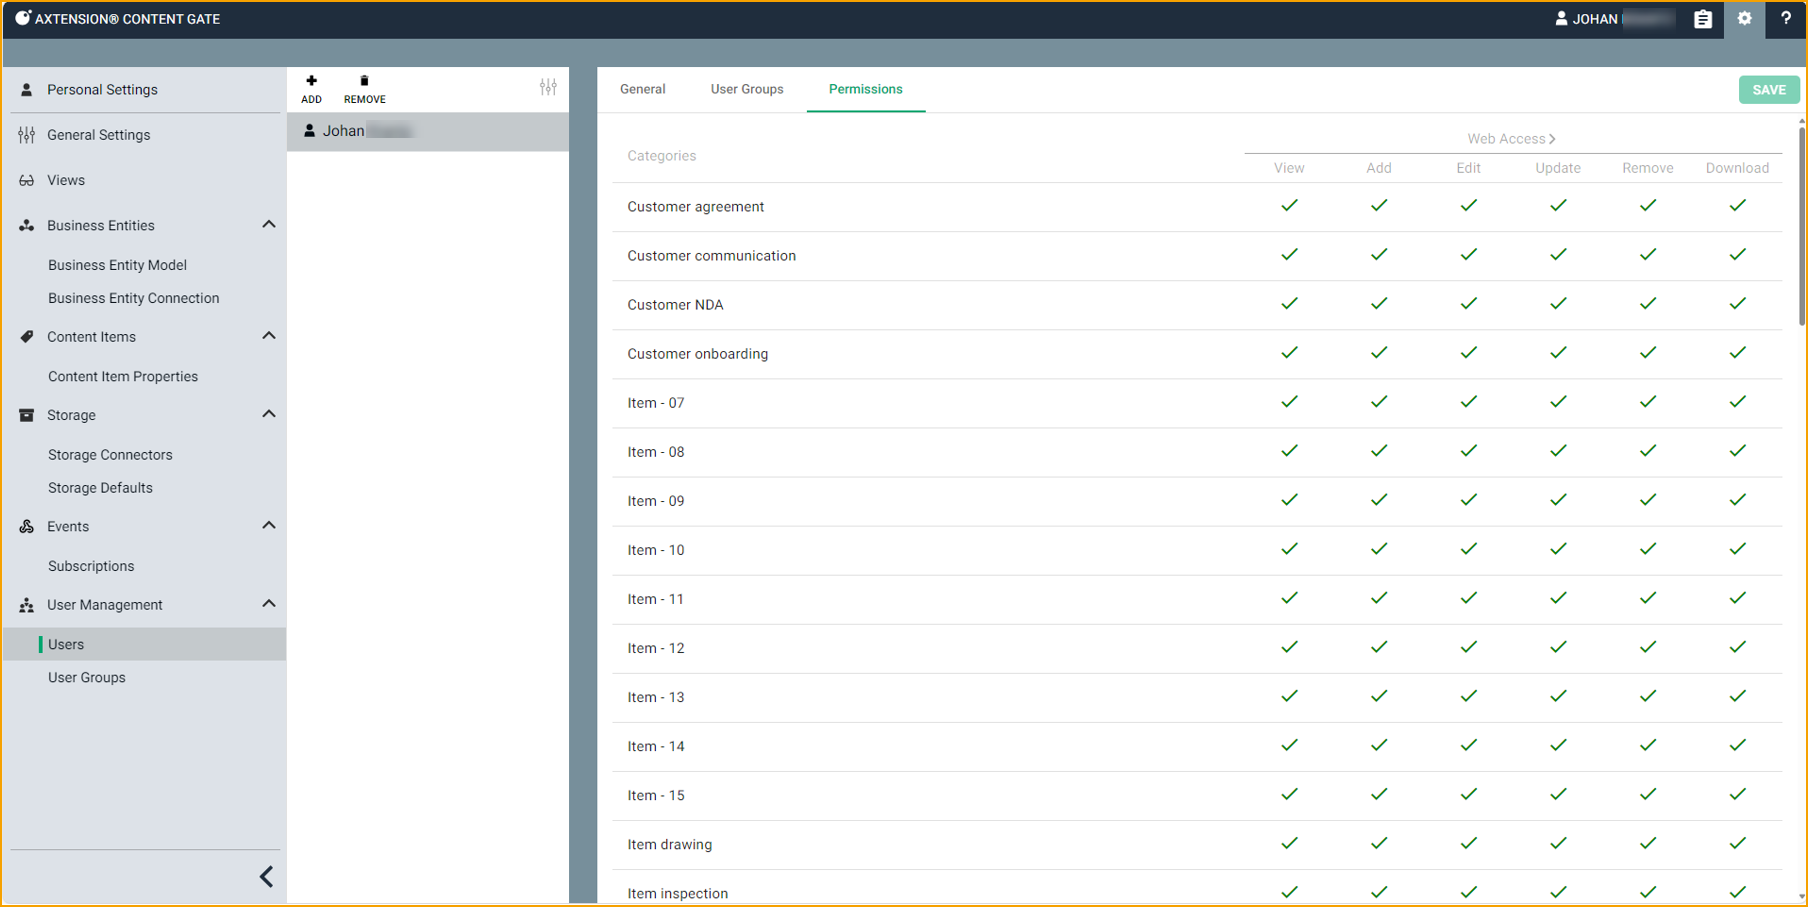
Permissions
On the “Permissions” tab the permissions that the user has on the categories can be viewed. Note that changing the permissions is only possible from the configuration screen of the category (Read more under “Content Item Properties”)
User Groups
User groups can be created as required. To create a new user group, click on the “Add” button and enter the name of the user group.
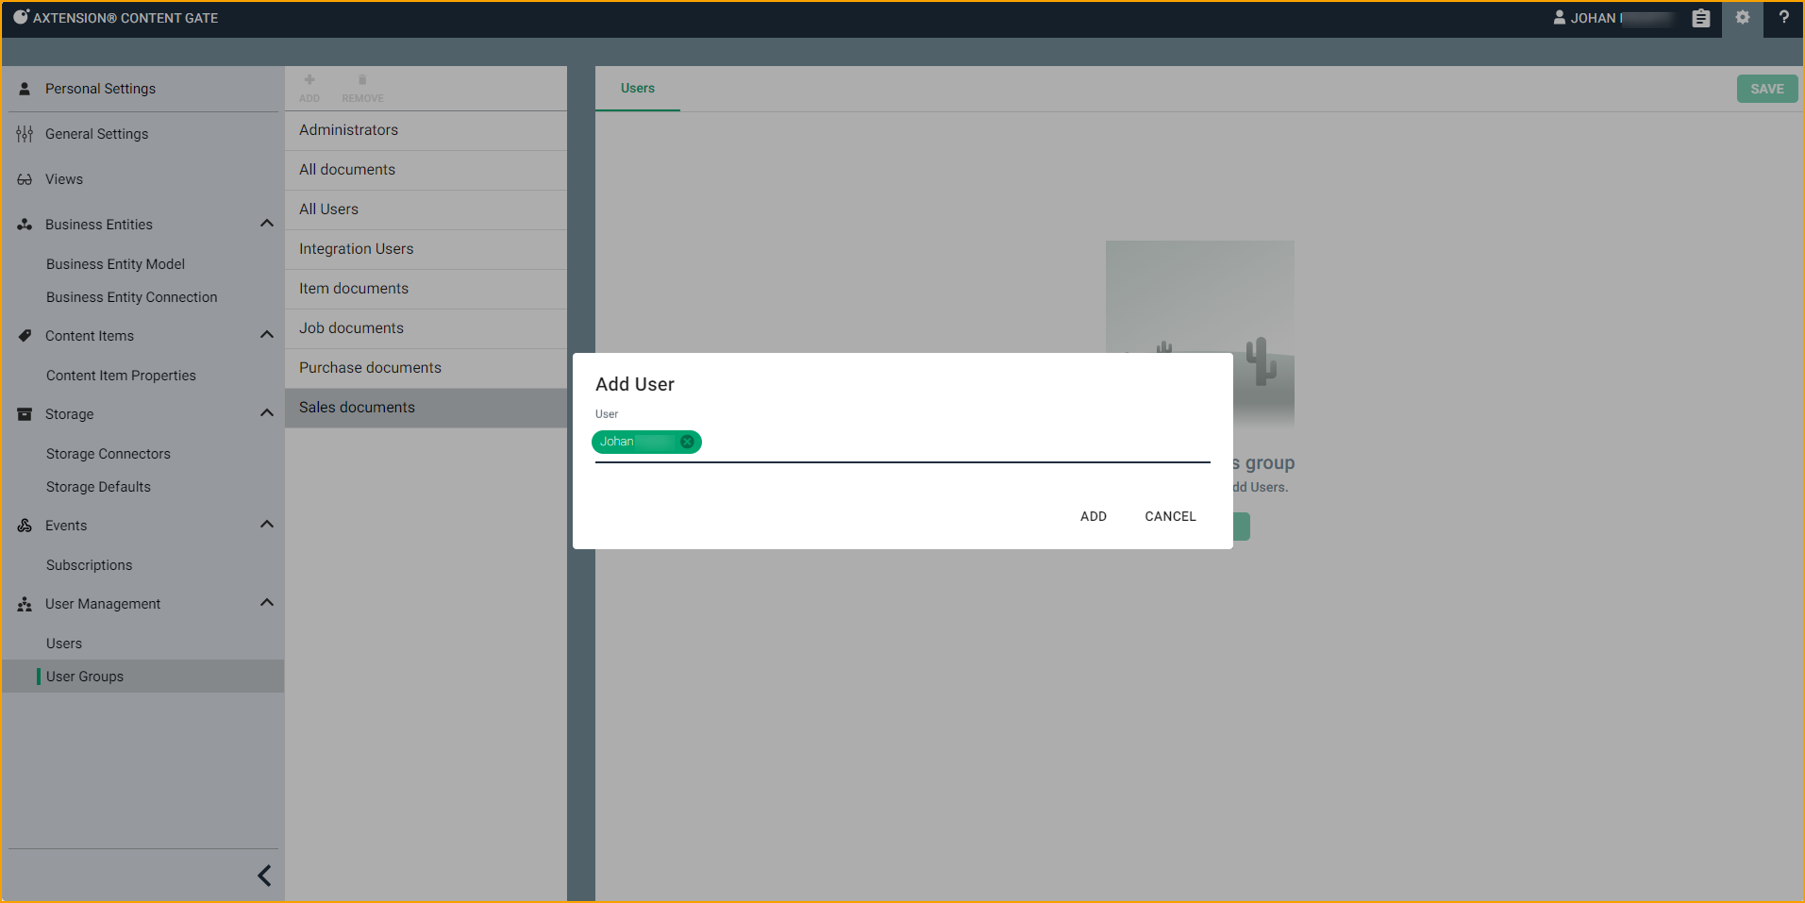
Users
To add users to a user group, select the right user group and use the button “Add users”. In the dialog that appears, start typing the username until the right user shows up. Select this user and click on “Add” to add the user to the group.