ExFlow Vendor statement
Purpose
The purpose of the product is to automate the process of checking a statement from a vendor for a period against transactions in D365FO and to make sure that the vendor and customer agree on which trade has occurred during the period.
Prerequisites for Vendor statement
- Requires that customer runs the ExFlow invoice register process up to Exflow version 2.18.0. After the major release (2.18) the functionality supports both invoice register and Direct posting process.
- Requires ExFlow version 2.15.2 or later.
- Signed agreement and assigned license key from Signup need to be verified to use the Vendor statement.
- Activation and onboarding.
- Import method for vendor statements from ExFlow data capture.
- Data Capture team from Truvio setup profile for import of Vendor statements.
- Vendor statement parameter configuration.
Steps for the activation and Initiate onboarding
Follow below steps to activate the Vendor statement functionality.
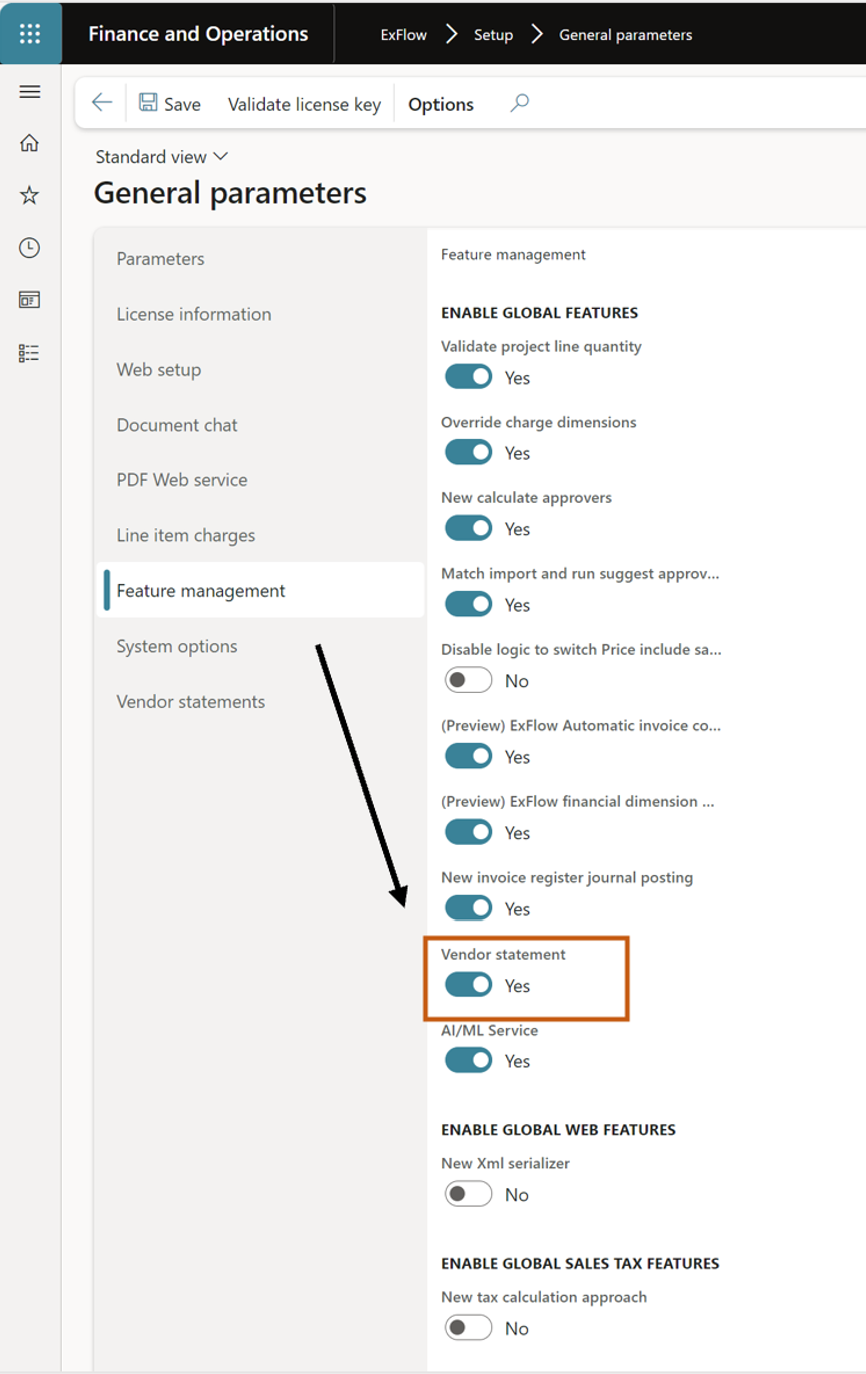
- Enable Vendor statements
ExFlow | Setup | General parameters | Tab; Feature management
- Navigate to General parameters - tab feature management.
- Set Vendor statement = Yes.
- Enable Vendor statement, after activation a new menu exit for “ExFlow common” will be visible.
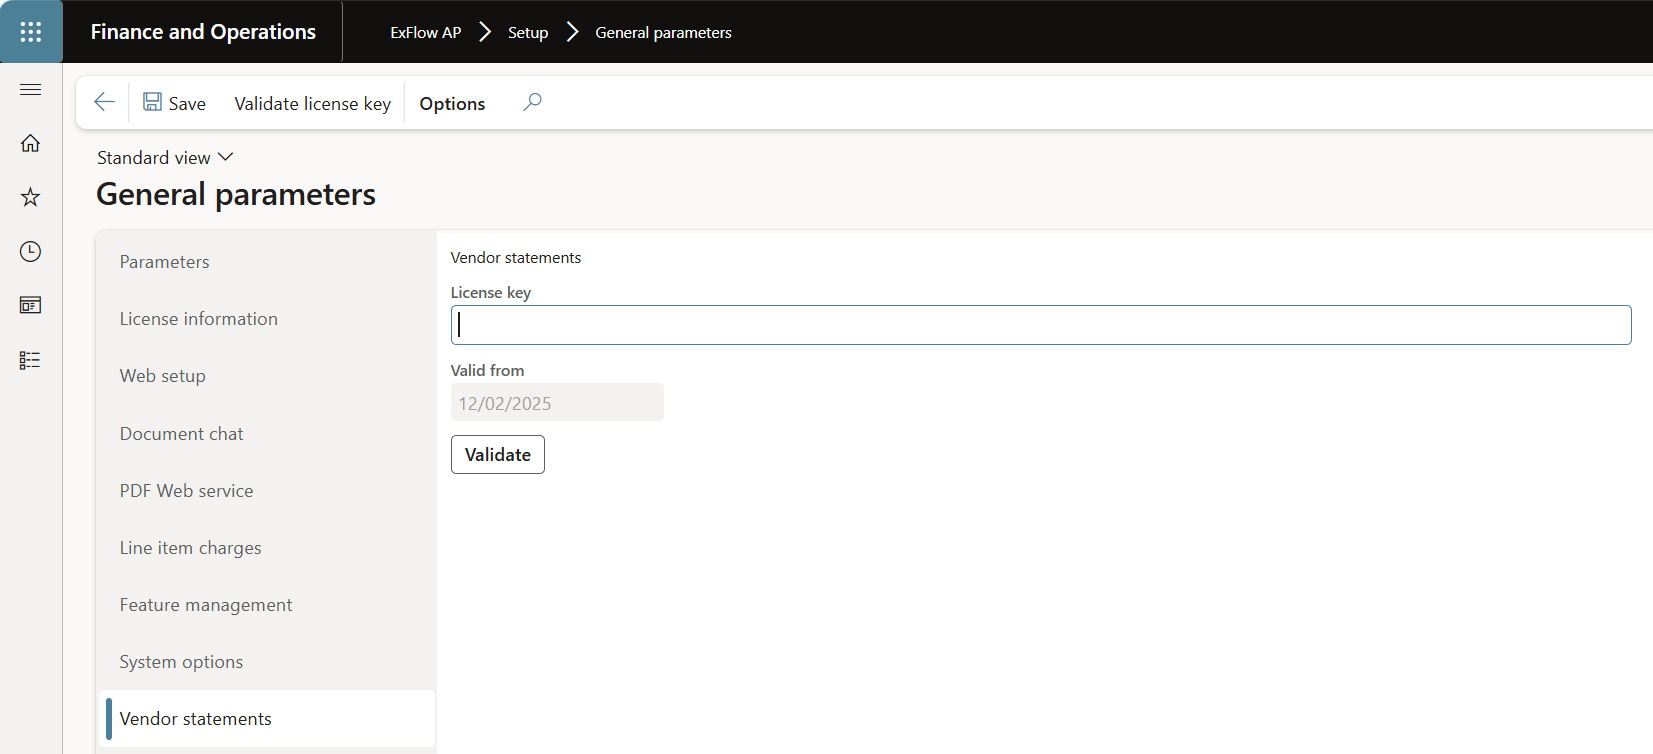
- Add the assigned license key
ExFlow AP | Setup | General parameters | Tab; Vendor statement
- Navigate to Exflow AP - Setup - General parameters - tab Vendor statement.
- Add the license key.
- Press validate.
- Make sure that the license key is validated.
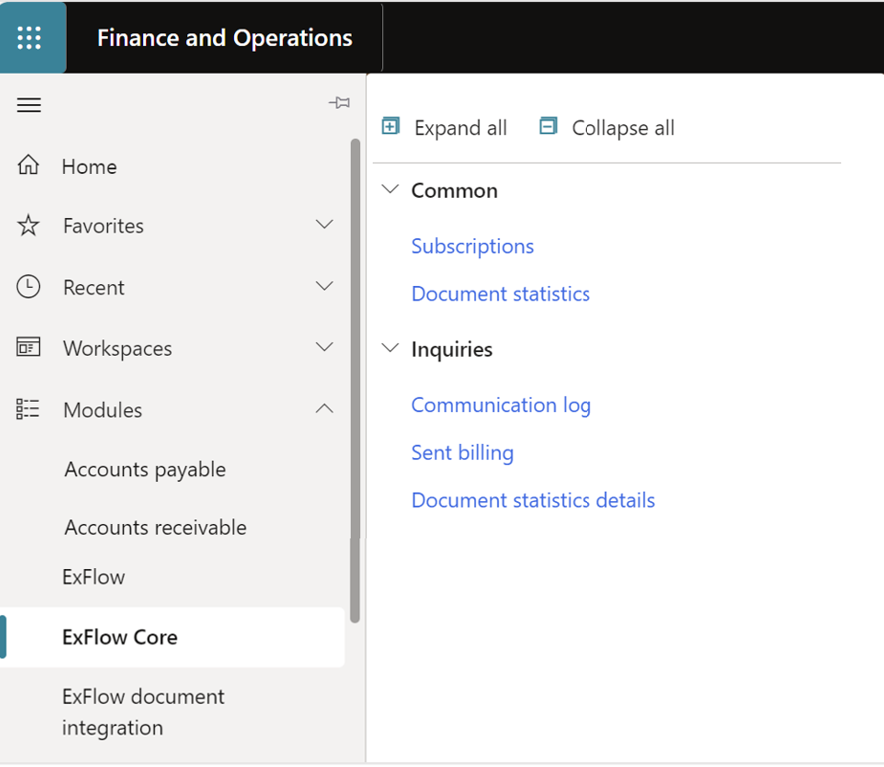
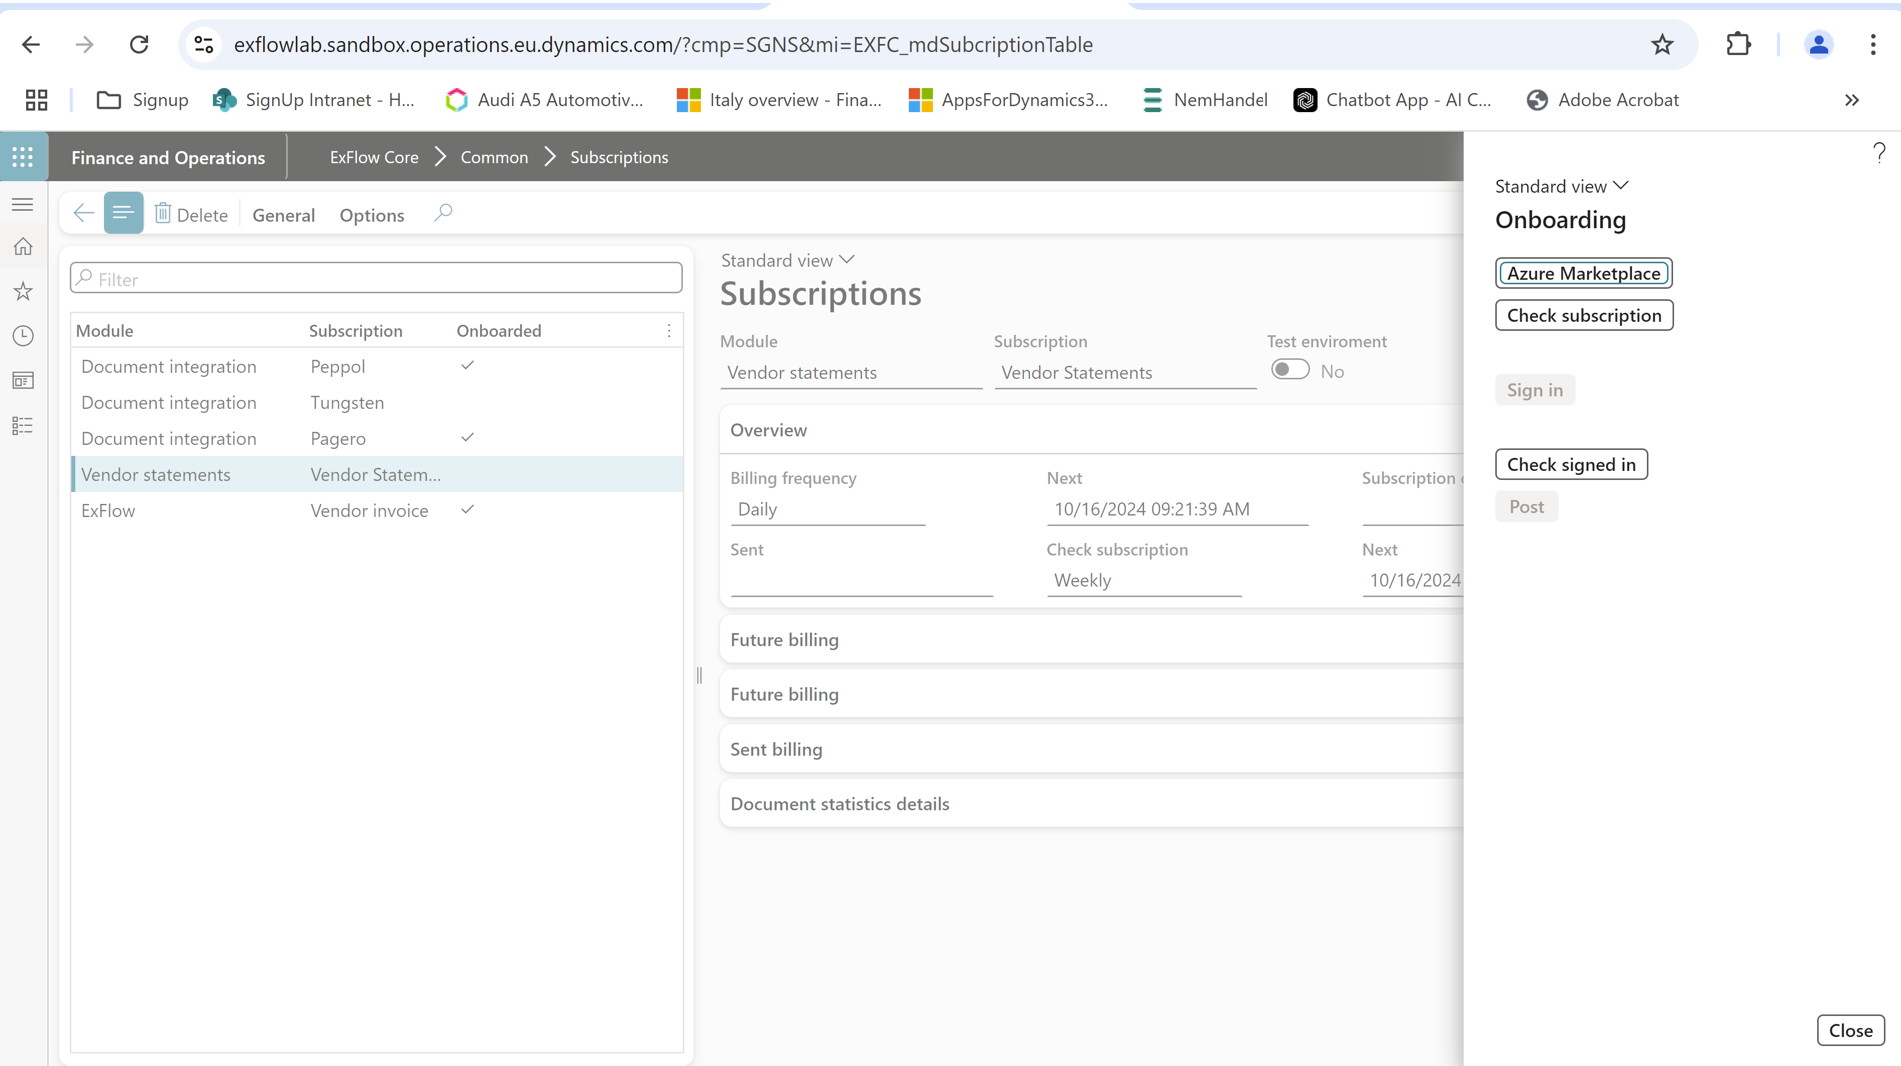
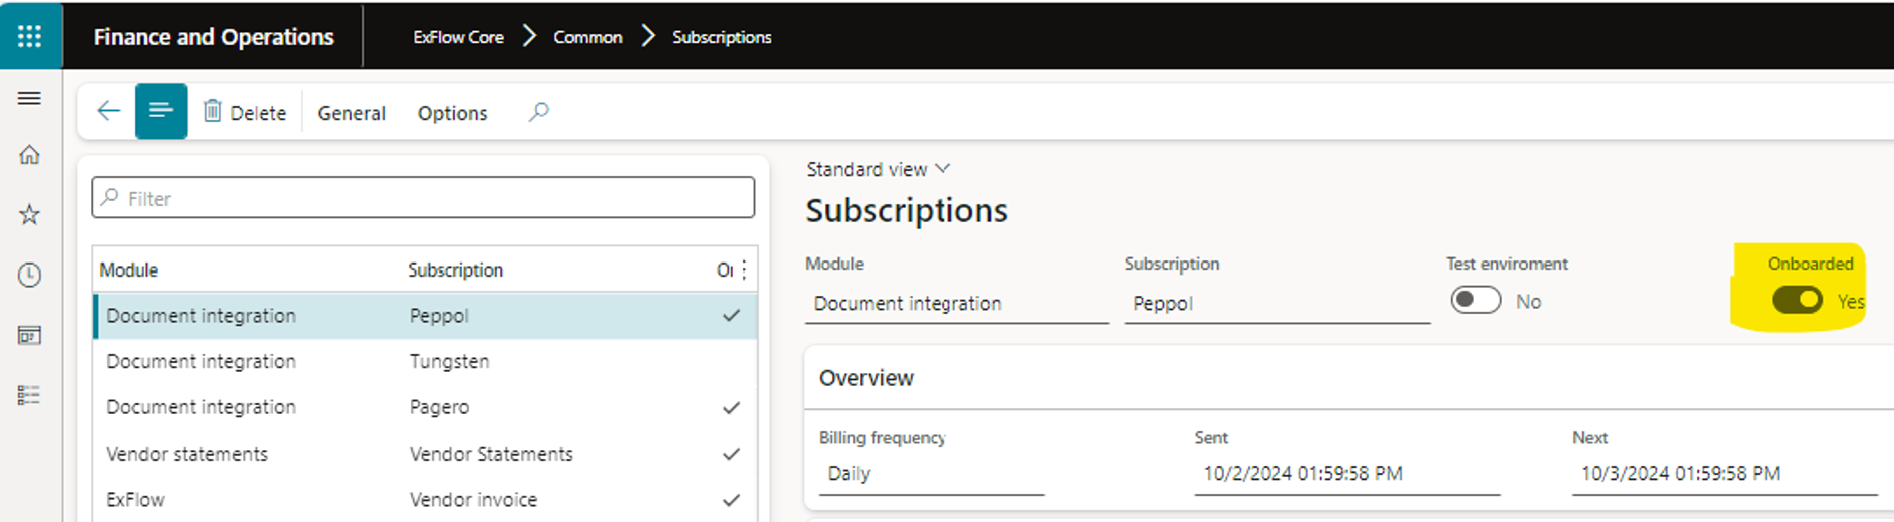
- Onboard the Subscription from “ExFlow core”
The ExFlow Core menu is used to handle the subscription.
- Navigate to ExFlow core - Common – Subscriptions.
- Mark Vendor statements and in the General Menu in the action pane, select "Onboarding", then another popup displays on the right side.
- Check that the product is onboarded. subscription is set to onboarded = Yes. See image 4 below.
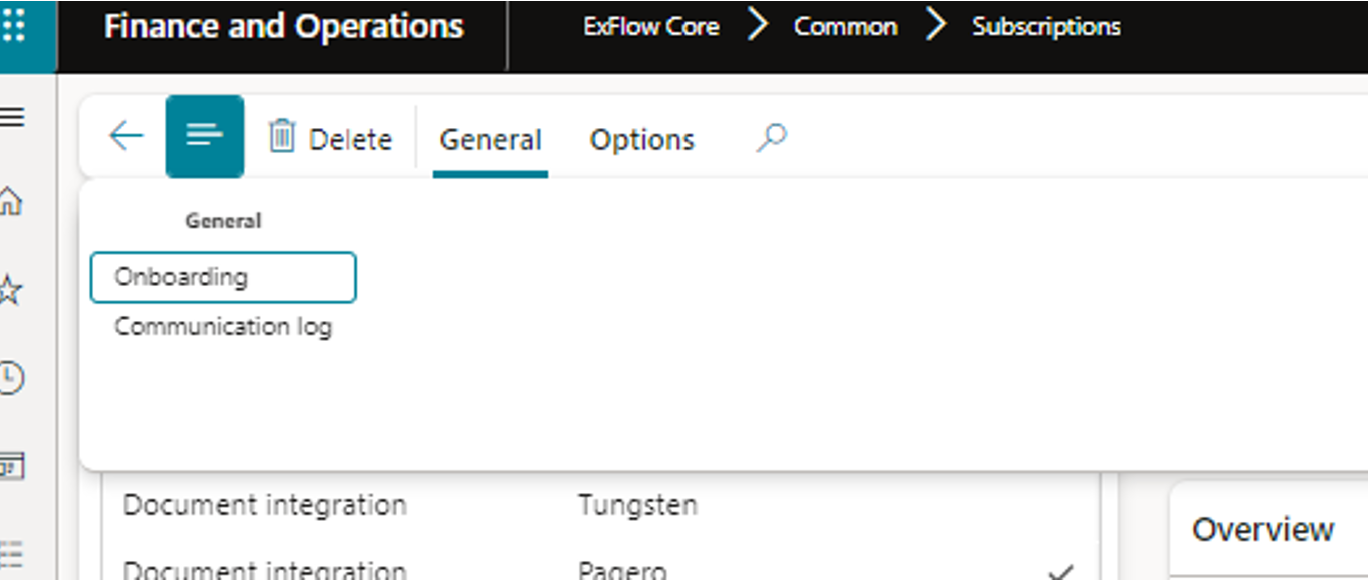
- The ExFlow Common menu is used to the Vendor statement functionality.
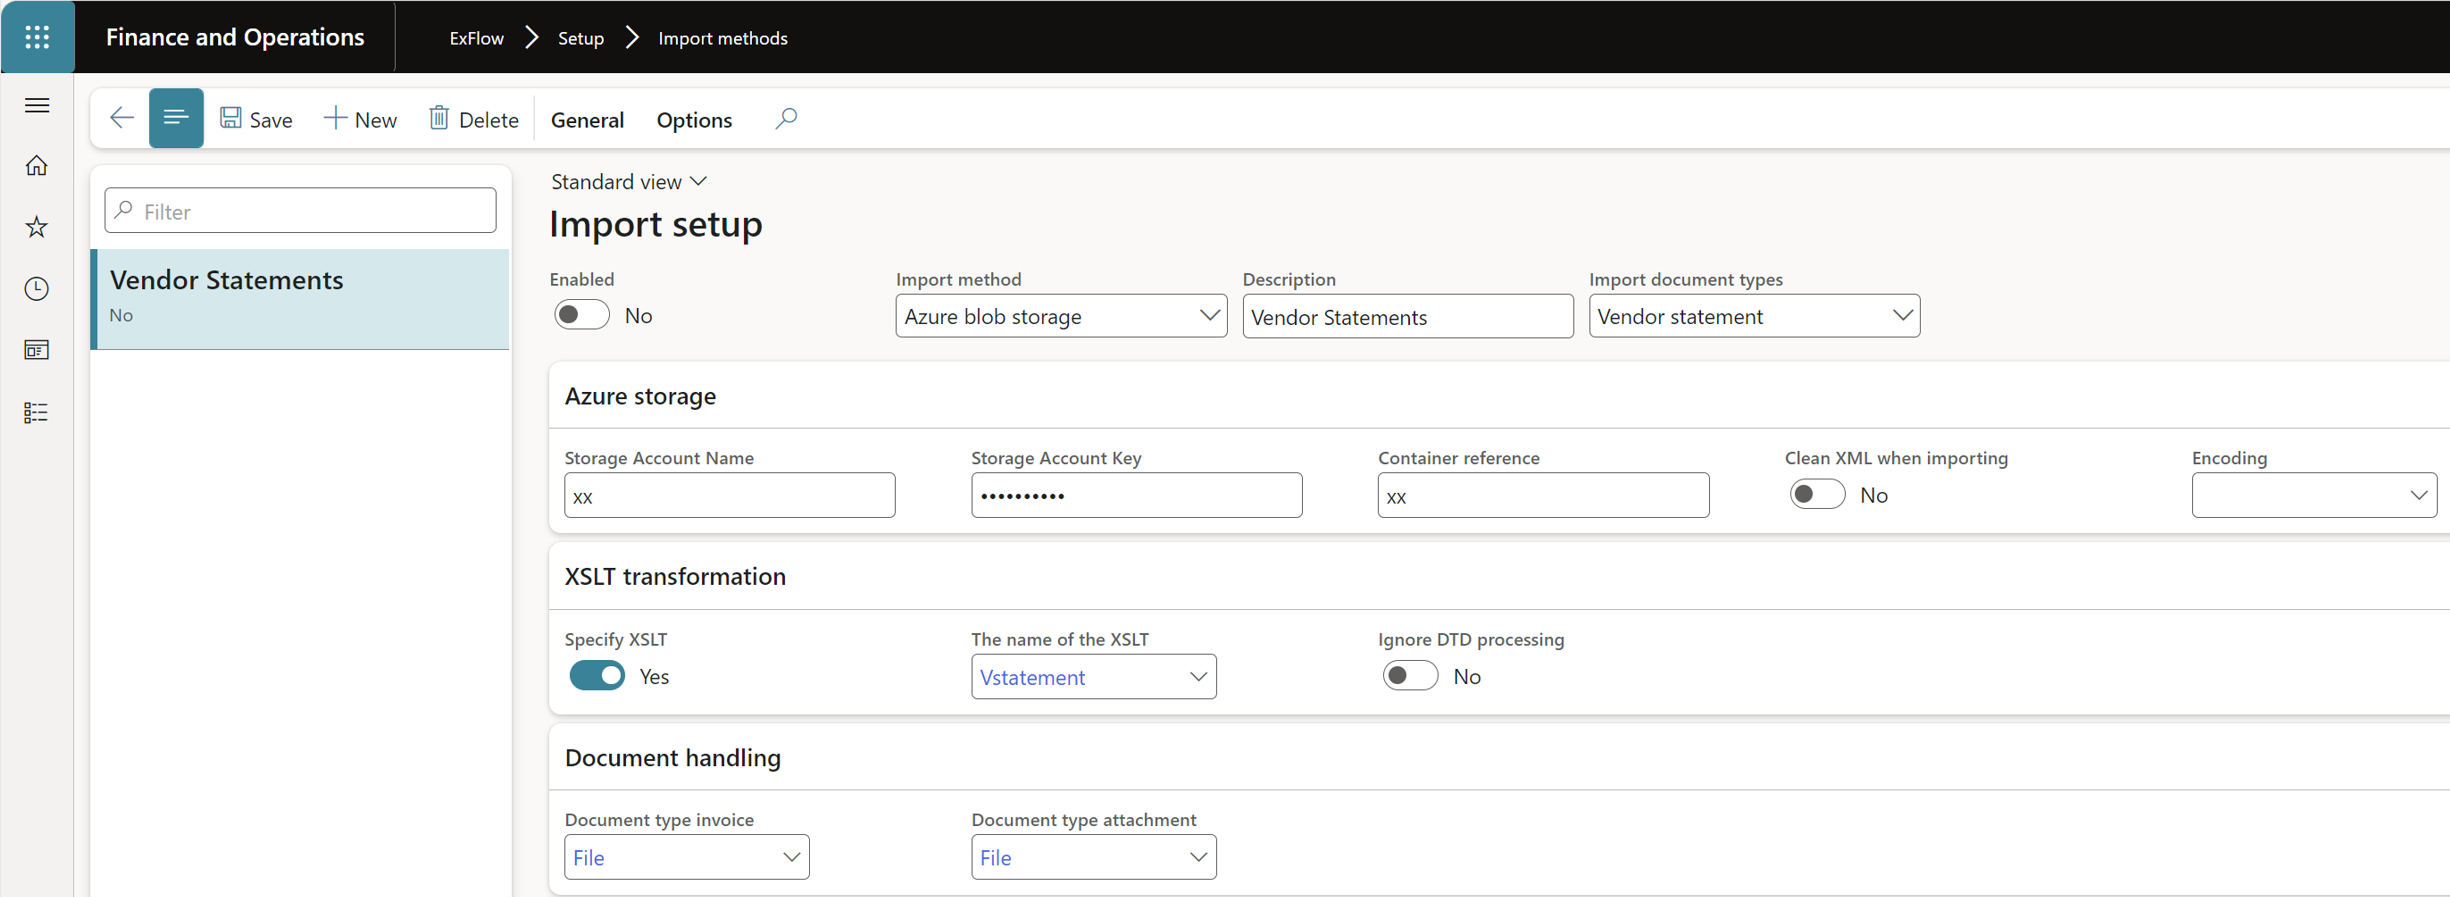
Setup import method for Vendor statement
To use ExFlow Data Capture for scanning and verifying the incoming statements, you need to;
- Inform Signup Data Capture team to add a separate profile for Vendor statements.
- Setup the Import method in ExFlow for Vendor statement by choosing the Import document type “Vendor statement”, with a specific XSLT provided from Signup.
See more information in the document platform of how-to setup different methods.
URL: https://docs.signupsoftware.com/finance-operations/docs/user-manual/import-methods/import-methods-overview
ExFlow | Setup | Import methods
- Setup batch jobs for the created import method.
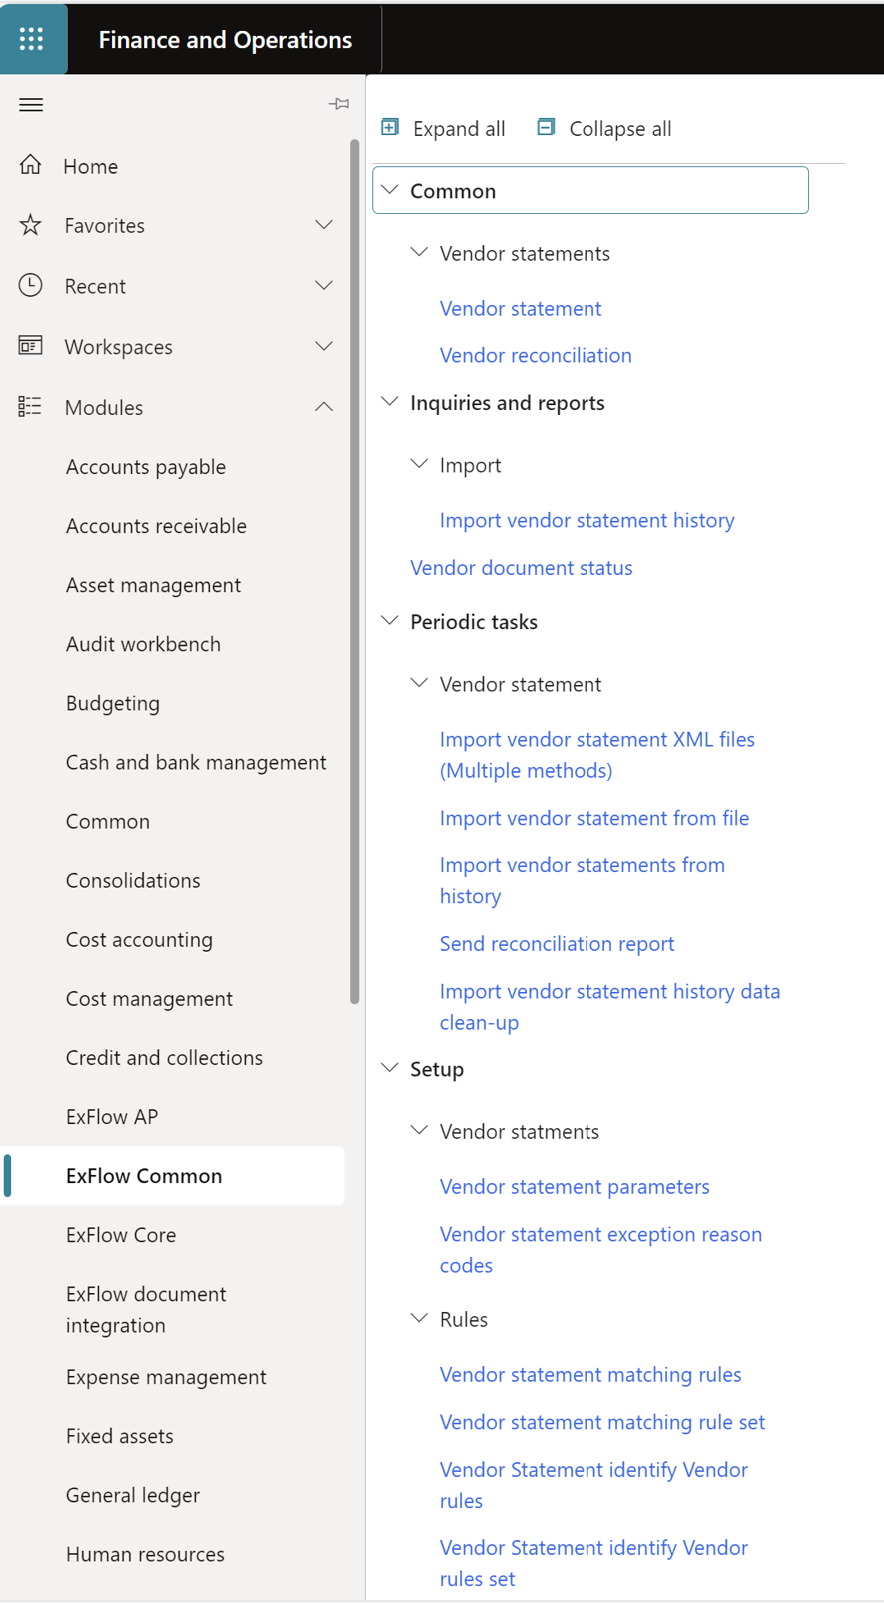
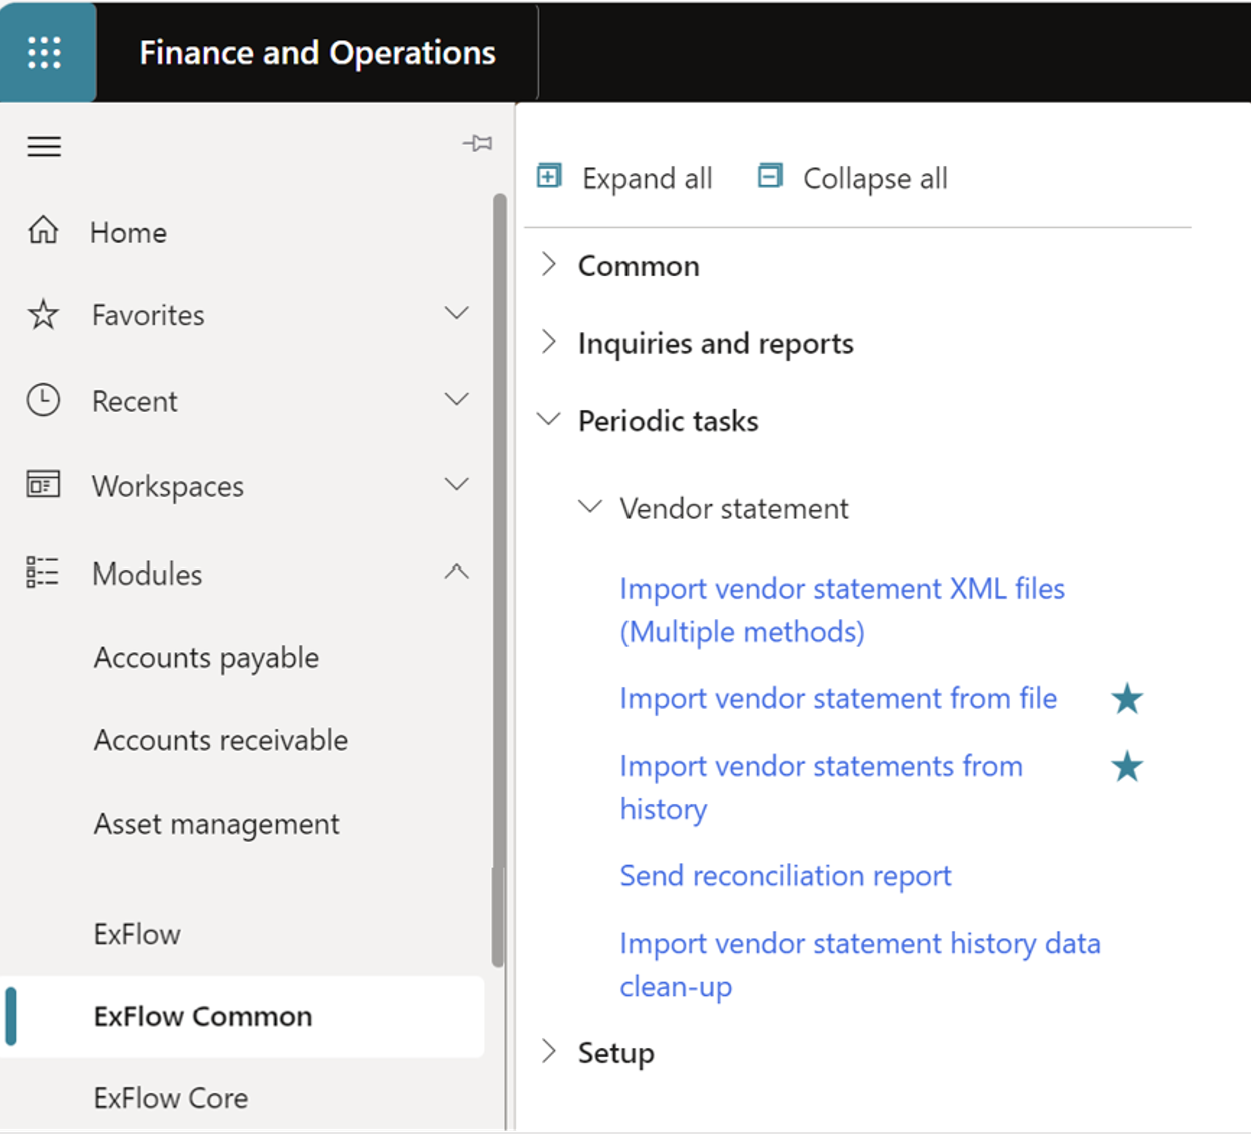
ExFlow Common | Periodic tasks | Vendor statement
- Import vendor statement XML files (Multiple methods).
- Import vendor statement from history.
Set old transactions as “Fully reconciled”
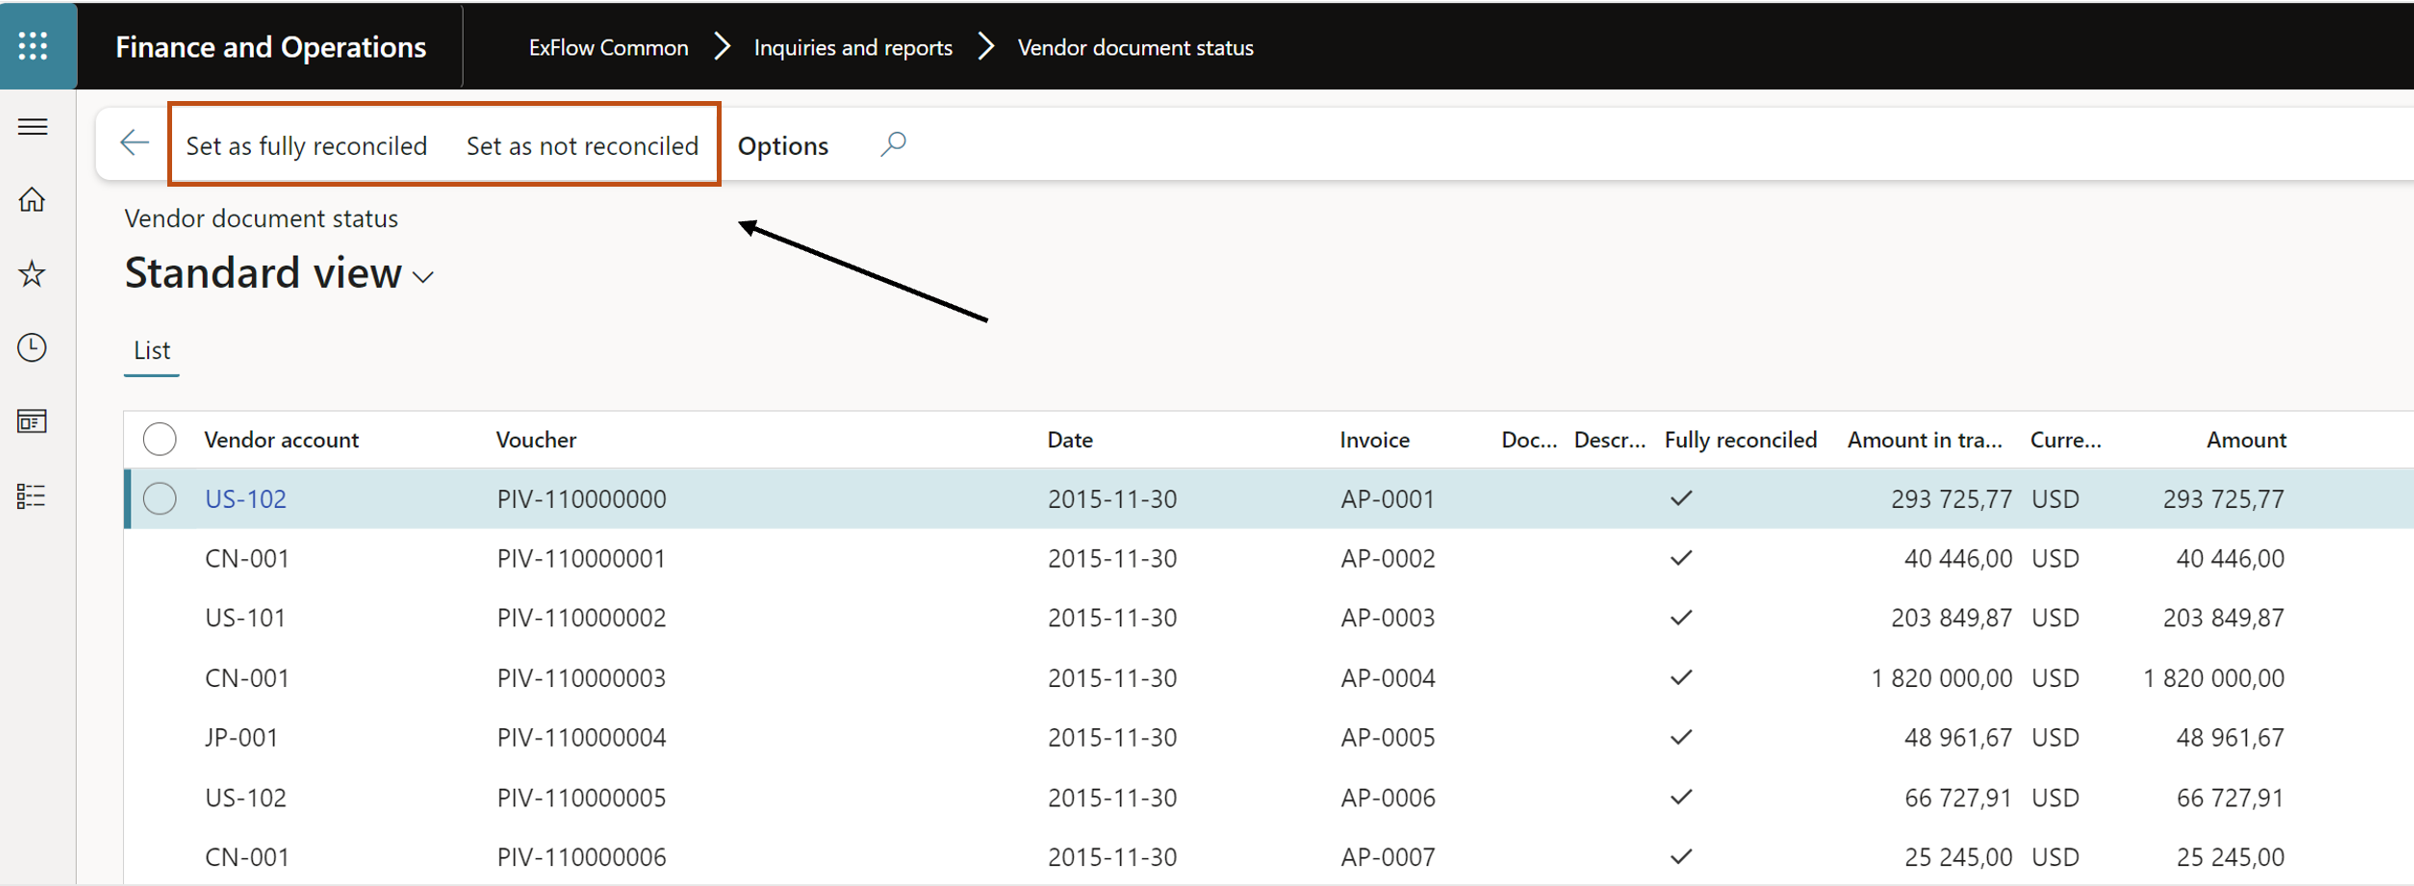
ExFlow Common | Inquiries and reports | Vendor document status
The “Vendor document status” form shows transactions from the data source for vendor and payments. The users can manually set the older transactions as “set as fully reconciled” or “set as not reconciled”.
| Button | Description |
|---|---|
| Set as fully reconcilied | Set the selected vendor transactions and payments for the specific period as fully reconciled, transactions will then not come up in the reconciliation form as open transactions to match against. |
| Set as not fully reconcilied | Set the selected vendor transactions and payments for the specific period as NOT fully reconciled, transactions will come up in the reconciliation form as open transactions to match against. |